Kale is surprisingly easy to grow, tolerating cold weather, bouncing back from small mistakes, and producing leaves for months instead of weeks.
You can grow kale almost anywhere: in garden beds, raised beds, or even large containers on a patio or balcony. It doesn’t need special tools or perfect conditions to do well.
In this guide, you’ll learn exactly how to grow kale step by step, from choosing the right type and planting it correctly to keeping the leaves tender and harvesting again and again. Whether you’re growing your first vegetable or just want something reliable, kale is a smart choice.
Kale is one of the most reliable leafy vegetables to grow, especially for beginners who want steady harvests with minimal effort.
Kale Plant Profile
| Factor | Kale Profile |
|---|---|
| Plant Type | Leafy green (grown as an annual, naturally biennial) |
| Planting Time | Spring or fall |
| Sun Requirements | Full sun to partial shade |
| Soil Requirements | Rich, well-drained soil |
| Watering | Consistent, even moisture |
| Climate Tolerance | Cold-tolerant; dislikes extreme heat |
| Time to Harvest | 30–50 days (ongoing harvest) |
| Common Pests / Diseases | Aphids, caterpillars, flea beetles, leaf spots, yellowing |
| Companion Plants | Onions, garlic, lettuce, spinach, herbs |
Planting time matters more than most people expect. For exact spring and fall timing based on your zone and frost dates, see my full guide on when to plant kale
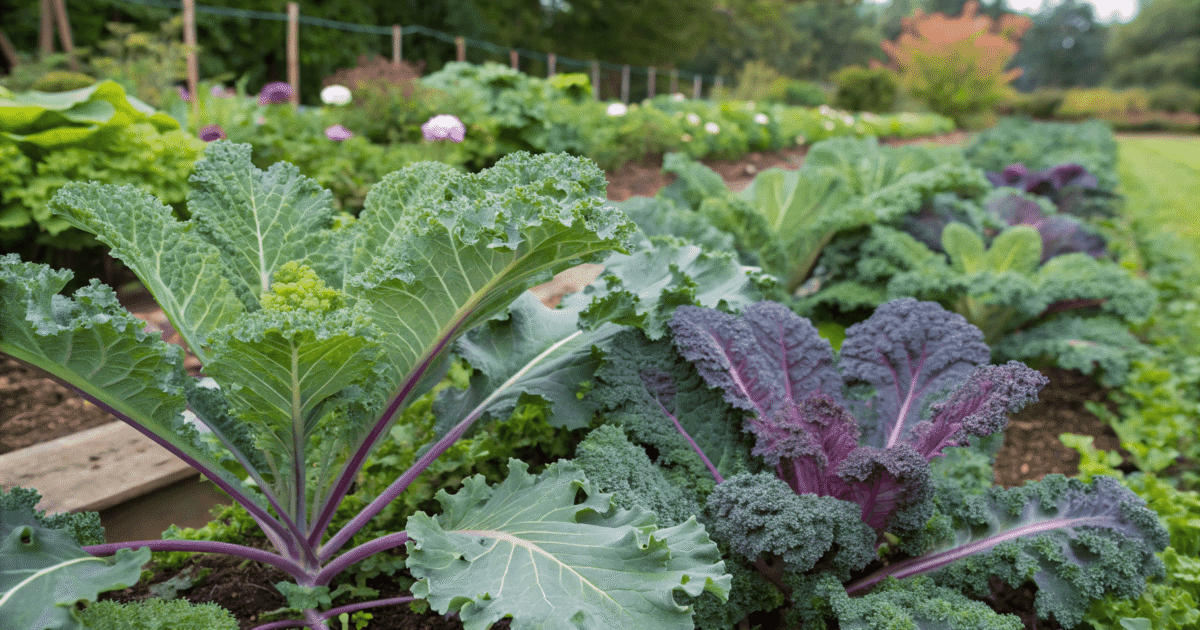
Best Types of Kale (And What Each Is Good For)
There are many kale varieties, but beginners don’t need to overthink it. A few tried-and-true types cover most needs and grow well in different conditions.
The most popular ones are:
- Curly Kale
- Lacinato Kale (Dinosaur Kale)
- Red Russian Kale
Quick Choosing Guide
- Choose Curly Kale if you want the hardiest, most forgiving plant that keeps producing.
- Choose Lacinato Kale if you prefer tender leaves for cooking and a milder taste.
- Choose Red Russian Kale if you garden in cold climates or want softer leaves for salads.
If you’re completely new to growing food, you may also want to start with my Vegetable Gardening for Beginners guide to learn the basics before planting.
Kale Variety Comparison Table
| Kale Variety | Leaf Texture & Shape | Flavor Profile | Cold Tolerance | Best Uses | Beginner Suitability |
|---|---|---|---|---|---|
| Curly Kale | Thick, ruffled, tightly curled leaves | Strong, classic kale flavor with slight bitterness | Very high | Smoothies, chips, sautés, soups | Very easy to grow |
| Lacinato (Dinosaur Kale) | Long, narrow, dark green leaves with a bumpy texture | Mild, slightly sweet, more tender than curly kale | High | Cooking, stir-fries, pasta dishes, soups | Easy with basic care |
| Red Russian Kale | Flat, fringed leaves with purple stems | Mild, earthy flavor with less bitterness | Extremely high | Salads, baby greens, light cooking | Beginner-friendly |
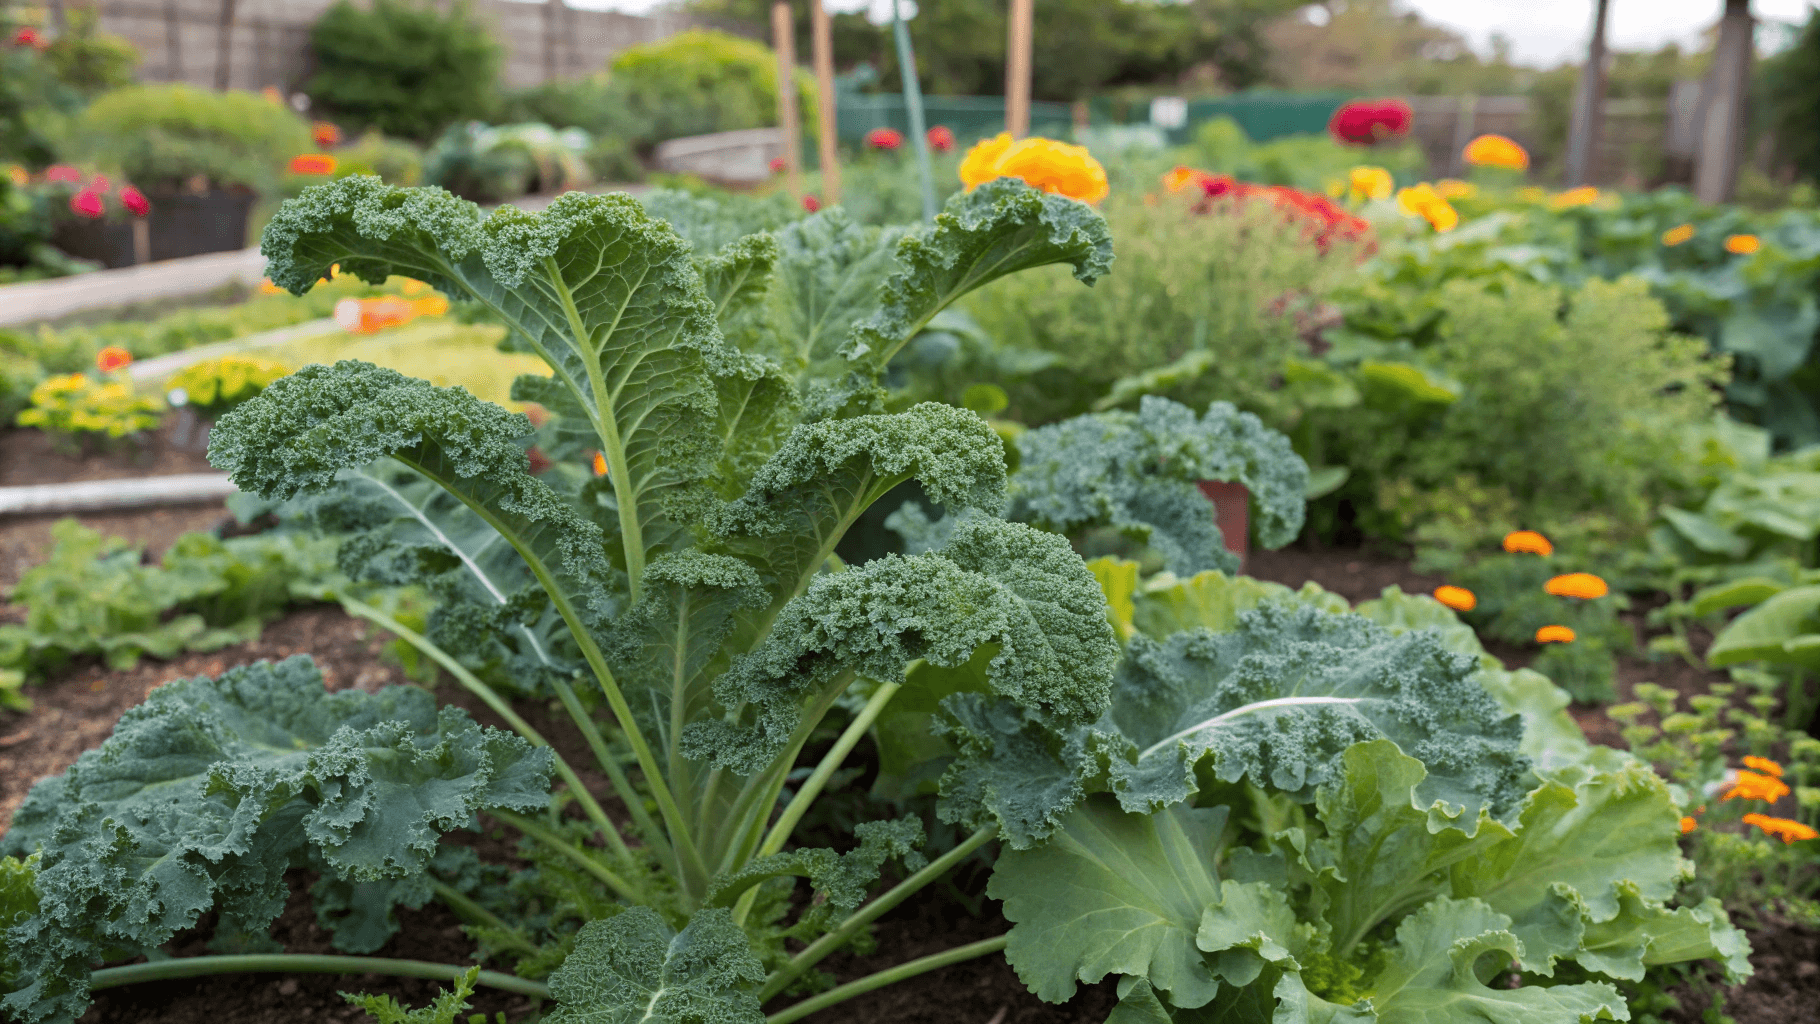
Curly Kale
This is the most common type you’ll see in grocery stores. It’s very hardy, handles cold well, and keeps producing when harvested regularly. Curly kale is a great choice for beginners because it’s tough and forgiving.
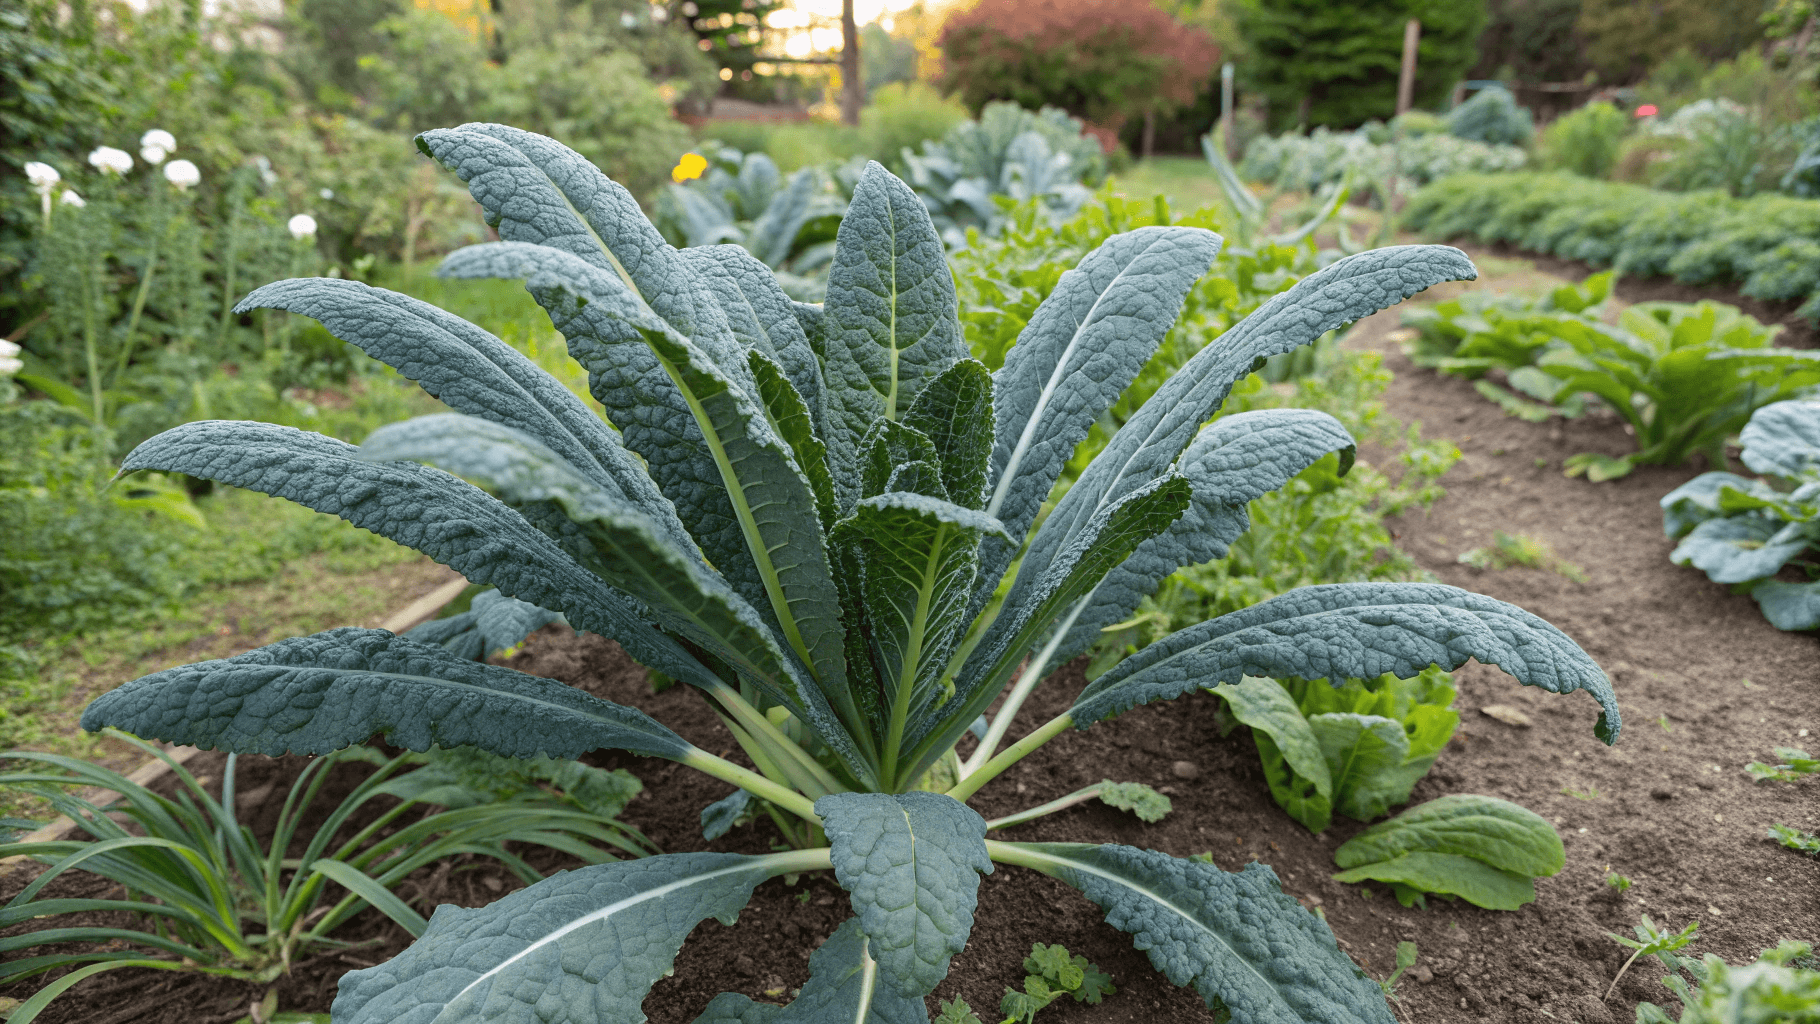
Lacinato Kale (Dinosaur Kale)
Also called Tuscan or dinosaur kale, this type has long, dark, slightly bumpy leaves. The texture is more tender than curly kale, making it popular for cooking. It grows best in cooler weather and rich soil.
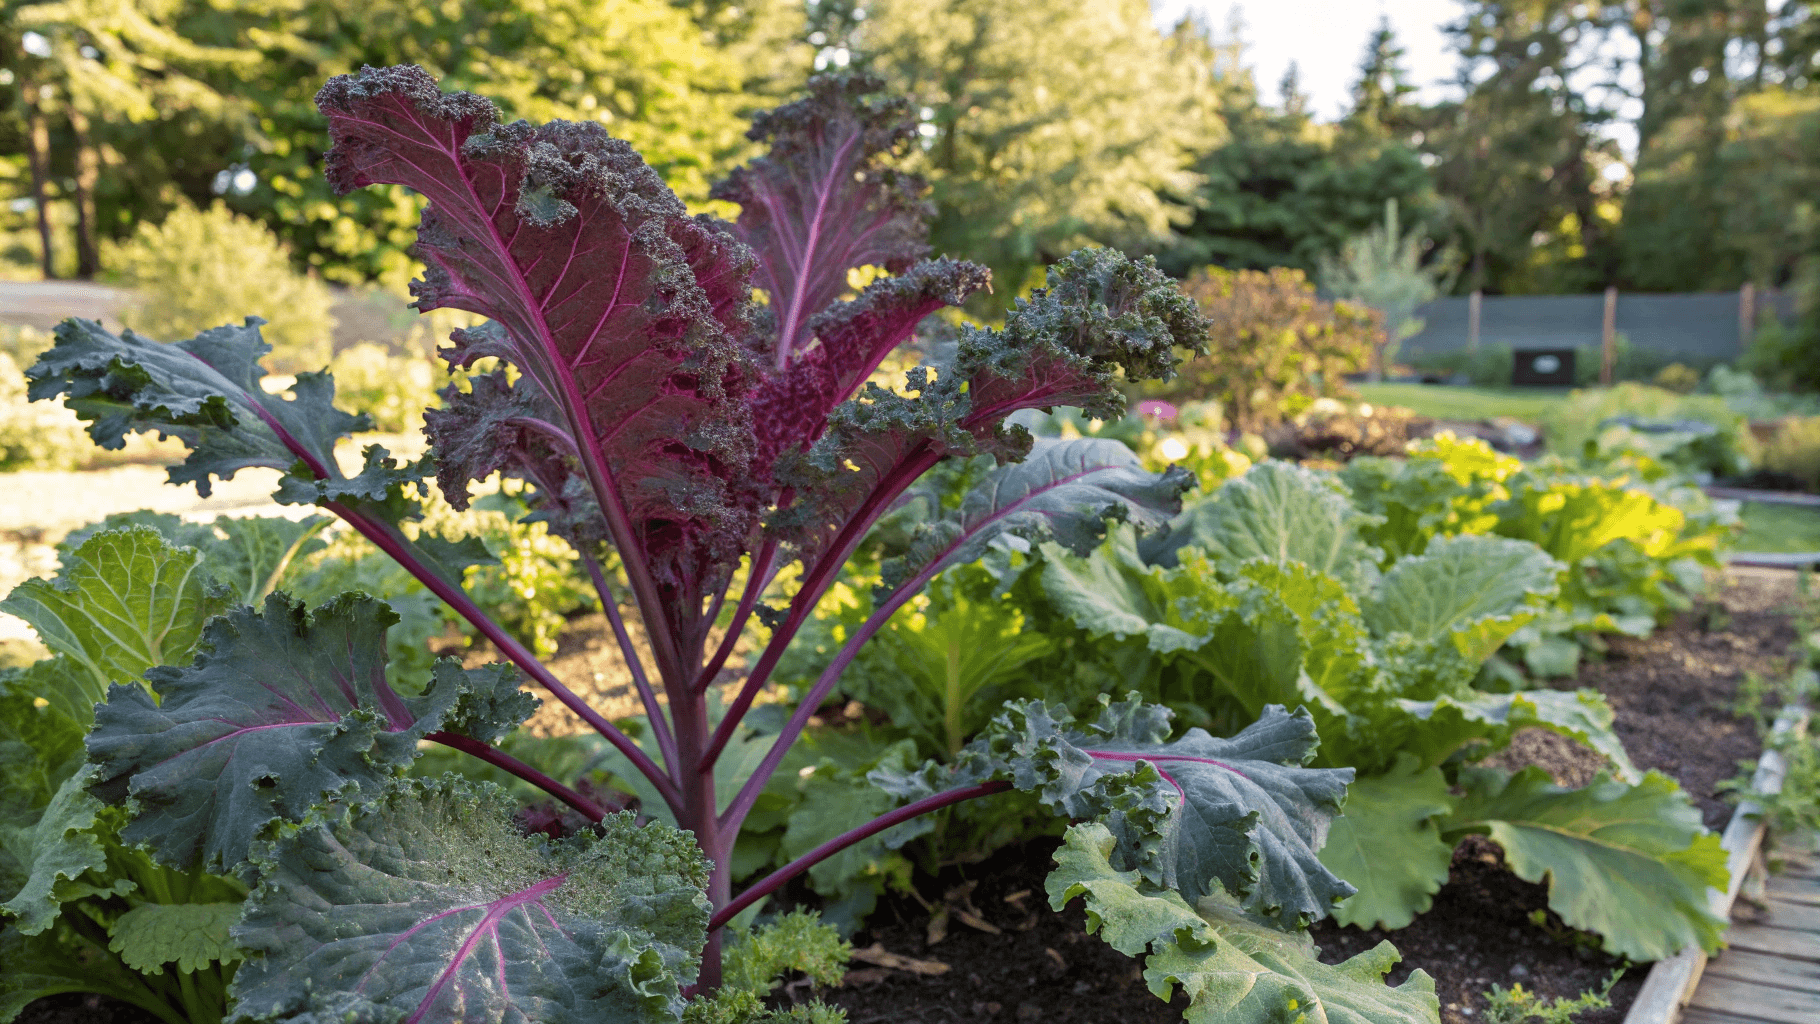
Red Russian Kale
This variety has flat, fringed leaves with purple stems. It’s especially cold-tolerant and has a milderflavourr than many other types. Red Russian kale is a good option if you want softer leaves for salads.
You only need one type to get started. All of them grow similarly and work well with the same care routine.
Soil Requirements for Kale
Healthy soil is the foundation of good kale growth. While kale is easier than many vegetables, it performs best when the soil is rich, loose, and able to hold moisture without becoming soggy.
Best Soil for Growing Kale
Kale prefers loose, well-drained soil but still holds moisture. Heavy, compacted soil can slow growth and cause root problems.
If your soil feels hard or clay-like, mixing in compost makes a big difference.
Why Organic Matter Matters
- Improves drainage in heavy soils
- Helps sandy soil hold moisture longer
- Feeds soil life that supports healthy plant growth
Compost is the easiest and most reliable option. Even a simple layer mixed into the top few inches of soil can dramatically improve kale growth.
Other Good Soil Amendments Include
- Well-aged manure
- Finished compost
- Fully rotted leaf mould
Soil pH for Kale
Kale grows best in slightly acidic to neutral soil. Most garden soils fall somewhere in this range naturally, especially if compost is added regularly.
Ideal soil pH for kale:
- Best range: 6.0-7.0
- Slightly acidic to neutral is ideal
- Compost helps stabilise pH naturally
In real gardens, kale often grows well even when pH isn’t perfect; healthy soil structure and consistent moisture matter more than exact numbers.
Soil Depth and Preparation
Before planting, loosen the soil at least 8-10 inches deep. Kale develops a strong root system, and compacted soil limits how much foliage the plant can produce.
Kale generally needs richer soil than lettuce because it grows for a longer period and produces more leaves over time. Poor soil won’t kill kale, but it will limit how much you can harvest.
Growing Kale in Containers
Kale grows surprisingly well in containers when given enough space and good soil.
For best results:
- Choose a pot at least 10-12 inches deep
- Grow one kale plant per container. Kale plants get large over time, and crowding them in containers leads to smaller, tougher leaves.
- Make sure the pot has drainage holes
- Use a high-quality potting mix (not garden soil)
Containers dry out faster than garden beds, which makes good soil structure even more important. A rich potting mix helps hold moisture while still draining well, keeping kale roots healthy and leaves tender.
How to Plant Kale (Seeds and Seedlings)
Planting kale is simple, and you can start from seed or transplants.
Starting Kale from Seed
Kale seeds can be planted directly into the garden or containers.
- Plant seeds about ¼ inch deep
- Keep the soil lightly moist until they sprout
- Seeds usually sprout within 5-10 days
Once seedlings are a few inches tall, thin them so plants are spaced about 12-18 inches apart. Crowded kale leads to smaller leaves and poor airflow.
For a full step-by-step breakdown of planting depth, moisture control, light requirements, and common seed starting mistakes, see how to grow kale from seed.
Planting Kale Seedlings
If you’re using store-bought or home-grown transplants:
- Dig a hole slightly larger than the root ball
- Plant at the same depth they were growing in their pots
- Gently firm the soil around the roots and water well after planting
Spacing matters here, too – Kale needs room to grow outward.
For a detailed, step-by-step guide to transplanting young plants outdoors without shock, see how to grow kale from seedlings.
Spacing Guidelines
- Space plants 12-18 inches apart
- Crowded plants stay smaller and produce fewer leaves
Thinning may feel wasteful, but proper spacing leads to stronger plants and better harvests later.
Watering Schedule (How to Keep Kale Tender)
Consistent watering is one of the most important factors for tender, good-tasting kale.
Kale likes steady moisture. The soil should stay evenly moist, not soaked and not dry.
Inconsistent watering is one of the fastest ways to ruin kale flavour.
If you want to maintain consistent soil moisture without daily hand watering, a solar drip irrigation system can make vegetable watering much more reliable, especially during hot or busy weeks.
If the Soil Dries Out Too Much
- Leaves become thick and chewy
- Flavour turns bitter
- Growth slows down
Mulching around kale plants helps keep moisture steady, especially during warm weather.
Signs of Underwatering
- Wilting during cool parts of the day
- Dull, stiff leaves
Signs of Overwatering
- Yellowing leaves
- Soggy soil that doesn’t drain
Water deeply when the top inch of soil feels dry. Containers may need watering more often than garden beds, especially in warm weather.
If kale develops spots, yellowing, or mildew, this guide on Common Kale Diseases explains how to identify and manage the problem early.
Sunlight Needs and Heat Protection Tips
Kale grows best in full sun, which means about 6 hours of direct sunlight per day. However, it’s more flexible than many vegetables.
Ideal Light Conditions
- 6-8 hours of sunlight per day
- Partial shade works in warmer climates
Kale loves cool weather and tolerates cold extremely well; even frost improves flavour.
Why Heat Causes Problems
- High temperatures stress the plant
- Leaves grow tougher
- Flavour becomes stronger and sometimes bitter
Heat Protection Tips
- Provide afternoon shade in hot climates
- Morning sun and afternoon shade are ideal
- Light shade cloth can reduce leaf toughness
- Mulch around plants to keep soil cool
- Water consistently during warm spells
When temperatures rise, kale may grow slower, but with protection, it can keep producing. If summers are very hot where you live, growing kale in spring and fall usually works best.
Feeding and Fertilizing Kale
Kale is a leafy crop, which means it benefits from steady nutrition while it grows. You don’t need complicated feeding schedules, but a little support helps keep plants productive over a long season.
When Kale Needs Feeding
- After the first few harvests
- If growth slows or leaves look pale
- When growing in containers
Simple Feeding Options
- Mixing compost into the soil before planting
- Adding a light top layer of compost during the season
- Using a balanced liquid fertiliser occasionally
How Often to Feed
- Garden beds: Light feeding every 3-4 weeks if the soil is rich
- Containers: Light feeding every 2-3 weeks
Avoid Overfeeding
Overfed kale often looks big but tastes bland and attracts more pests. Slow, steady growth produces the best kale leaves.
Tip: Healthy soil does most of the work. Feeding should support growth, not replace good soil.
For a simple, stage-by-stage feeding plan and fertilizer options, see the best fertilizer for kale.
How to Prevent Kale From Bolting and Tough Leaves
Kale doesn’t bolt as quickly as lettuce, but it can still happen under stress.
Bolting happens when the plant starts focusing on flowering instead of leaf production. Heat stress is the most common cause, though very old plants can also bolt.
What Causes Bolting in Kale
- Extended heat
- Drought stress
- Plants growing too old without harvesting
When kale bolts, it sends up a flower stalk. Leaves become tougher, and flavour declines.
How to Delay Bolting
- Harvest regularly
- Keeping soil consistently moist
- Providing shade during heat waves
Harvesting outer leaves signals the plant to keep producing new ones, which helps delay flowering and keeps leaves tender.
Common Problems When Growing Kale
Most Kale problems are cosmetic and don’t mean the plant is failing.
Even though it is one of the easiest leafy vegetables to grow, Kale can still run into problems, especially if growing conditions aren’t quite right. The good news is that most issues are easy to fix once you know what to look for.
Yellowing Leaves
Yellow leaves are one of the most common concerns for new kale growers.
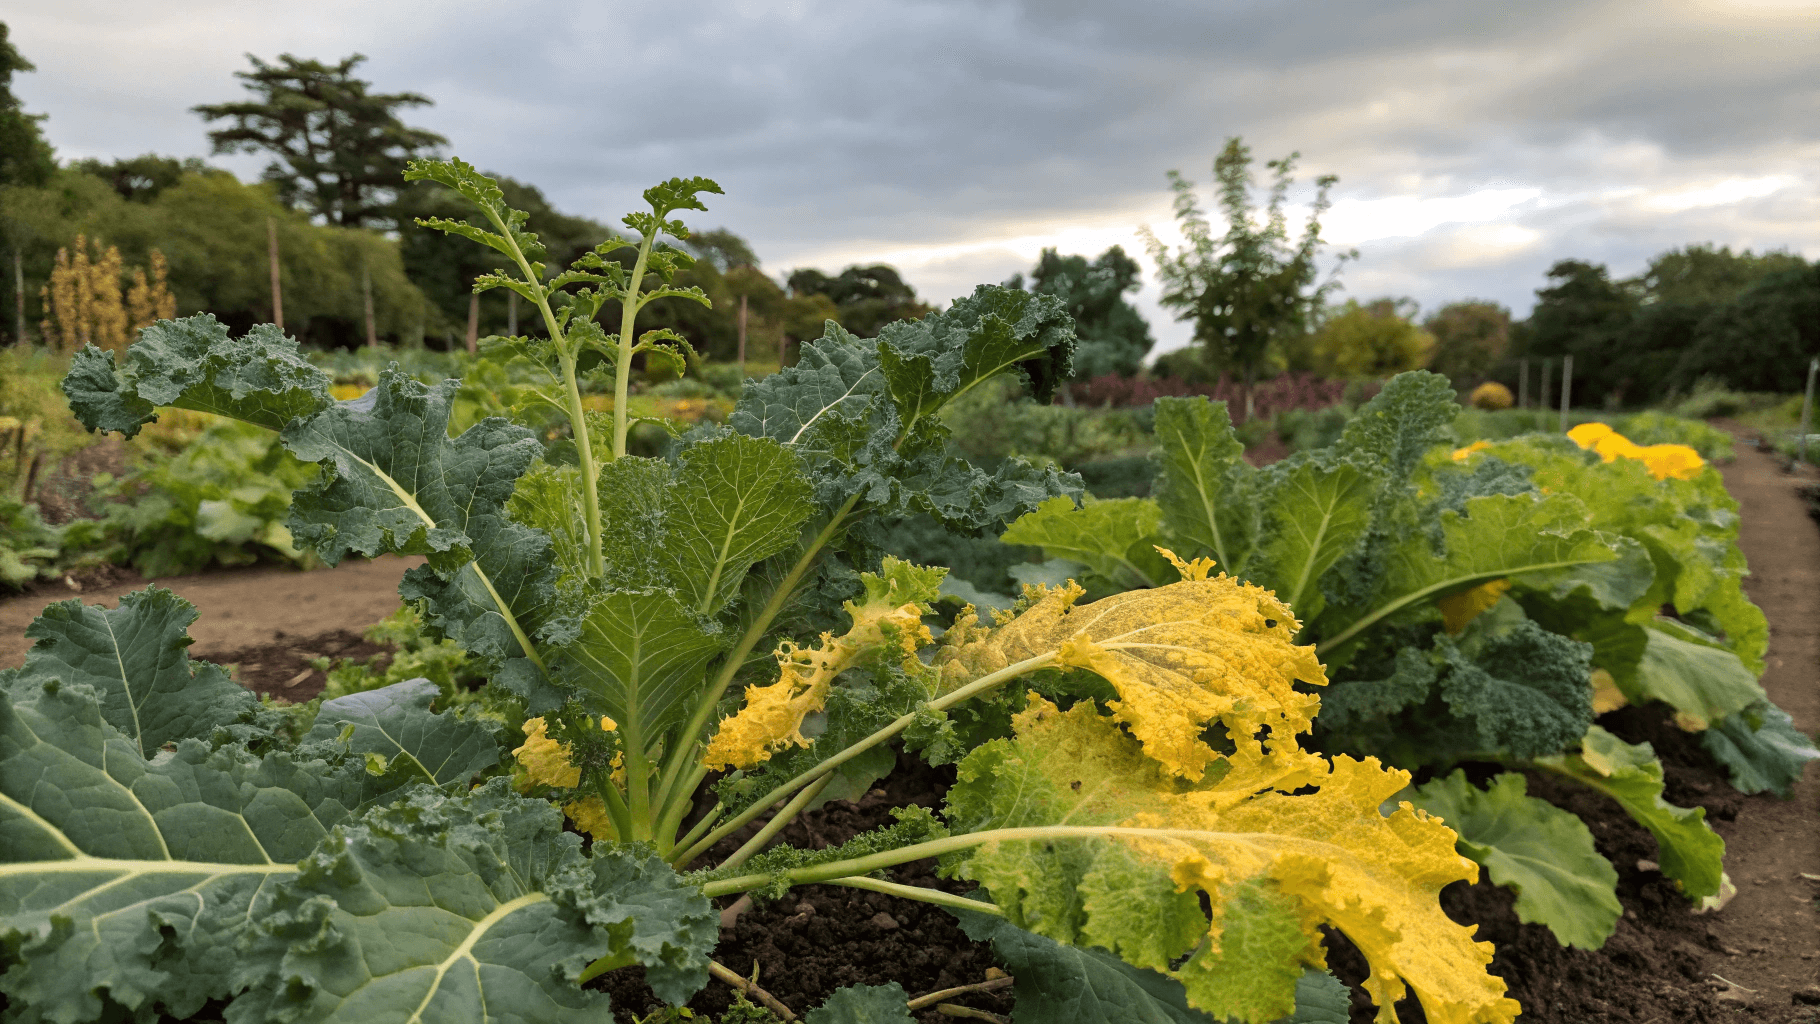
Common causes:
- Inconsistent watering
- Poor soil drainage
- Natural aging of older leaves
Lower leaves often turn yellow as the plant matures, which is completely normal.
Simple fixes:
- Water deeply and consistently
- Improve drainage if soil stays wet
- Remove older yellow leaves to help the plant focus on new growth
If the plant looks healthy overall, yellowing on a few lower leaves is not a problem.
Holes in Leaves (Pests)
Kale attracts insects because of its soft, nutrient-rich leaves.
Common pests on kale include:
- Cabbage worms and caterpillars
- Aphids
- Flea beetles
Signs of pest damage:
- Small or large holes in leaves
- Ragged or chewed edges
- Sticky residue or clusters of insects on stems and leaf undersides
Simple fixes:
- Inspect plants regularly, especially the undersides of leaves
- Remove caterpillars and insects by hand
- Use lightweight garden netting or row covers to prevent infestations
Minor pest damage is mostly cosmetic. Kale can continue growing and producing even with some leaf damage.
If you start seeing holes, curling, or sticky leaves, this guide on Common Kale Pests shows how to identify the cause and control it naturally.
Slow or Stunted Growth
If your kale seems stuck and isn’t producing many new leaves, growing conditions may be limiting it.
Common causes:
- Poor or compacted soil
- Crowded plants
- Cool temperatures slowing growth
Simple fixes:
- Improve soil with compost or organic matter
- Thin plants to proper spacing
- Be patient in cool weather, kale grows slower but healthier
Kale grows best when it has room, rich soil, and steady moisture.
Tough or Bitter Leaves
Texture and taste issues usually come from stress.
Common causes:
- Heat stress
- Infrequent watering
- Waiting too long to harvest
Older leaves naturally become tougher if left on the plant too long.
Simple fixes:
- Water consistently during warm weather
- Provide shade during hot afternoons
- Harvest leaves when they are young and tender
Regular harvesting improves both flavor and leaf texture.
Wilting or Drooping Plants
Seeing wilted kale can be alarming, but it’s often temporary.
Common causes:
- Heat stress during the hottest part of the day
- Dry soil
Simple fixes:
- Water deeply in the morning
- Add mulch to help retain soil moisture
- Provide afternoon shade if temperatures are high
If the plant recovers by evening, it’s usually not a serious issue.
How to Harvest Kale (Cut-and-Come-Again Method)
One of kale’s biggest advantages is how long it keeps producing.
You can begin harvesting once the leaves are about 6-8 inches long. Always harvest the outer leaves first, cutting them near the base of the plant.
Learn how to harvest kale so it keeps growing without stressing the plant.
How to harvest properly
- Pick outer leaves first
- Never cut the center stem unless you’re ending the plant.
- Use clean scissors or gently snap leaves off
As long as the plant stays healthy, you can keep harvesting until extreme heat or deep winter slows it down.
After harvesting, use this guide on how to store fresh kale to keep leaves crisp or freeze extras for later.
Why this works:
- Kale continues producing for months
- One plant can supply many meals
- Regular harvesting improves leaf quality
Regular harvesting actually improves the plant’s performance and delays bolting.
If your kale looks healthy but tastes unpleasantly sharp or bitter, it’s usually reacting to stress from heat, water, or harvest timing. This guide on why kale turns bitter breaks down the causes and how to fix them.
Companion Plants for Kale
Companion planting helps kale grow better by reducing pest pressure and making better use of garden space. While kale grows well on its own, planting it alongside the right neighbors can improve results.
Good Companion Plants
- Onions and garlic – help repel common pests
- Lettuce and spinach – grow quickly and fill space between kale plants
- Herbs like dill and cilantro – attract beneficial insects
Plants to Avoid
- Other large brassicas planted too closely, which can compete for nutrients
You don’t need perfect pairings to grow healthy kale. Even simple combinations can help, and kale adapts well in mixed gardens.
Tip: Companion planting works best when combined with good watering, spacing, and regular harvesting.
How Long Does Kale Take to Grow?
Kale is relatively fast but designed for long-term harvests.
- Germination: 5-10 days (often within 3-8 days in ideal conditions)
- Time to first harvest: 30-50 days from seed
- From transplant: about 30-40 days
- Ongoing harvest window: Several months with proper care
Cool temperatures slow growth but improve flavour. Warm temperatures speed growth but can reduce leaf quality.
Conclusion
Kale is one of the best vegetables you can grow if you want reliable results and steady harvests. It doesn’t demand perfect timing, it forgives beginner mistakes, and it keeps giving long after many other greens are done.
If you’re new to gardening, planting kale builds confidence fast. It also pairs well with other leafy vegetables, making it easy to grow a productive garden even in small spaces.
Start with one or two plants, harvest often, and let kale show you just how rewarding homegrown food can be.

Leave a Reply