
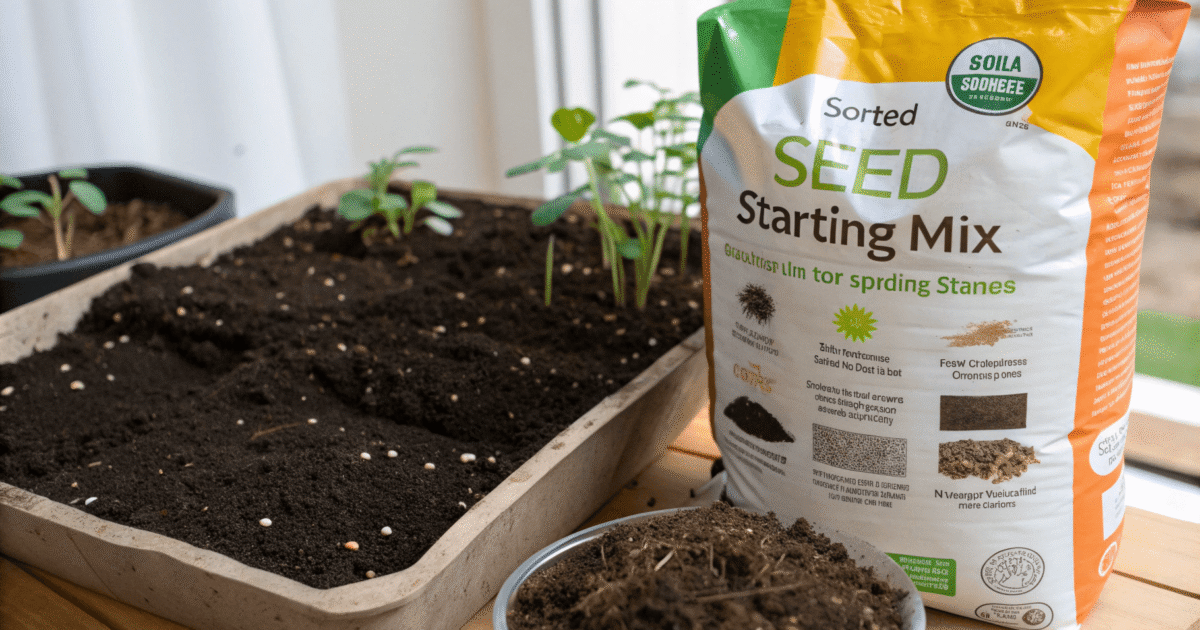
A homemade seed starting mix should hold moisture while leaving enough air around developing roots. It also needs a fine, even texture so small seeds can be sown at the right depth.
This guide explains how to choose ingredients, measure them by volume, and prepare a small batch for starting vegetable seeds. You will also learn when seedlings need feeding and how to spot problems with moisture, drainage, or the mix itself.
Making your own mix is not automatically cheaper or better than buying a prepared seed-starting product. The practical choice depends on ingredient quality, local prices, and how much you need. Start with a small batch before filling all your trays.
If you’re new to gardening, see my full guide: How to Start Gardening for Beginners
What Makes a Good Seed Starting Mix?
A seed starting mix needs to balance moisture and air. Seeds need water to germinate, but a saturated mix leaves too little oxygen around developing roots.
Fine, Even Texture
Choose ingredients suitable for seed trays and small cells. Large pieces of bark, stones, and coarse debris make it harder to sow small seeds evenly and maintain consistent moisture around them.
Moisture Retention and Drainage
The mix should absorb water evenly and allow excess water to escape through the container’s drainage holes. It should remain moist during germination without staying waterlogged.
Coconut coir or peat moss can provide moisture retention. Perlite helps maintain air spaces, while vermiculite holds moisture as well as contributing to the mix’s structure. These ingredients have different properties, so they are not interchangeable in every recipe.
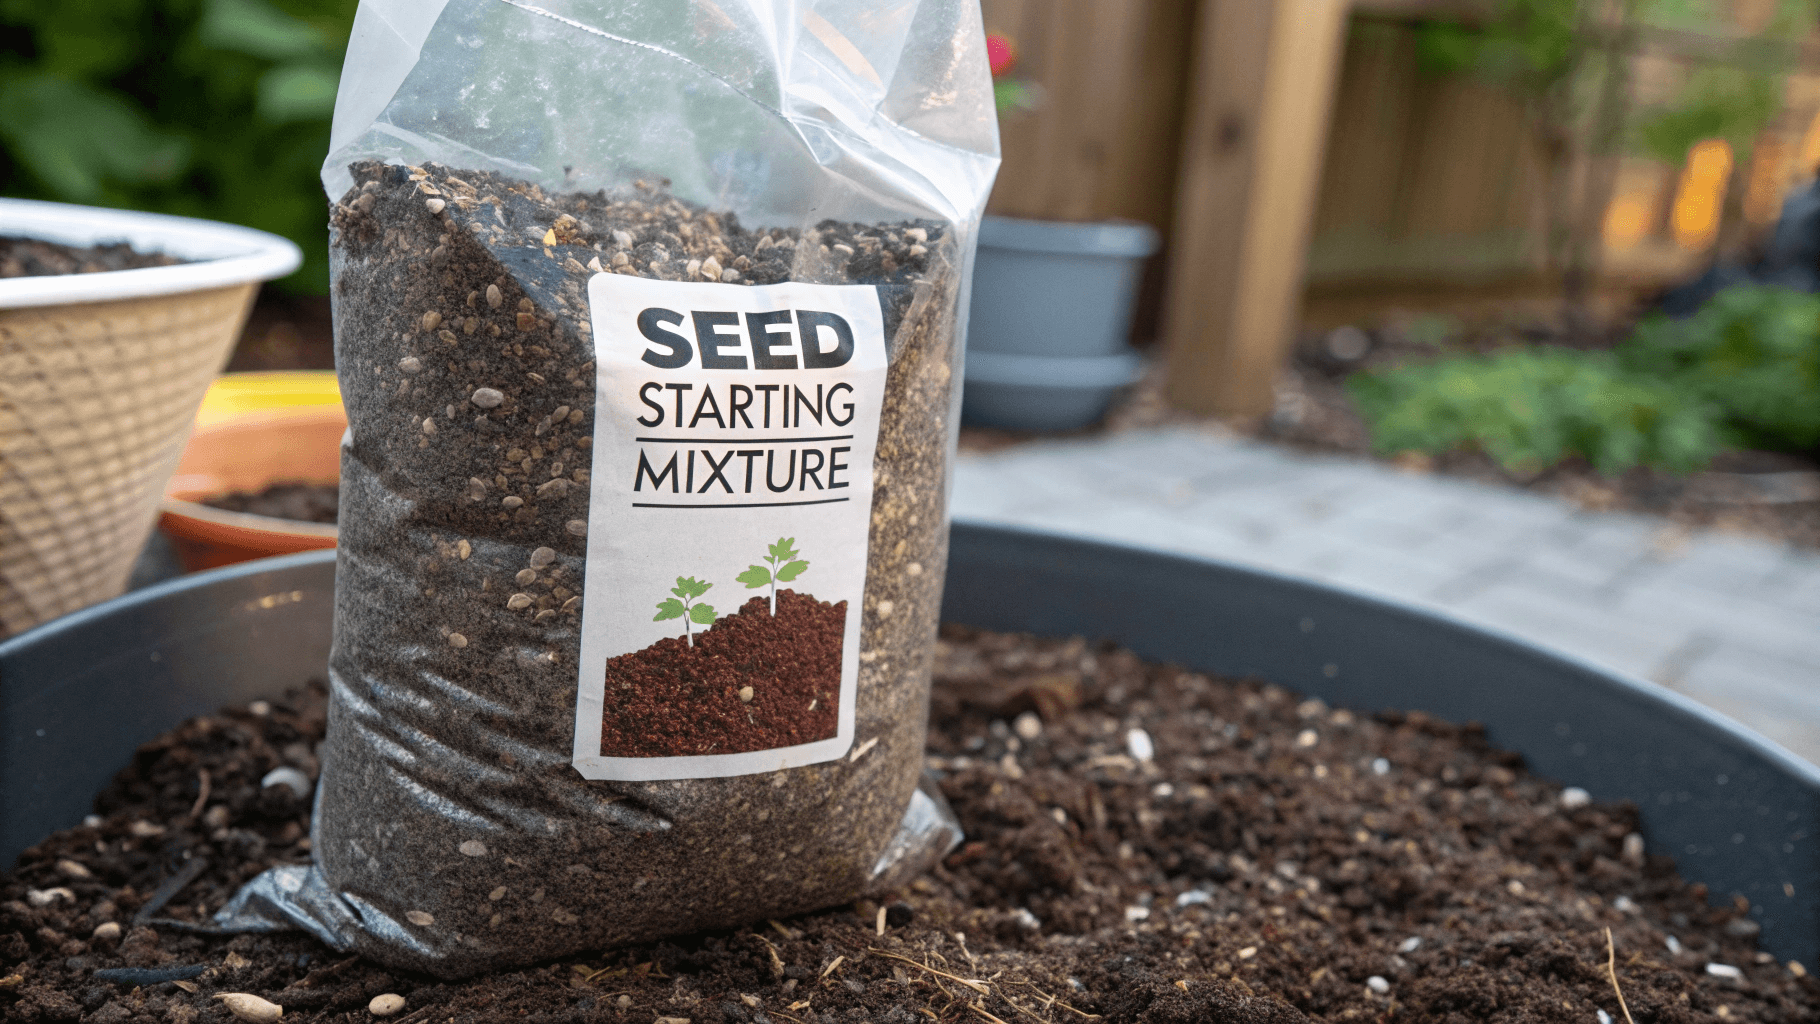
Clean Ingredients and Containers
Use fresh ingredients intended for horticultural use, along with clean tools and seed trays. Avoid bringing untreated garden soil or unfinished compost into a simple indoor seed-starting mix.
Clean materials reduce the risk of introducing pests and disease organisms, but they do not guarantee disease-free seedlings. Watering, temperature, and airflow still matter.
Low Initial Nutrient Levels
A germination mix does not need to be heavily fertilized. Excess fertilizer can raise soluble salt levels and damage young seedlings.
As seedlings develop true leaves, their nutrient needs increase. Whether to feed them depends on the ingredients and any fertilizer already present in the mix.
A Simple Homemade Seed Starting Mix
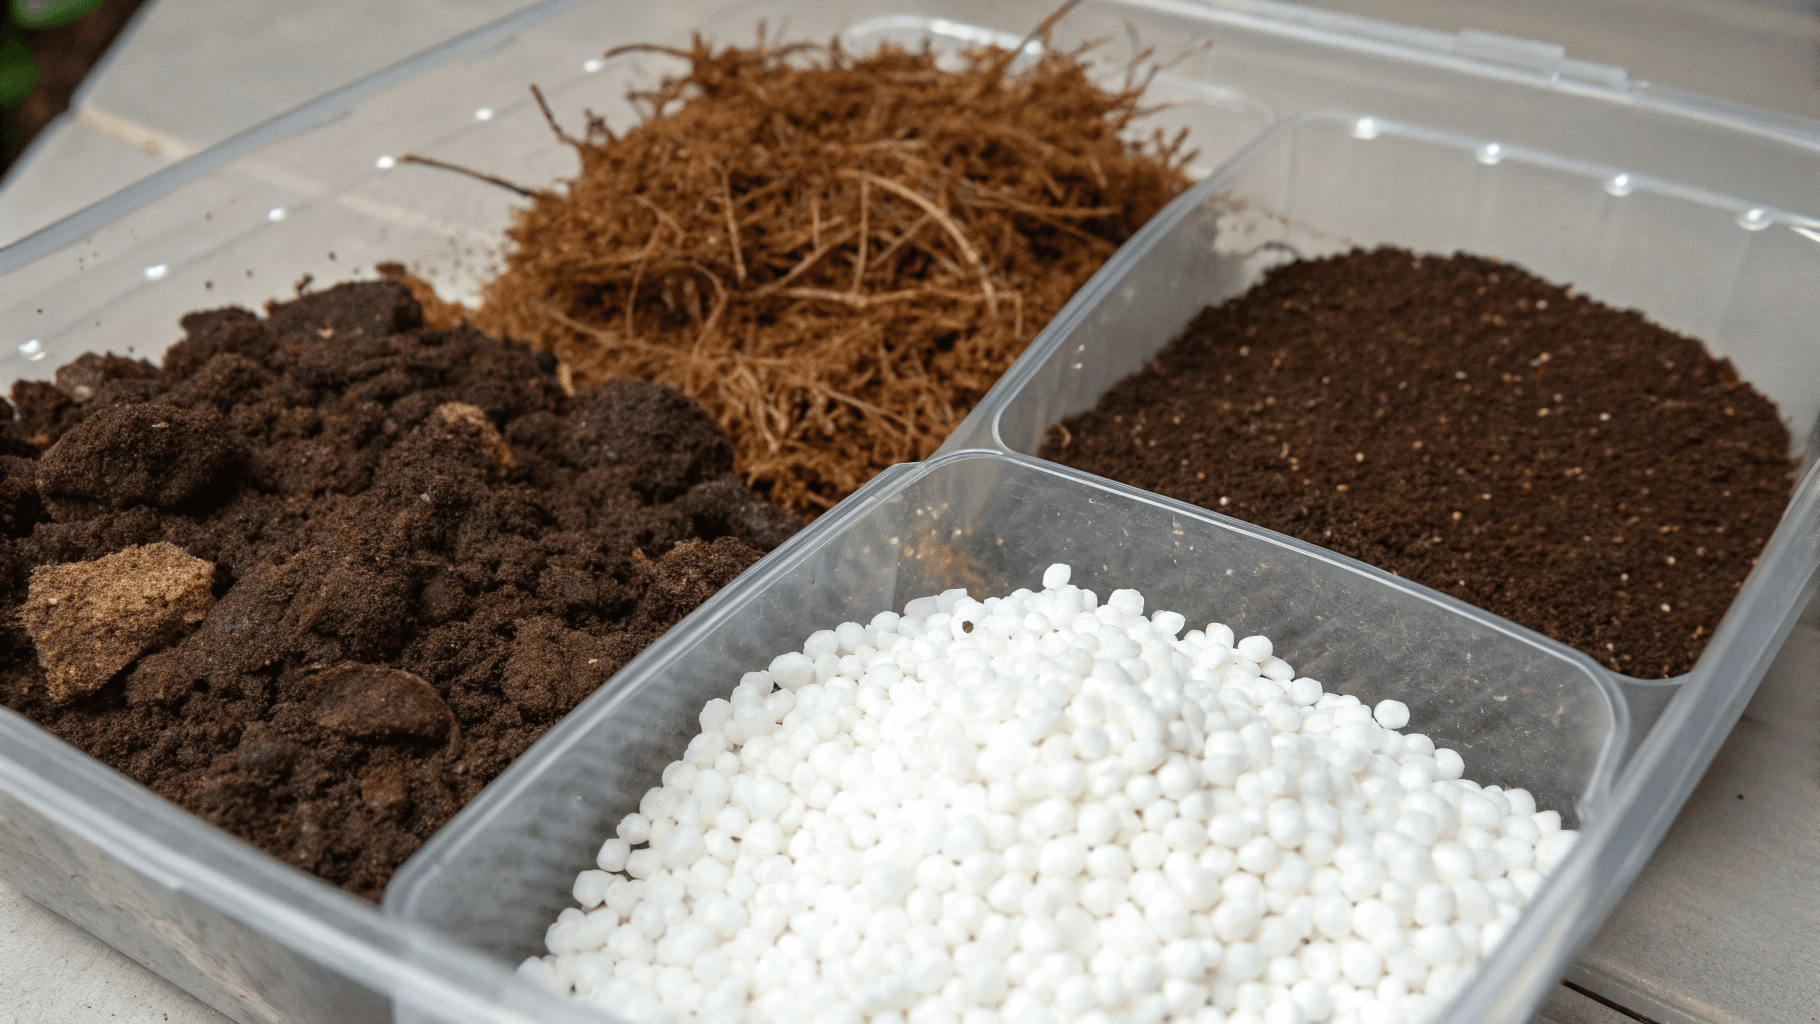
One option is to combine equal volumes of prepared coconut coir and horticultural perlite. This compost-free mixture provides a starting medium without adding garden soil or fertilizer.
It is a germination mix, not a complete source of nutrition for the entire seedling stage.
Ingredients
- 1 part hydrated coconut coir, intended for horticultural use. Choose a product labeled as washed and low in salts.
- 1 part horticultural perlite.
- Clean water, added gradually as needed.
Measure the coir after it has expanded and excess water has drained. Measure both ingredients loosely, without compressing them.
Small-batch example: Combine 4 cups of prepared coir with 4 cups of perlite. This uses 8 cups of measured ingredients, although the final blended volume may differ slightly.
Equipment
- A clean mixing container
- A measuring scoop or cup
- Clean seed trays with drainage holes
- Gloves and suitable dust protection when handling dry ingredients
Step-by-Step Instructions
- Prepare the coir. Hydrate it according to the package instructions. Break apart any lumps and let excess water drain. Brick sizes vary, so use the manufacturer’s stated expansion volume.
- Measure the ingredients. Use the same scoop for equal volumes of prepared coir and perlite.
- Control dust. Lightly dampen dusty perlite before mixing, and avoid breathing in particles. Follow the handling precautions on the bag.
- Blend thoroughly. Distribute the perlite evenly through the coir, breaking up remaining clumps.
- Check the moisture. The mixture should feel evenly damp, without releasing a stream of water when gently squeezed. If saturated, allow excess water to drain before filling trays.
- Fill the containers. Add the mix loosely and level the surface. Do not press it firmly into the cells.
- Sow and label. Follow the seed packet for sowing depth. Label each tray with the crop, variety, and sowing date.
Check a Small Batch First
Fill and water a few cells before preparing all your trays. Check that the mix wets evenly and excess water drains freely.
Small cells can dry quickly. Monitor moisture during germination rather than assuming this recipe suits every tray and watering routine.
Plan for Seedling Nutrition
This recipe contains no added fertilizer. Once true leaves develop, assess whether seedlings need a suitable seedling fertilizer, following the product’s directions. Alternatively, move them into an appropriate growing mix when they are ready for potting on.
Does the Mix Need Adjusting for Different Seeds?
For common vegetable seeds started in trays, begin with a small batch of the basic mix. Check its texture, moisture retention, and drainage before adding more ingredients.
Adjustments should address an observed problem rather than follow a different recipe for every crop.
For Small Seeds and Small Cells
Use finely textured horticultural coir and remove large fibres or debris. A coarse mixture can make it difficult to position tiny seeds and keep moisture consistent around them.
Follow the seed packet for sowing depth and any light requirements during germination. Not every seed should be covered.
If the Mix Dries Too Quickly
First check the cell size, watering method, room temperature, and exposure to moving air. These can affect drying as much as the ingredients.
If necessary, test a small batch in which some of the perlite is replaced with horticultural vermiculite, which holds more moisture. Check drainage before using the adjusted mix for all your seeds.
If the Mix Stays Too Wet
Check that drainage holes are open and trays are not standing in water. Avoid packing the mix tightly or watering automatically when it is still moist.
Correct the growing conditions before changing the recipe. Adding more perlite will not compensate for a tray that cannot drain.
Do Not Add Lime Automatically
Tomatoes and peppers do not require a fixed spoonful of lime simply because they are being started from seed. Whether a mix needs lime depends on its ingredients and measured pH.
Check ingredient specifications and use appropriate testing before making a pH adjustment.
Keep Germination and Potting-On Mixes Separate
A mix used to germinate seeds does not need to support mature plants indefinitely. As seedlings grow, provide suitable nutrition and move them into larger containers when needed.
Orchids and other plants with specialised propagation requirements fall outside this vegetable seed-starting recipe.
Common Seed Starting Problems and What to Check
Poor germination or weak seedlings do not automatically mean the recipe is wrong. Check moisture, temperature, lighting, and seed quality before adding ingredients or fertilizer.
| Problem | What to check | What to do |
|---|---|---|
| Seeds do not emerge | Expected germination time, seed age, sowing depth, moisture, and temperature. | Follow crop-specific instructions. Check a few cells carefully before discarding the whole tray. |
| Mix dries out quickly | Small cells, heat mats, airflow, and uneven wetting. | Moisten the mix thoroughly before sowing and monitor the cells regularly. Do not leave trays standing in water. |
| Mix remains saturated | Blocked drainage, compacted mix, or excessive watering. | Empty standing water, check drainage holes, and allow excess moisture to drain. |
| Seedlings become tall and thin | Insufficient light, crowding, or excessive warmth. | Improve lighting and spacing. Set lamp distance according to the fixture’s instructions. |
| Seedlings collapse at soil level | Possible damping-off. | Remove affected seedlings and their growing medium. Review sanitation, watering, airflow, and temperature. |
| Leaves turn yellow or purple | Root conditions, temperature, lighting, and nutrient supply. | Identify the likely cause before feeding. Leaf color alone does not establish a specific deficiency. |
Avoid Watering by a Fixed Schedule
Check the mix and tray weight regularly. During germination, keep moisture available around the seeds without saturating the cells.
After emergence, adjust watering as roots develop. A dry surface alone does not tell you how wet the rest of the cell is.
Use Heat Mats According to the Crop
Germination temperatures differ between vegetables. Follow the seed supplier’s guidance and monitor the growing medium when using bottom heat.
Once seedlings emerge, reassess whether additional heat is still needed.
Match Lighting to the Fixture
There is no single safe distance for every grow light. Fixture output varies, so use the manufacturer’s seedling guidance and watch for stretching, bleaching, or scorching.
Give seedlings a regular dark period rather than leaving lights on continuously.
Do Not Treat Every Symptom with an Additive
Cinnamon, extra compost, lime, or fertilizer should not be automatic responses to mould or discoloured leaves. First investigate the growing conditions and, where necessary, seek a diagnosis.
Fresh ingredients and clean equipment reduce risk, but they cannot compensate for persistently wet, poorly lit growing conditions.
How to Choose a Store-Bought Seed Starting Mix
A prepared seed-starting mix can be practical if you only need a small quantity or do not want to buy separate ingredients. Choose by the product’s intended use and label rather than assuming every potting mix suits seed trays.
Check the Texture and Intended Use
Look for a mix labeled for seed starting or germination. It should have a fine, reasonably uniform texture suitable for your seeds and cell size.
Avoid products intended for filling outdoor beds. Coarse bark and large particles can make small seeds difficult to sow evenly.
Read the Fertilizer Information
Some prepared mixes contain fertilizer; others contain little or none. Check the label before deciding when to feed seedlings.
Do not add fertilizer automatically to a product that already supplies nutrients. Follow the manufacturer’s directions for seedling care.
Compare the Usable Volume
For compressed products, check the expanded volume and preparation instructions. Compare prices using the amount of ready-to-use mix, not the package size alone.
A homemade batch may be economical when you already have suitable ingredients, but buying several bags for one small tray may cost more than a prepared mix.
Check Handling and Storage Instructions
Follow any directions for moistening the product before sowing. Keep unused material closed, dry where specified, and protected from contamination.
An organic label or added microbes do not guarantee successful germination. Seed quality, watering, temperature, and lighting still matter.
Best Store-Bought Seed Starting Mixes (For When DIY Isn’t an Option)
Short on time? These Amazon favorites deliver great results:
1. Back to the Roots Organic Seed Starting Mix

Back to the Roots
A balanced pH, which means it’s truly all-purpose
- Best For: Eco-conscious growers.
- Grab It If: Sustainability matters most.
2. Espoma Organic Seed Starter Mix

Espoma
A blend of endo & ecto mycorrhizae
- Best For: Delicate or finicky plants (e.g., herbs, flowers).
- Grab It If: You want premium quality without the DIY hassle.
3. Miracle-Gro Seed Starting Potting Mix

Miracle-Gro
Specially formulated for fast root development
- Best For: Beginners or budget gardeners.
Quick Comparison:
| Mix | Organic? | Best Feature |
|---|---|---|
| Miracle-Gro | No | Fast, affordable |
| Back to the Roots | Yes | Eco-friendly, peat-free |
| Espoma | Yes | Mycorrhizae for root power |
I’ve tested both DIY and store-bought mixes, and while homemade gives the best control, these are reliable backups.
Coconut Coir or Peat Moss: What Should You Choose?
Both coconut coir and sphagnum peat moss can provide moisture retention in a seed-starting mix. Neither should be described as automatically better for every grower or application.
Coconut Coir
Coir is made from coconut husks and is often sold in compressed blocks. Choose a horticultural product with clear preparation instructions and information about washing, salt levels, and any buffering treatment.
Hydrate it before measuring for the recipe in this guide. Do not assume every block expands to the same volume.
Peat Moss
Sphagnum peat moss is another common ingredient in growing media. It is naturally acidic, so a peat-based recipe may need pH adjustment.
Do not replace the coir in this recipe with peat and automatically add a fixed amount of lime. Use a complete peat-based formulation with appropriate pH guidance.
Consider Environmental Tradeoffs
Peat extraction affects peatland ecosystems and their stored carbon. Coir also has environmental costs associated with processing and transportation.
Choosing a peat-free ingredient avoids peat use, but it does not establish that the finished mix has a lower overall environmental impact in every situation.
Keep the Recipe Consistent
For the recipe above, use the specified prepared horticultural coir. If you choose a different base ingredient, follow a formulation designed for that material rather than assuming the same proportions and amendments will perform identically.
Before You Sow: A Quick Checklist
- Prepare clean equipment. Use clean mixing tools and seed trays with open drainage holes.
- Measure consistently. Measure coir after hydration and draining, using the same scoop for both ingredients.
- Moisten before filling. Blend the ingredients thoroughly so there are no dry pockets or saturated clumps.
- Fill without compacting. Level the surface gently rather than pressing the mix firmly into the cells.
- Check the seed packet. Follow the crop’s sowing depth, temperature, and light requirements.
- Label each batch. Record the crop, variety, sowing date, and any changes to the recipe.
- Test before scaling up. Try a few cells first and observe drainage, moisture retention, and germination before preparing a larger batch.
Start with a Small Batch
A useful homemade seed starting mix should be easy to prepare consistently and manage in your growing conditions. Start with the measured coir-and-perlite recipe, check how it behaves in your trays, and record any adjustments.
Remember that this mix contains no added fertilizer. Plan for seedling nutrition as true leaves develop, and check moisture, temperature, and lighting before treating a problem as a nutrient deficiency.
If buying separate ingredients is impractical, a prepared seed-starting mix is a reasonable alternative. Choose the approach that suits the number of plants you want to grow and the materials available to you.

Leave a Reply