

To treat a small batch of soil at home, one established method is to heat slightly moist soil until the mixture reaches 180°F (82°C), then maintain that temperature for 30 minutes. Use a thermometer to measure the soil itself, not just the oven temperature, and let it cool while covered before use.
Although gardeners often call this “sterilizing soil,” home heat treatments are generally intended to pasteurize the material, reducing unwanted organisms rather than guaranteeing complete sterility.
Treatment is not a routine requirement for every pot or garden bed. First consider what you are using the soil for, whether it has a history of pests or disease, and whether fresh seed-starting mix would be a simpler option. Small batches and outdoor beds also need different approaches: controlled heating suits small quantities, while solarization depends on sustained hot, sunny conditions.
Source: Oregon State University Extension – How to pasteurize soil or compost
This guide explains when treatment makes sense, how to choose a method, and how to avoid contaminating the soil again afterward.
If you’re new to gardening, see my full guide: Vegetable Gardening for Beginners (step-by-step guide).
What Is Soil Sterilization?
Soil sterilization technically means eliminating all living organisms from the material. In home gardening, however, the term is often used more loosely to describe treatments that reduce soilborne pathogens, pests, and weed seeds.
Controlled home heat treatments are better described as pasteurization. Their effectiveness depends on the temperature reached throughout the soil and how long that temperature is maintained. Heating the surface or briefly warming the mixture does not establish that the whole batch has been treated.
Outdoor solarization is a different process: it uses heat trapped beneath clear plastic over several weeks to suppress susceptible pests, pathogens, and weeds. Results vary with sunlight, weather, soil depth, and the organisms present.
These treatments do not replace suitable growing conditions. Treated garden soil may still drain poorly or compact in containers, and it can become contaminated again through dirty tools, pots, or untreated materials.
Why Do Gardeners Sterilize Soil?
Gardeners treat soil or potting ingredients to reduce specific risks before planting. These can include organisms that cause seedling diseases such as damping-off, fungus gnat larvae, and certain weed seeds.
Young seedlings are particularly vulnerable, so clean growing media and containers matter when starting seeds. If you prepare a homemade mix containing garden soil or compost, a properly controlled heat treatment can help reduce unwanted organisms.
Treatment is only part of prevention. Clean pots and tools, suitable drainage, and careful watering also help protect plants. Heating soil will not correct a dense, poorly draining mix or prevent pests from returning.
The aim is to address an identified risk—not to make every growing medium sterile as a routine precaution.
Sources: Oregon State University Extension · University of California IPM — Fungus Gnats
When Should You Treat Soil, and When Can You Skip It?
When Treatment May Be Useful
Consider treatment when preparing a homemade seed-starting mix that includes garden soil or compost. These ingredients can introduce weed seeds, pests, or organisms that cause seedling diseases.
For an outdoor bed with a diagnosed soilborne pest or disease problem, solarization may be an option if your climate provides enough sustained heat and sunlight. Check whether it is effective against the particular problem before treating the bed.
If reused potting mix has a history of pests or disease, identify the issue before deciding whether to treat or replace it. Do not assume every home treatment will eliminate every pathogen.
When Treatment Is Usually Unnecessary
You generally do not need to heat a fresh, commercially prepared seed-starting mix intended for direct use. Follow the manufacturer’s instructions and store the mix in a clean, closed container.
Healthy garden beds do not need routine sterilization. Focus instead on suitable drainage, watering, crop rotation where appropriate, and keeping tools and containers clean.
When Fresh Mix Is the Better Choice
For a small tray of seeds, buying fresh seed-starting mix may be simpler than treating old material. Heat treatment also will not turn compacted garden soil into a well-draining container mix or make unfinished compost mature.
What Temperature Should Soil Reach During Heat Treatment?
For the oven method described below, heat slightly moist soil until the mixture reaches 180°F (82°C), then maintain that soil temperature for 30 minutes. Oregon State University Extension recommends this procedure for pasteurizing small quantities of soil or compost.
Measure the temperature inside the soil with a suitable thermometer. The oven setting does not tell you whether the entire batch has reached the target temperature. Check more than one location, and start timing only when the coolest checked area reaches the target. Clemson University Extension likewise specifies holding the coolest part at 180°F for 30 minutes.
Avoid overheating: hotter is not necessarily better, and excessive heat can damage the growing medium. Let the treated material cool while covered, and use clean containers and tools afterward.
These instructions apply to controlled heating of small batches. Solarization works at lower, fluctuating temperatures over several weeks, so it requires a different procedure. Its effectiveness depends on both temperature and exposure time.
How to Treat Soil: Choose the Right Method
Method 1: Solarization for Outdoor Beds
Solarization uses sunlight to heat moist soil beneath clear plastic. It can reduce certain soilborne pathogens, pests, and weeds, but it does not make the entire bed sterile.
Best suited to: Empty garden beds or raised beds during the hottest, sunniest part of the year.
Typical treatment period: Four to six weeks. Cooler, cloudy, or windy conditions may require longer, and some locations may not provide enough heat for effective treatment.
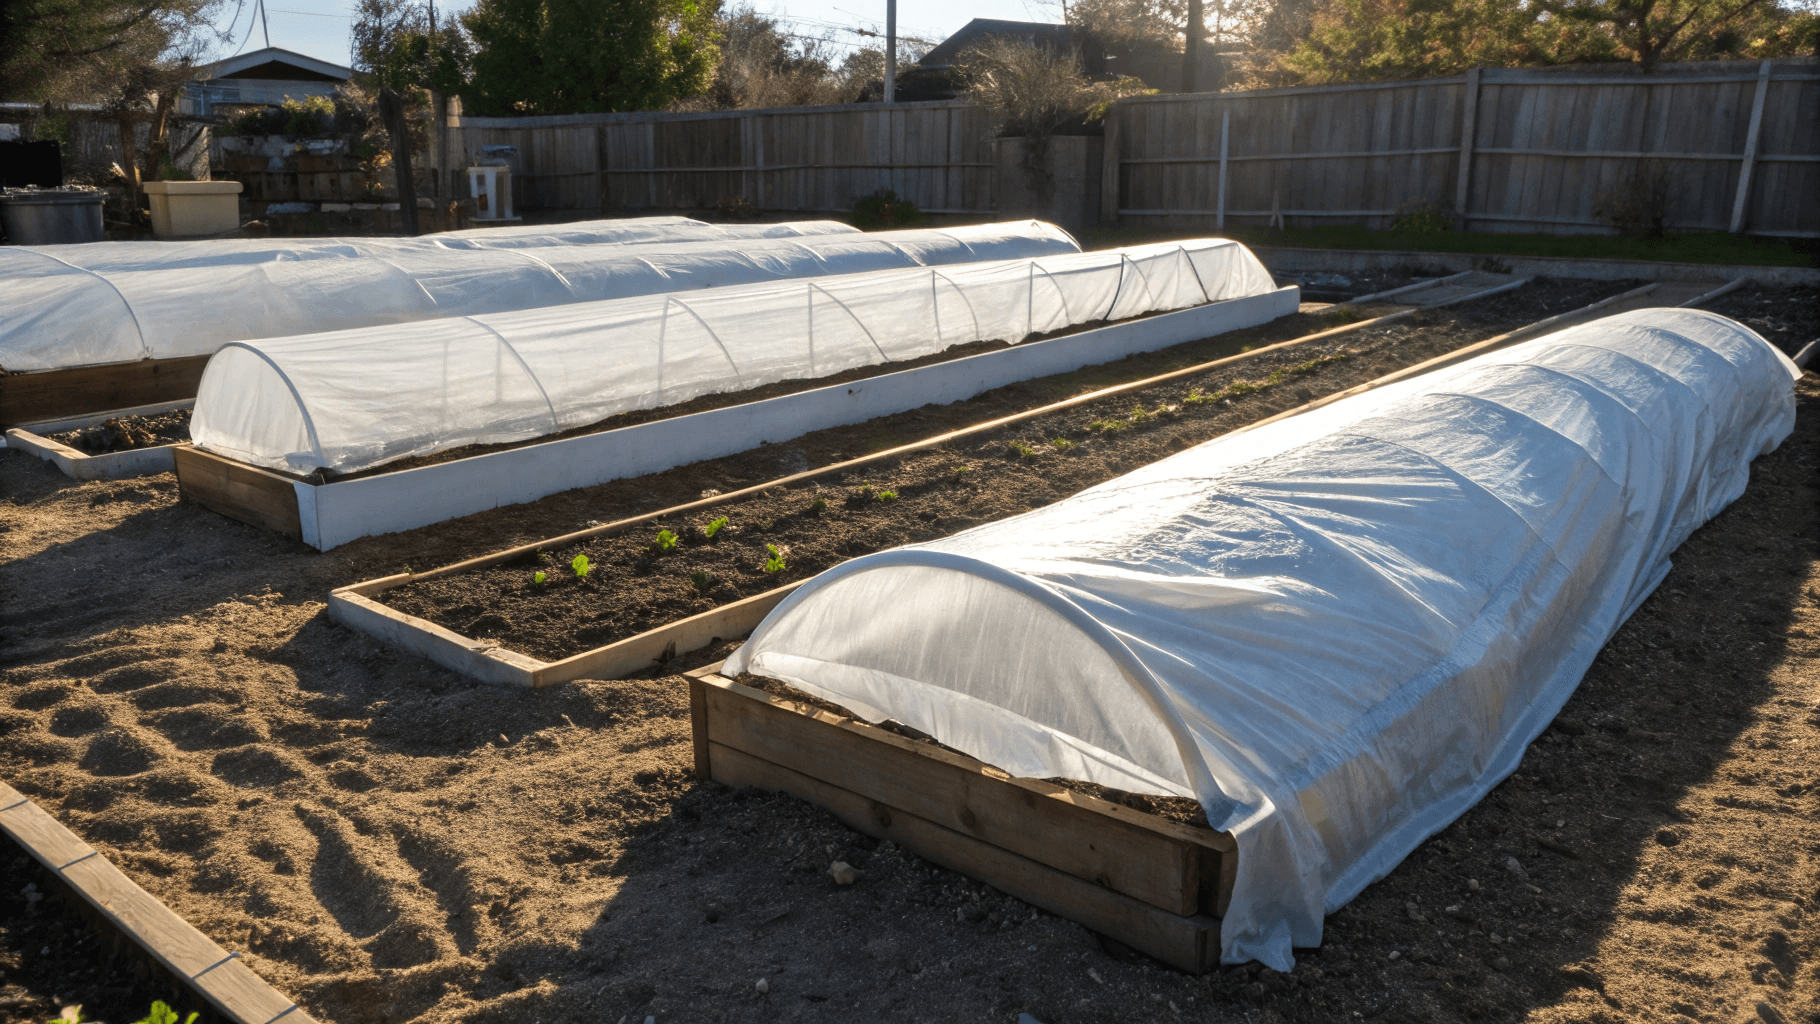
How to Solarize a Garden Bed
- Clear and level the area. Remove existing plants, weeds, large debris, and sharp objects that could puncture the plastic. Break up large soil clumps.
- Moisten the soil. Water deeply before covering the bed. UC IPM recommends wetting the soil to at least 12 inches (30 cm) deep.
- Apply clear plastic. Choose transparent sheeting that lets sunlight through. Thin plastic heats effectively but tears more easily; slightly thicker material can be more practical in windy conditions.
- Seal the edges. Pull the sheet close to the soil surface and bury its edges around the bed to retain heat. Repair holes promptly.
- Leave the bed covered. Allow several weeks of sustained summer heating. A single hot afternoon or one thermometer reading does not establish that treatment is complete.
- Remove the covering carefully. Avoid deep digging afterward, which can bring untreated soil and surviving weed seeds back to the surface.
Important Limitations
Heating is strongest near the surface and decreases with depth. Results depend on local weather, the quality of the seal, and the pest or pathogen you are trying to control.
Do not use solarization over a bed containing plants you want to keep. If you cannot leave the area unplanted during a sufficiently hot period, choose a different management approach.
Method 2: Oven Pasteurization for Small Batches
An oven can be used to pasteurize a small quantity of soil or compost for a homemade growing mix. The key is to measure the temperature inside the material and maintain it for the required time.
Best suited to: Small batches of soil or compost before mixing your growing medium.
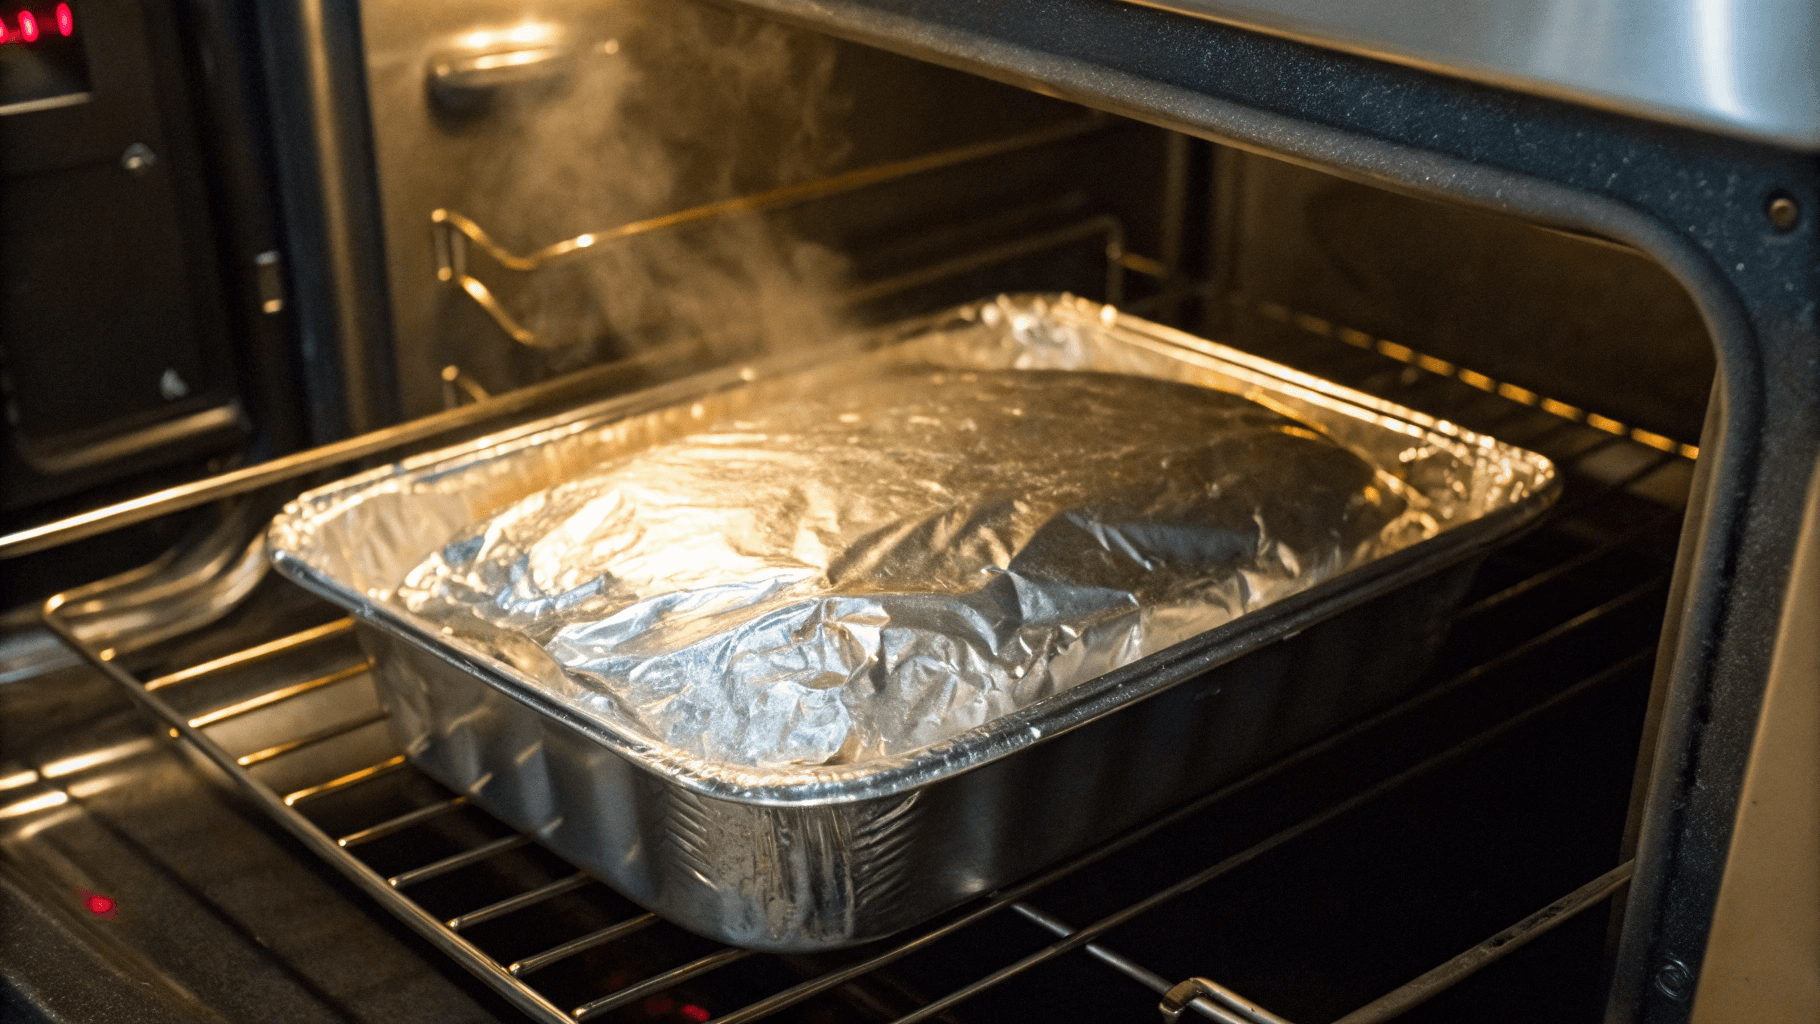
You will need:
- A heat-resistant pan
- Foil or a suitable lid
- An oven-safe probe thermometer
- Water to moisten the material
- Oven gloves
How to Treat Soil in the Oven
- Prepare the material. Remove stones, roots, and large debris. Add enough water to make it slightly moist, without leaving it waterlogged.
- Fill and cover the pan. Spread the material in a shallow, even layer and cover with foil or a suitable lid. Position the thermometer probe inside the soil.
- Heat gradually. Oregon State University Extension’s procedure uses an oven set to 250°F (121°C). This is the oven setting, not the target temperature for the soil.
- Check the soil temperature. Measure more than one location, including the centre. Do not start timing while cooler areas remain below 180°F (82°C).
- Maintain the target for 30 minutes. Once the coolest checked area reaches 180°F, keep the soil at that temperature for 30 minutes. Monitor it and adjust the oven setting as needed to prevent overheating.
- Cool before handling or planting. Remove the pan carefully and let the material cool while covered. Use clean tools and containers afterward.
Important Precautions
Heating soil can produce an unpleasant smell, so ventilate the room. Keep hot pans and soil away from children and pets.
This procedure is for soil or compost ingredients. Do not assume that every commercial potting mix, particularly one containing added fertilizers or other treatments, is suitable for oven heating. Check the manufacturer’s guidance.
For a small sowing project, fresh seed-starting mix may be the more convenient choice.
Method 3: Microwave Treatment for Small Quantities
Microwave heating can treat a small batch of moist soil, but temperatures may vary within the container. Check the soil temperature rather than relying on heating time alone.
Best suited to: Small quantities of soil, using a microwave-safe container.
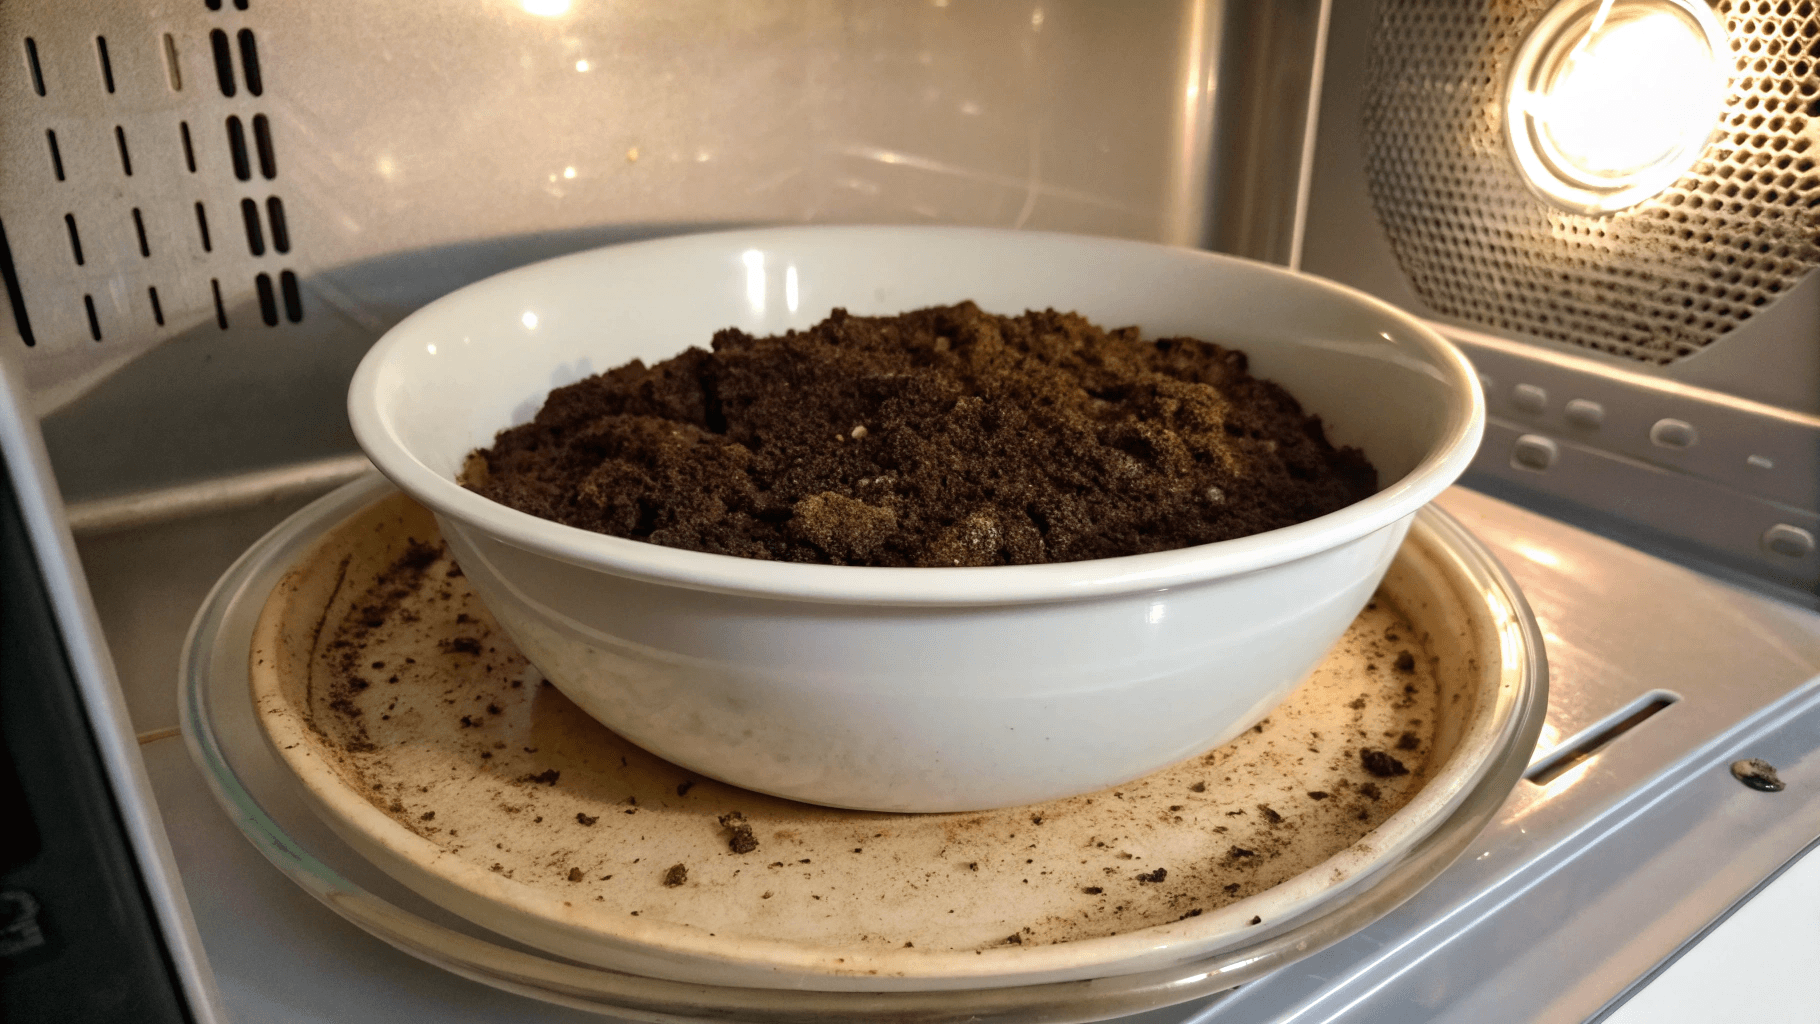
How to Treat Soil in a Microwave
- Prepare the batch. Place 2 pounds, approximately 900 grams, of moist soil in a microwave-safe container. Leave it open or vented.
- Apply an initial heating cycle. Mississippi State University Extension recommends 90 seconds on full power, or 2:30 minutes for microwaves rated below 1,000 watts.
- Stop and measure. With the microwave off, check the centre using a suitable thermometer. Remove the thermometer before restarting unless it is specifically approved for microwave use.
- Check the target temperature. The university procedure specifies a soil temperature between 180°F and 200°F (82°C to 93°C). If it remains below this range, continue in one-minute intervals, checking after each interval. Stop heating once the target is reached.
- Cover loosely and cool. Leave a vent for steam to escape. Allow the material to cool completely before use.
- Store cleanly. Once cool, close the container if storing the soil, and clean the microwave after treatment.
Important Limitations
These timings apply to the stated batch size. They are not a universal recipe for every quantity, container, or microwave.
Do not use foil, metal containers, or sealed vessels. Handle the container carefully, as both the soil and escaping steam can cause burns.
Method 4: Steam Treatment for Small Batches
Steam transfers heat into moist soil without placing the material directly in boiling water. For home use, a covered pot with a rack can hold shallow containers above the water.
Best suited to: Small batches that fit comfortably inside the steaming pot.
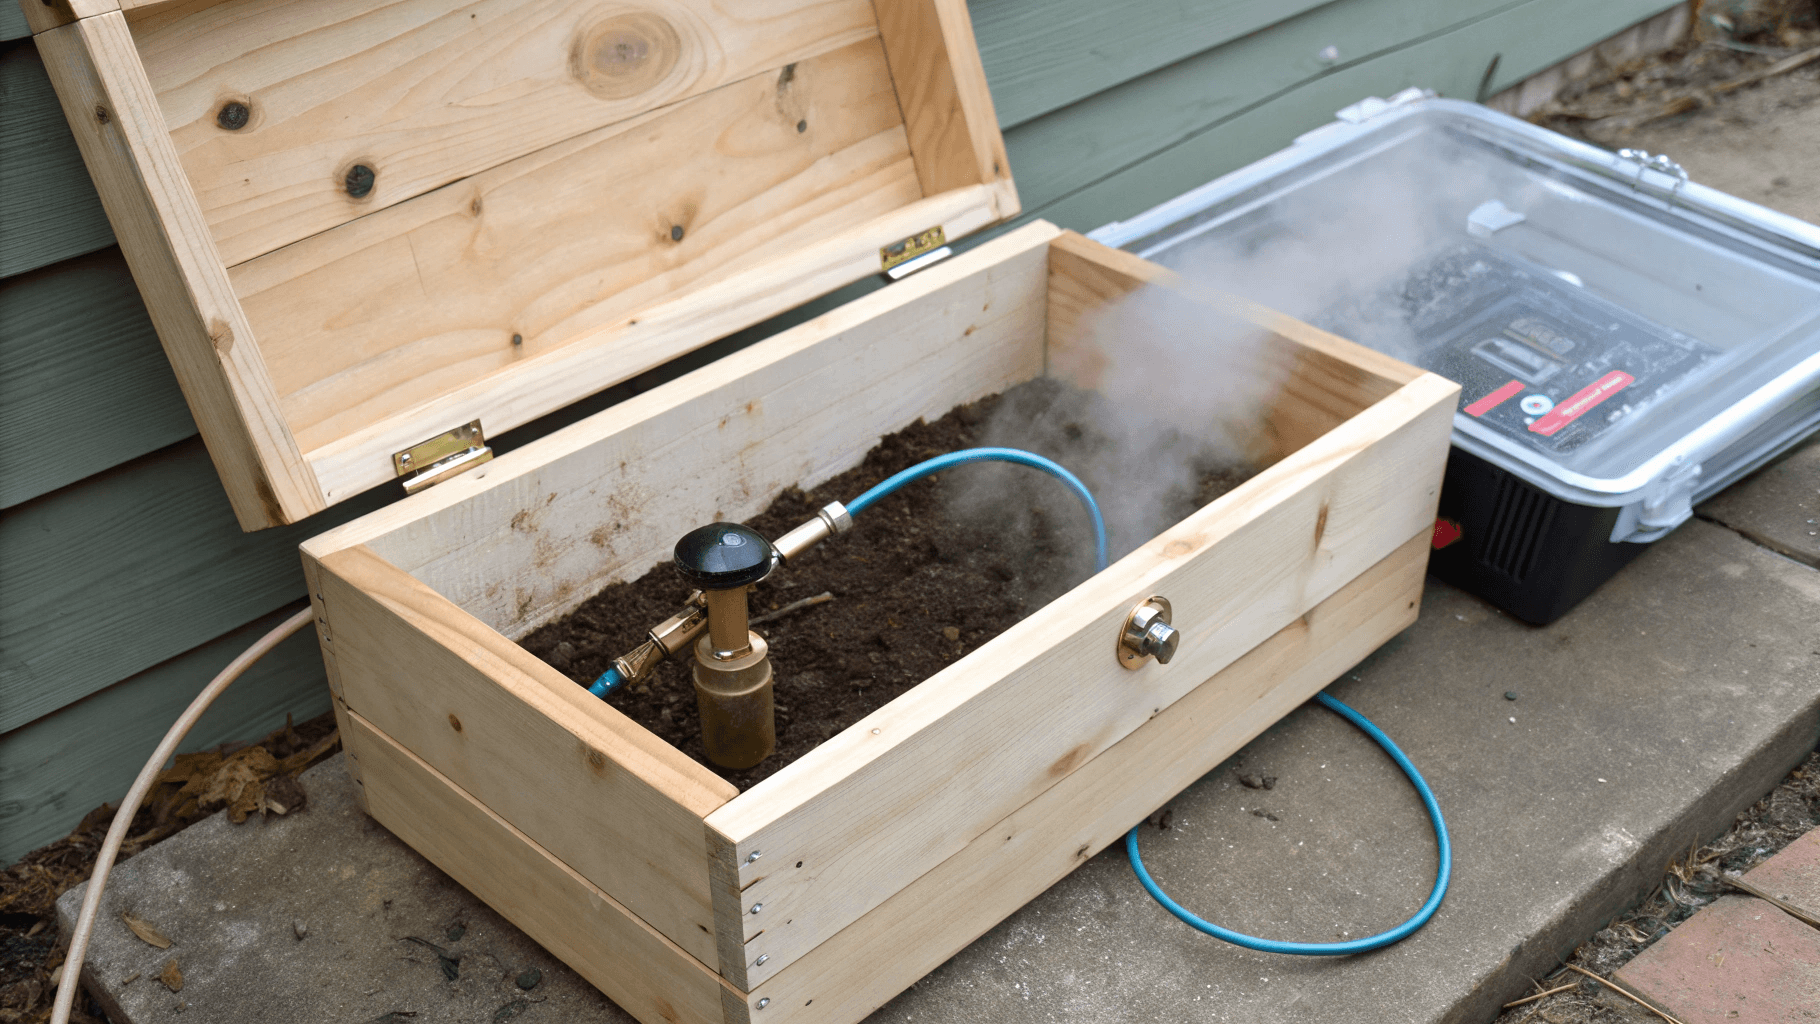
You will need:
- A large pot with a lid
- A stable rack that keeps containers above the water
- Shallow, heat-resistant containers
- Foil
- A suitable probe thermometer
- Heat-resistant gloves
How to Steam-Treat Soil
- Prepare the pot. Add about 1 inch (2.5 cm) of water and position the rack above the water level.
- Fill the containers. Add slightly moist soil in a layer no deeper than 4 inches (10 cm). Cover each container with foil.
- Position the containers. Place them securely on the rack, leaving room for steam to circulate. Insert the thermometer probe into the soil.
- Cover and heat. Bring the water to a boil, then maintain a steady supply of steam. Use an ordinary lid, not an airtight seal, and do not let the pot boil dry.
- Monitor the soil temperature. For this procedure, bring the coolest checked part of the batch to 180°F (82°C) and maintain that temperature for 30 minutes. Begin timing when the soil reaches the target, rather than when the water starts boiling.
- Cool while covered. Turn off the heat. Allow the equipment to cool enough to handle safely, then leave the soil covered until completely cool.
Important Precautions
Open the lid away from your face and hands to avoid escaping steam. Keep containers stable and above the water throughout treatment.
This is a non-pressure method. Do not adapt these instructions for a pressure cooker, which requires a separate procedure and the manufacturer’s operating guidance.
Can You Treat Soil with Boiling Water or Hydrogen Peroxide?
These approaches should not be presented as interchangeable with controlled heat treatment. The important question is whether the treatment reaches the intended organisms throughout the material.
Boiling Water
Pouring boiling water over soil does not establish that the whole batch has reached an effective temperature for long enough. Water cools as it moves through the material, and heating can be uneven.
For that reason, this guide does not recommend a simple boiling-water drench as a reliable way to pasteurize an entire batch. Use a measured heat-treatment procedure instead.
Hydrogen Peroxide
A diluted hydrogen peroxide drench should not be described as a method that reliably sterilizes soil. A recommendation also needs to specify the starting concentration, intended use, and supporting evidence. A mixing ratio alone is incomplete.
If fungus gnats are the problem, focus on identifying and managing the infestation. Improve drainage and avoid keeping the growing medium unnecessarily wet. Where treatment is needed, use a product labeled for the intended application and follow its directions.
For a pot containing a living plant, use pest-management guidance rather than instructions for heating unplanted soil.
Common Mistakes to Avoid When Treating Soil
Starting the Timer Too Early
For the oven and steam procedures described above, the holding period begins when the coolest checked part of the soil reaches the target temperature. Starting the timer when you switch on the appliance can leave part of the batch insufficiently treated.
Relying on the Appliance Setting
An oven setting or microwave power level does not tell you the temperature inside the soil. Use a suitable thermometer and check several locations, especially in thicker batches.
Assuming More Heat Is Better
Excessive heating can make the growing medium unsuitable for plants. Follow the temperature limits for your chosen procedure instead of increasing the heat to finish faster.
Reintroducing Untreated Material
Dirty tools, used containers, and untreated ingredients can introduce unwanted organisms again. Let the material cool while covered, then handle it with clean equipment and store it in a clean, closed container.
Expecting Treatment to Fix Poor Growing Conditions
Heat treatment does not correct compaction, unsuitable drainage, or an inappropriate growing mix. Choose a medium that suits the plants you intend to grow, and manage watering carefully afterward.
Solarizing in Unsuitable Weather
Solarization needs sustained sunlight and heat over several weeks. A brief warm spell does not establish that the treatment has worked. Avoid deep digging afterward, which can bring untreated soil back to the surface.
What to Do After Treating Soil
Let It Cool Completely
Keep heat-treated material covered while it cools. Do not sow seeds or add plants while the mixture is still hot.
Keep It Clean
Use clean tools and containers when handling the cooled material. If you are not using it immediately, store it in a clean, closed container off the ground to reduce the risk of contamination.
Prepare a Suitable Growing Mix
Decide what you will grow before adding other ingredients. Soil intended for a homemade seed-starting mix needs a different balance of drainage, moisture retention, and nutrients from soil used elsewhere in the garden.
Do not automatically add compost or worm castings to replace microorganisms. Untreated ingredients can reintroduce unwanted organisms, and the finished mix still needs to suit its intended use.
Check Drainage and Nutrient Needs
Heat treatment does not turn garden soil into a suitable container mix or establish that it contains the right nutrients. Choose additional ingredients and any fertilizer according to the plants and growing medium.
For seedlings, use a fine, well-aerated mix with low soluble salt levels. Avoid adding fertilizer simply because the soil has been heated.
Can You Use Heat-Treated Soil for Vegetables?
Heat-treated soil or compost can be an ingredient in a homemade growing mix for vegetable seedlings. Allow it to cool completely, handle it with clean equipment, and combine it with suitable ingredients for drainage and moisture retention.
Treatment does not establish that the material is suitable for every vegetable or growing situation. Seed trays, containers, and outdoor beds have different requirements.
Heat Treatment Does Not Remove Every Risk
The procedures in this guide are intended to reduce certain biological problems. They should not be used to make soil of unknown chemical safety suitable for growing food.
If you suspect herbicide contamination or another chemical problem, identify the contamination and seek appropriate advice before using the material. Do not assume heating has made it safe.
For starting vegetable seeds, fresh seed-starting mix is also an option if you prefer not to prepare and treat your own ingredients.
Choosing the Right Approach for Your Soil
Start with the problem you need to solve. A small batch of material for a homemade growing mix calls for a different approach from an outdoor bed with a diagnosed pest or disease problem.
For controlled heat treatment, measure the temperature inside the soil and follow the complete procedure for your chosen method. For solarization, consider whether your weather and planting schedule allow several weeks of effective heating.
After treatment, keep the material clean and choose a growing mix suited to your plants. If you only need enough medium for a few seed trays, fresh seed-starting mix may be the simpler choice.
Frequently Asked Questions
References
- Oregon State University Extension: Make Your Own Seed-Starting Mix
- Mississippi State University Extension: Care and Selection of Indoor Plants
- Oklahoma State University Extension: Non-Chemical Methods for Controlling Diseases
- University of California IPM: Soil Solarization
- University of California IPM: Fungus Gnats

Leave a Reply