If you’ve ever dreamt of pulling up a plump, fragrant bulb of garlic from your own garden, you’re in the right place. Garlic isn’t just a kitchen staple; it’s one of the easiest and most rewarding crops to grow at home.
Whether you’re a beginner gardener or a seasoned grower, learning how to grow garlic correctly makes all the difference between small, underwhelming bulbs and those big, hearty cloves that make your dishes sing.
This guide covers the entire garlic-growing process, from choosing the right variety and planting at the correct time to caring for your plants, harvesting mature bulbs, and storing them properly. Whether you’re growing garlic in raised beds or in-ground vegetable gardens, this page serves as a complete starting point.
Garlic is one of the easiest root vegetables to grow, especially for beginners.
Why Every Home Gardener Should Grow Garlic
Garlic isn’t just another crop; it’s a gardener’s secret weapon. It’s hardy, low-maintenance, and takes up little space. You plant it once and harvest months later, often before your summer vegetables even need the space. Plus, garlic naturally helps repel pests like aphids and beetles, making it a great companion plant in any vegetable bed.
But perhaps the best reason to grow your own garlic is the flavor. Homegrown garlic has an intensity and depth that store-bought bulbs can’t match. When you grow your own, you can also explore dozens of unique varieties, from spicy, robust hardnecks to sweet, mellow softnecks.
Once you taste garlic from your own soil, you’ll never go back to supermarket cloves again.
If you’re new to growing vegetables, start with our Vegetable Gardening for Beginners guide to learn the basics before planting garlic.
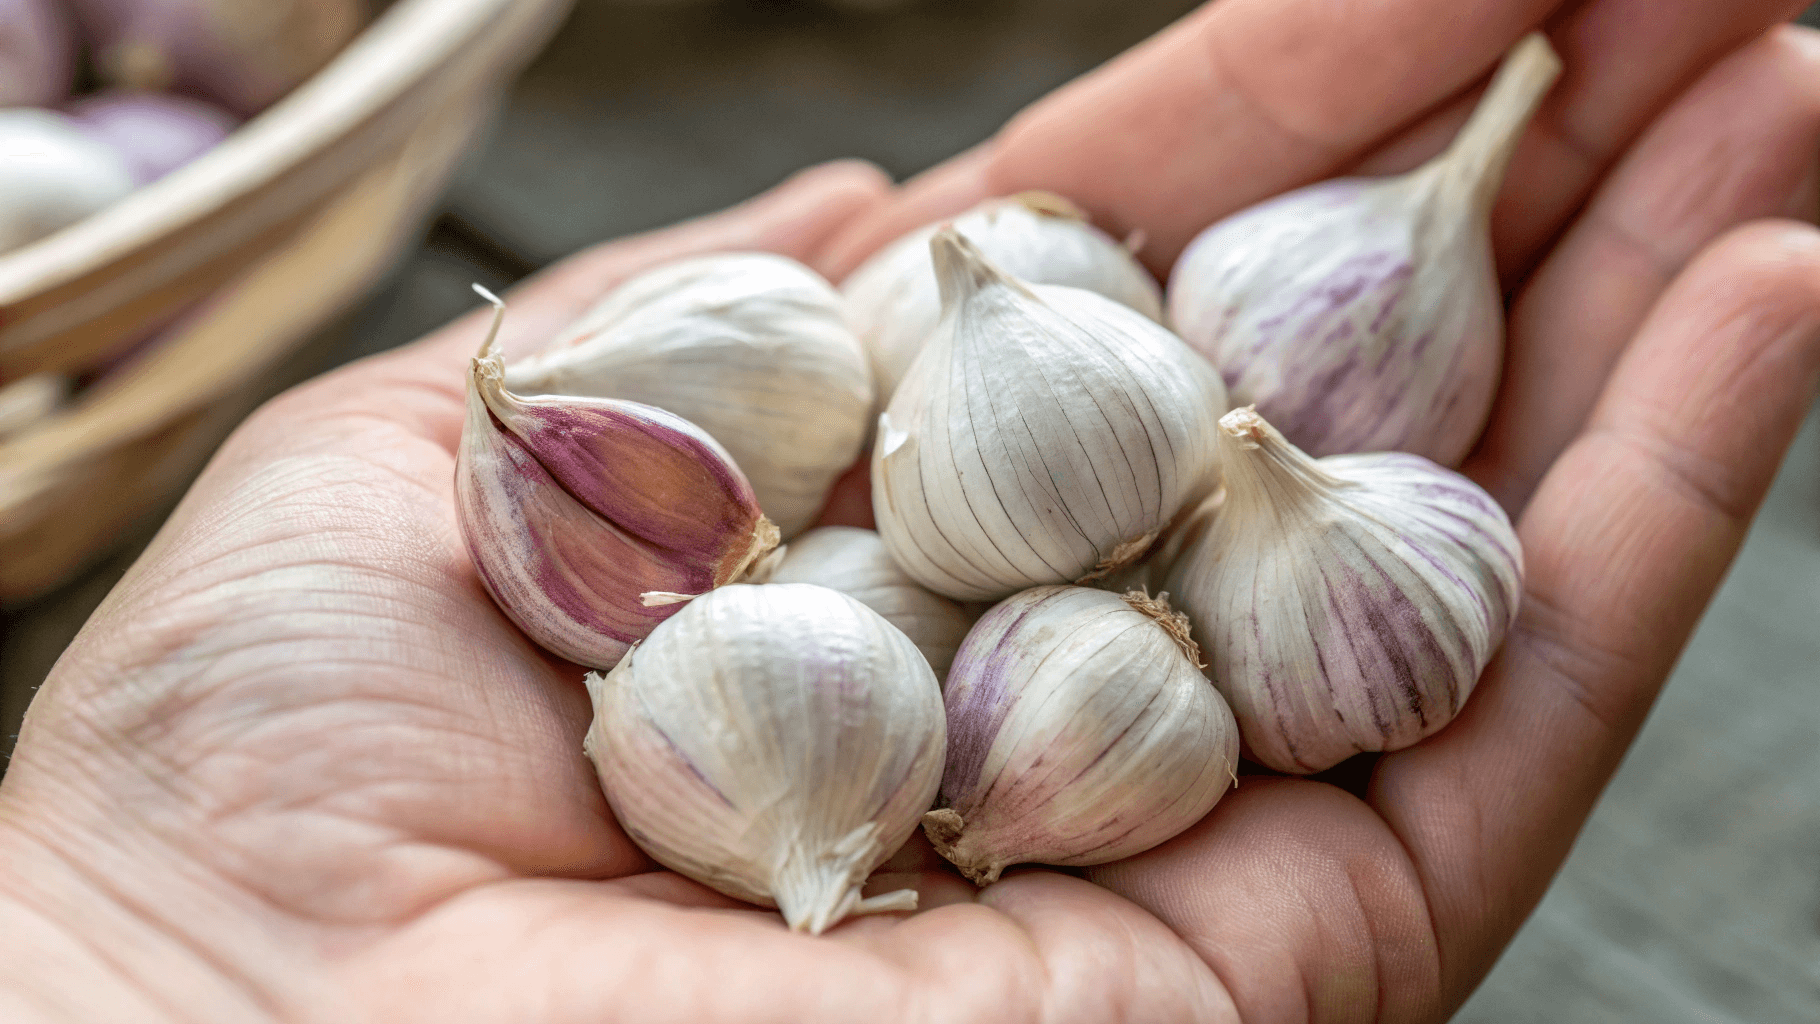
Selecting Seed Garlic – Hardneck vs. Softneck
Before you even think about planting, it’s crucial to start with the right kind of garlic.
Hardneck Garlic
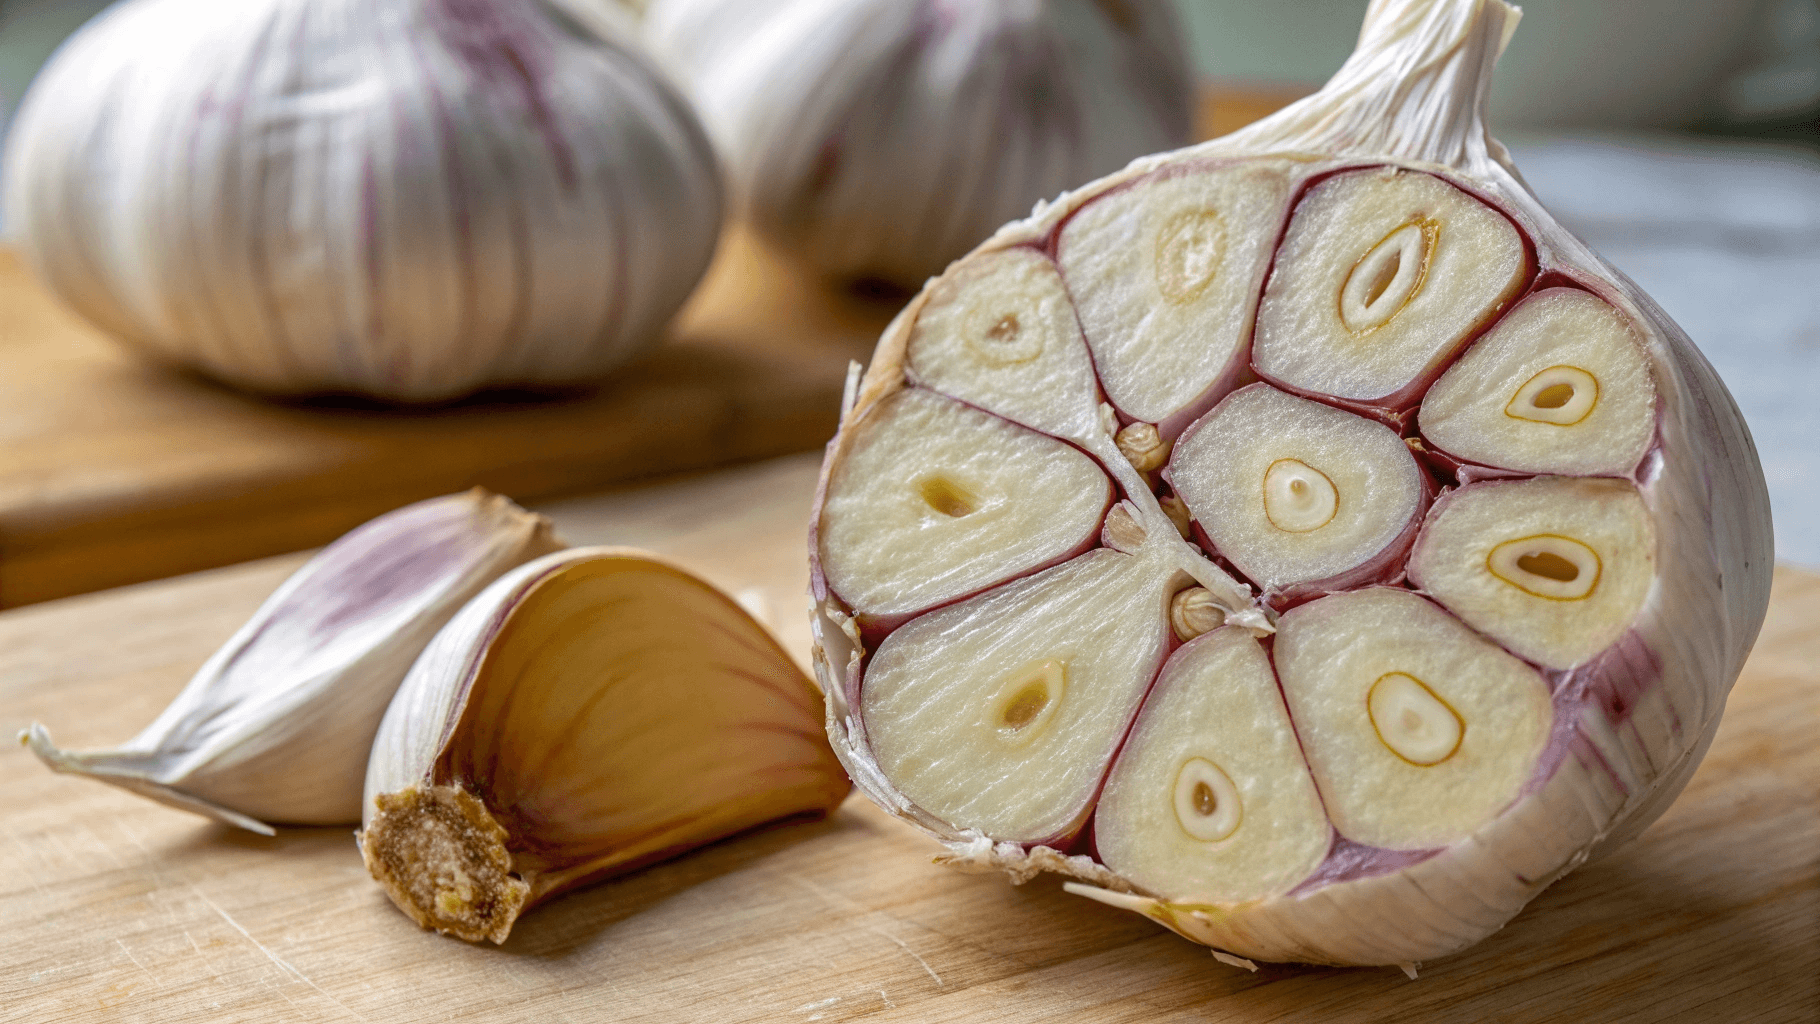
Hardneck garlic varieties thrive in colder climates and are prized for their strong flavor and easy-to-peel cloves. They grow a stiff central stalk (called a scape) that you can harvest in early summer for an extra treat. Garlic scapes are delicious when sautéed or made into pesto.
- Best for: Cold winters and bold flavor lovers
- Examples: Rocambole, Porcelain, Purple Stripe
- Storage life: 4–6 months
Softneck Garlic
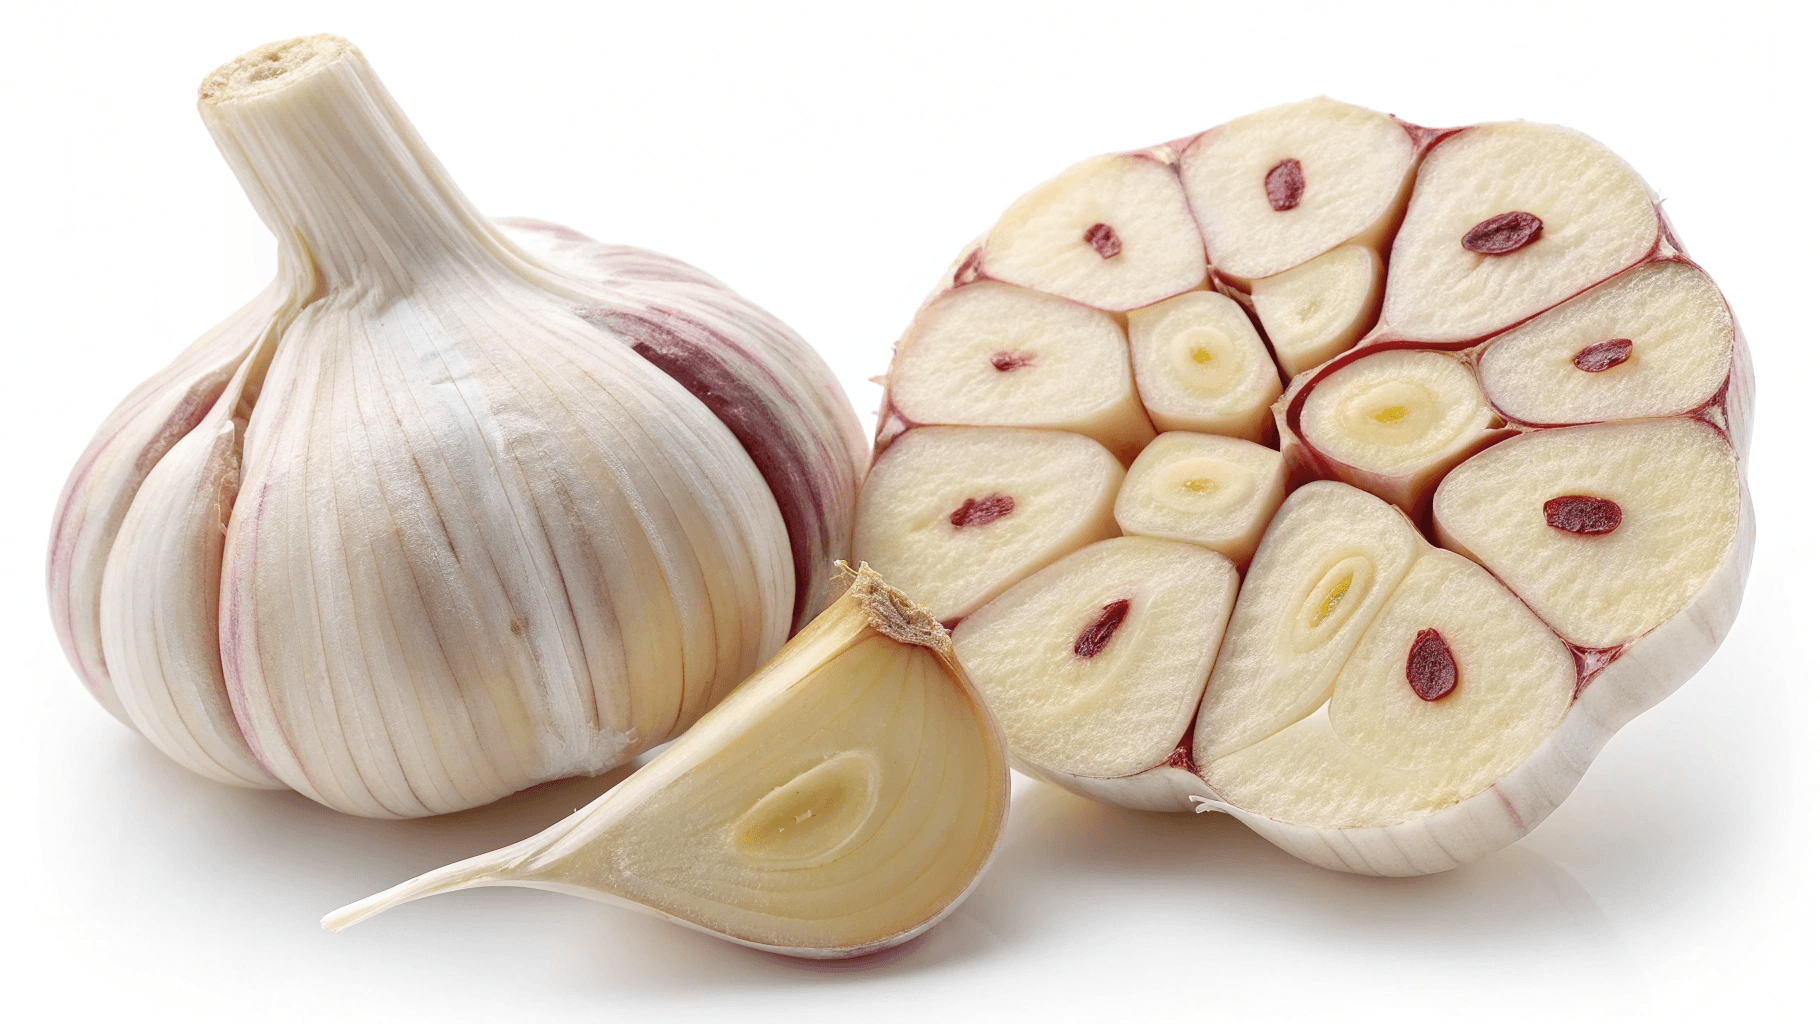
Softneck varieties, on the other hand, are what you usually see in grocery stores. They produce more cloves per bulb and have a longer shelf life, but their flavor is usually milder. Softnecks do better in mild or warm climates, where winters aren’t harsh.
- Best for: Warmer regions and long storage
- Examples: Artichoke, Silverskin
- Storage life: Up to 10–12 months
TIP: Never plant garlic from the grocery store. It’s often treated with chemicals to prevent sprouting. Instead, buy certified seed garlic from a trusted nursery or local farmers’ market.
For a deeper comparison of types, see our guide to Best Garlic Varieties.
Best Time and Conditions to Plant Garlic
Timing and soil are everything when it comes to garlic.
When to Plant Garlic
The golden rule: plant in the fall, about 4–6 weeks before your ground freezes. This gives cloves time to establish roots without sending up green shoots that could get damaged by frost.
If you live in a warm region (USDA zones 8–10), you can also plant in late winter or early spring, but your bulbs will likely be smaller.
Ideal Growing Conditions
Garlic thrives in full sun and well-drained soil. Aim for a loamy, crumbly texture with a pH between 6.0 and 7.0. Avoid clay-heavy soils that hold water; garlic hates soggy roots.
Before planting, work in plenty of compost or aged manure to enrich the soil. Garlic is a heavy feeder and needs nutrients early on to form large bulbs.
Related: Make the Best Seed Starting Soil Mix at Home
Spacing
Proper spacing ensures each bulb has room to grow big and healthy:
- Rows: 10–12 inches apart
- Cloves: 4–6 inches apart within the row
- Depth: About 2 inches deep (measured to the clove’s tip)
Learn how to prepare the ideal growing medium in How to Prepare Soil for Garlic.
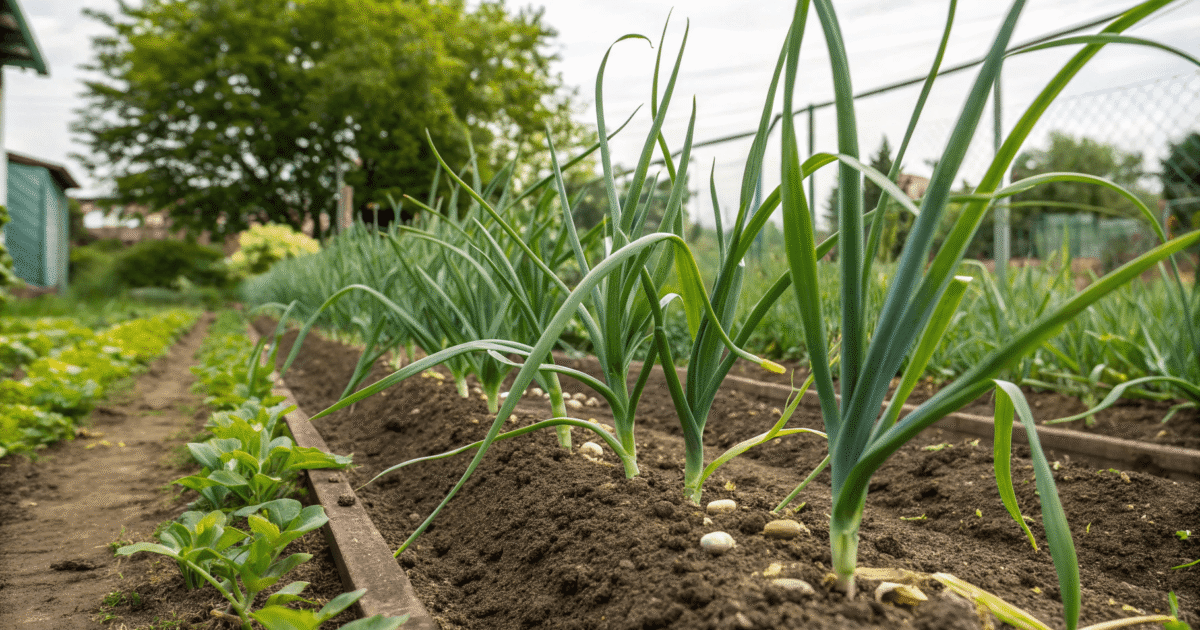
How to Plant Garlic Step-by-Step
Now for the fun part – planting your garlic!
Step 1: Prepare the Bed
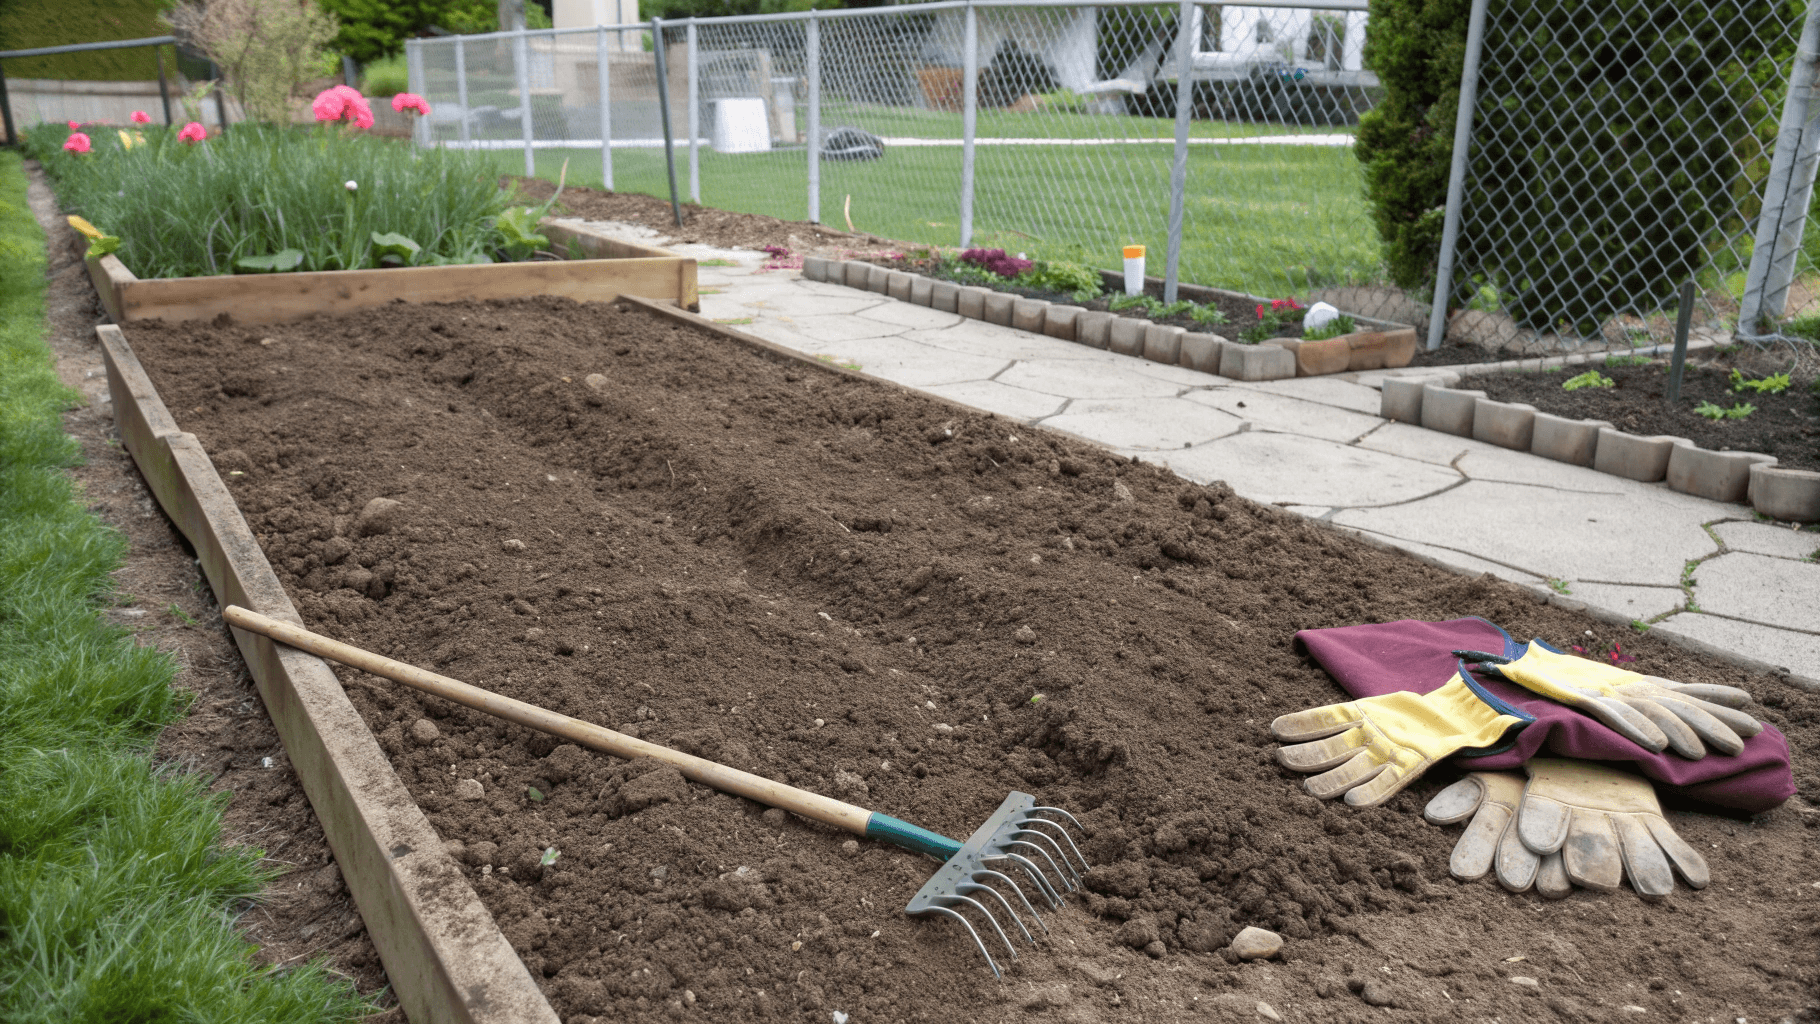
Loosen your soil to a depth of at least 8-10 inches, breaking up clumps and removing weeds. Add compost or organic fertilizer (a balanced 10-10-10 mix works well).
Step 2: Break the Bulbs
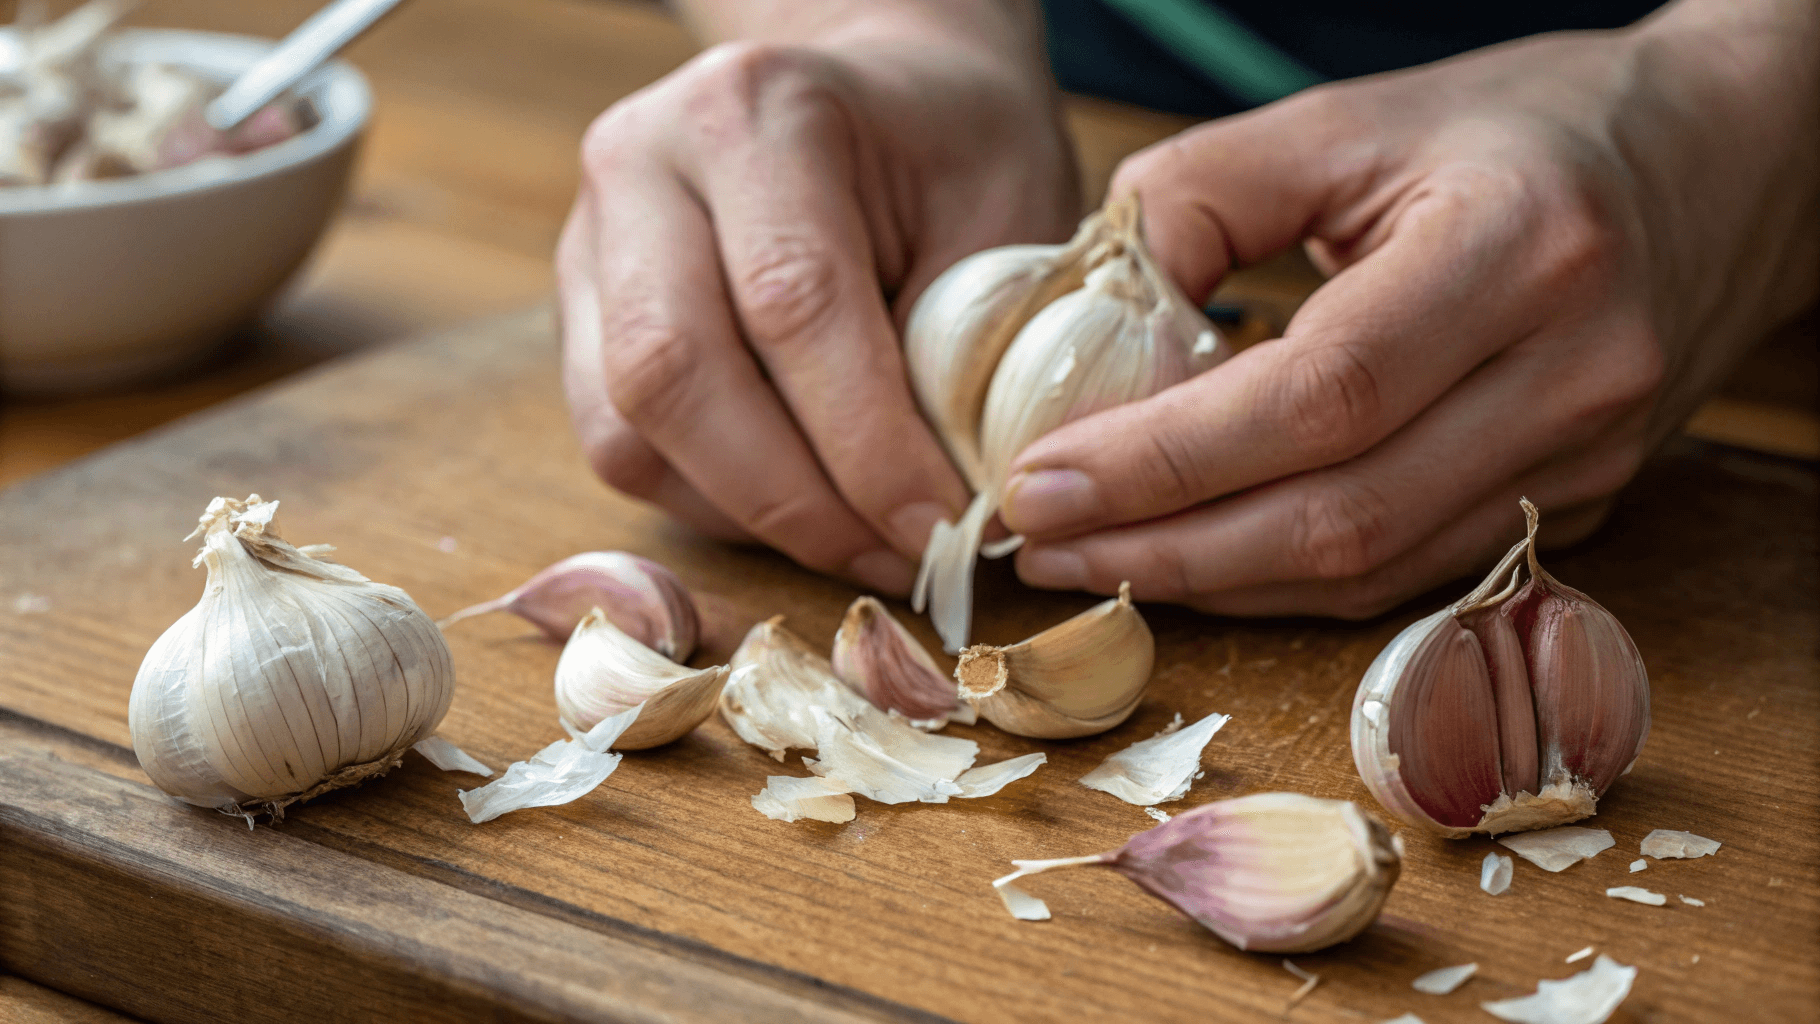
Just before planting, carefully separate your seed bulbs into individual cloves, keeping the papery skins intact. Each clove will become one full bulb by harvest time.
Step 3: Plant with the Right Orientation

This is crucial: pointy end up, flat end down. The flat end is where roots will emerge. Bury the clove about 2-3 inches deep in light soil (3 inches in colder climates).
Step 4: Mulch Generously
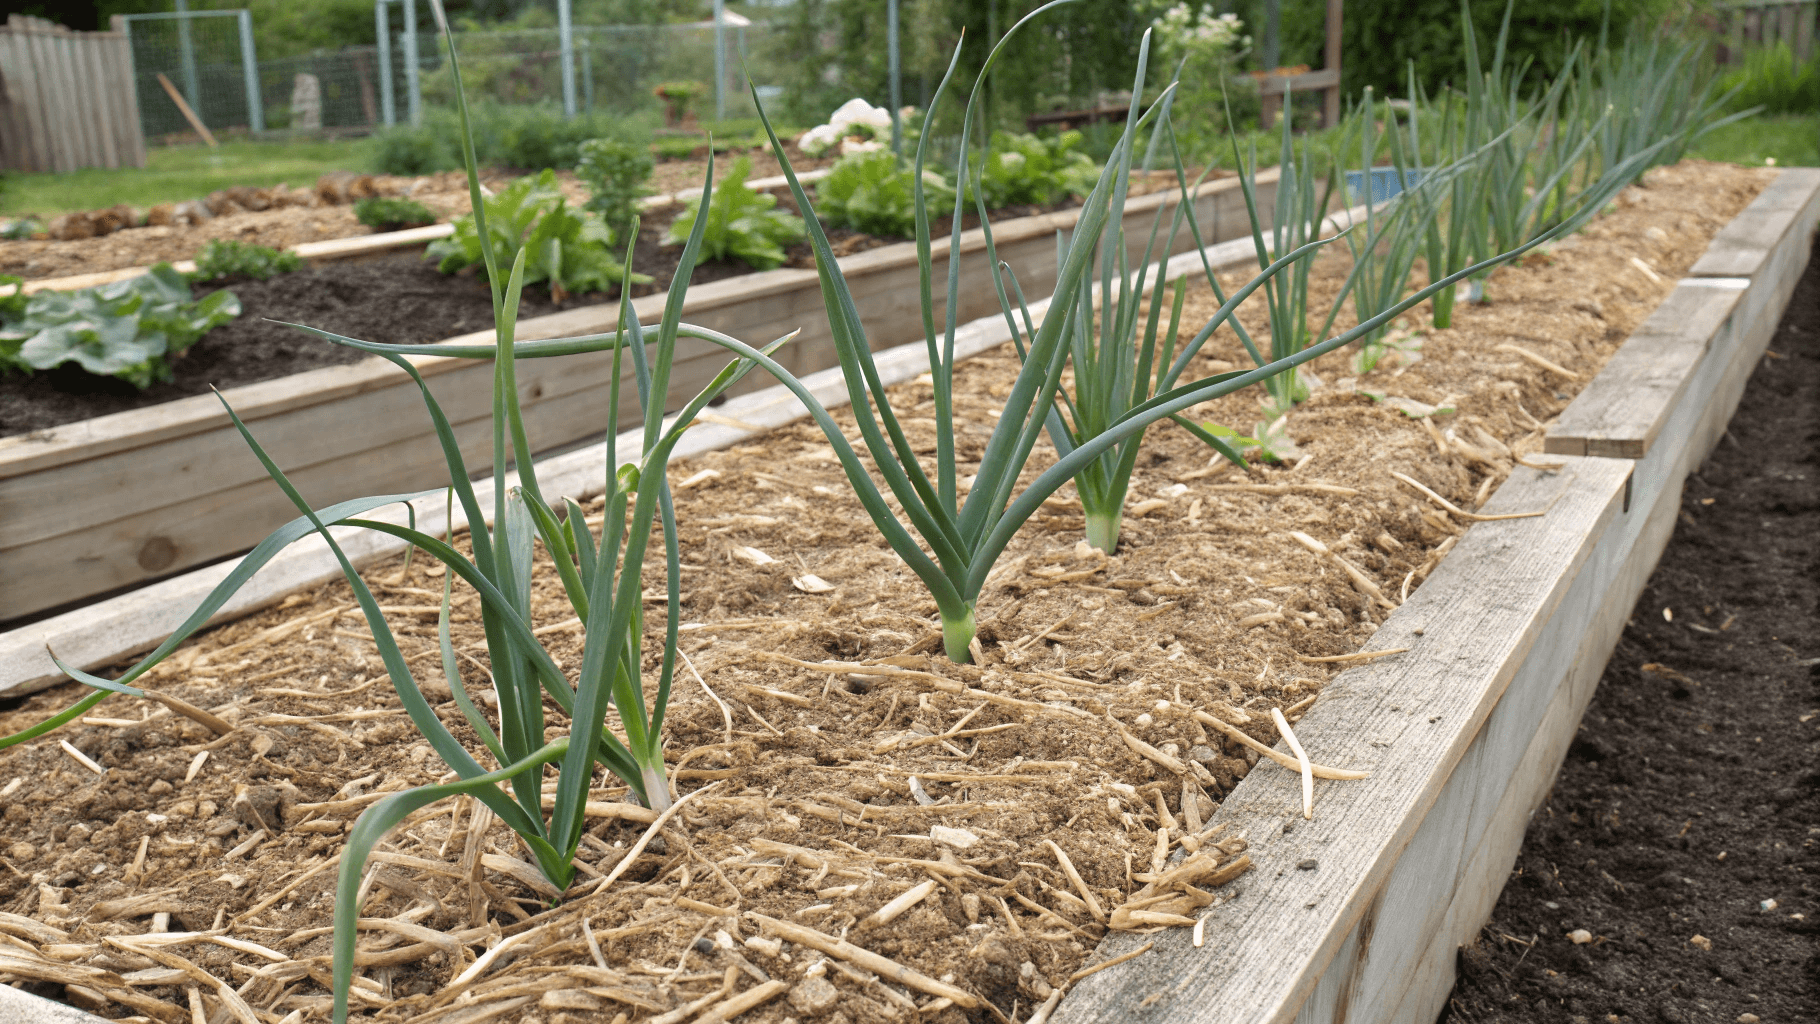
After planting, cover the bed with 2–4 inches of organic mulch – straw, shredded leaves, or hay. Mulch protects the soil from temperature swings, conserves moisture, and suppresses weeds.
Your garlic bed is now set for winter. The cloves will quietly grow roots under the mulch while you wait for spring.
Care and Maintenance
Garlic doesn’t demand much, but a little care goes a long way.
Watering
Keep the soil evenly moist but not soggy. Garlic prefers consistent moisture during spring growth, especially as bulbs start to form. Once the leaves begin to yellow in early summer, reduce watering – too much water late in the season can cause rot.
Feeding
Garlic is a heavy feeder. Apply a balanced organic fertilizer or compost tea once shoots appear in spring. A nitrogen-rich side dressing (like blood meal or fish emulsion) can encourage strong growth early on.
Weed Control
Garlic hates competition. Hand-weed regularly, being careful not to disturb the shallow roots. Your mulch layer will help keep most weeds at bay.
Removing Scapes (Hardneck Varieties)
If you’re growing hardneck garlic, you’ll notice curly green shoots (called scapes) forming in late spring. Cut them off once they start to curl; this redirects the plant’s energy into bulb growth instead of flowering. Plus, they’re delicious!
If you notice slow growth or yellowing leaves, see our guide on feeding and watering garlic or troubleshooting common garlic problems.
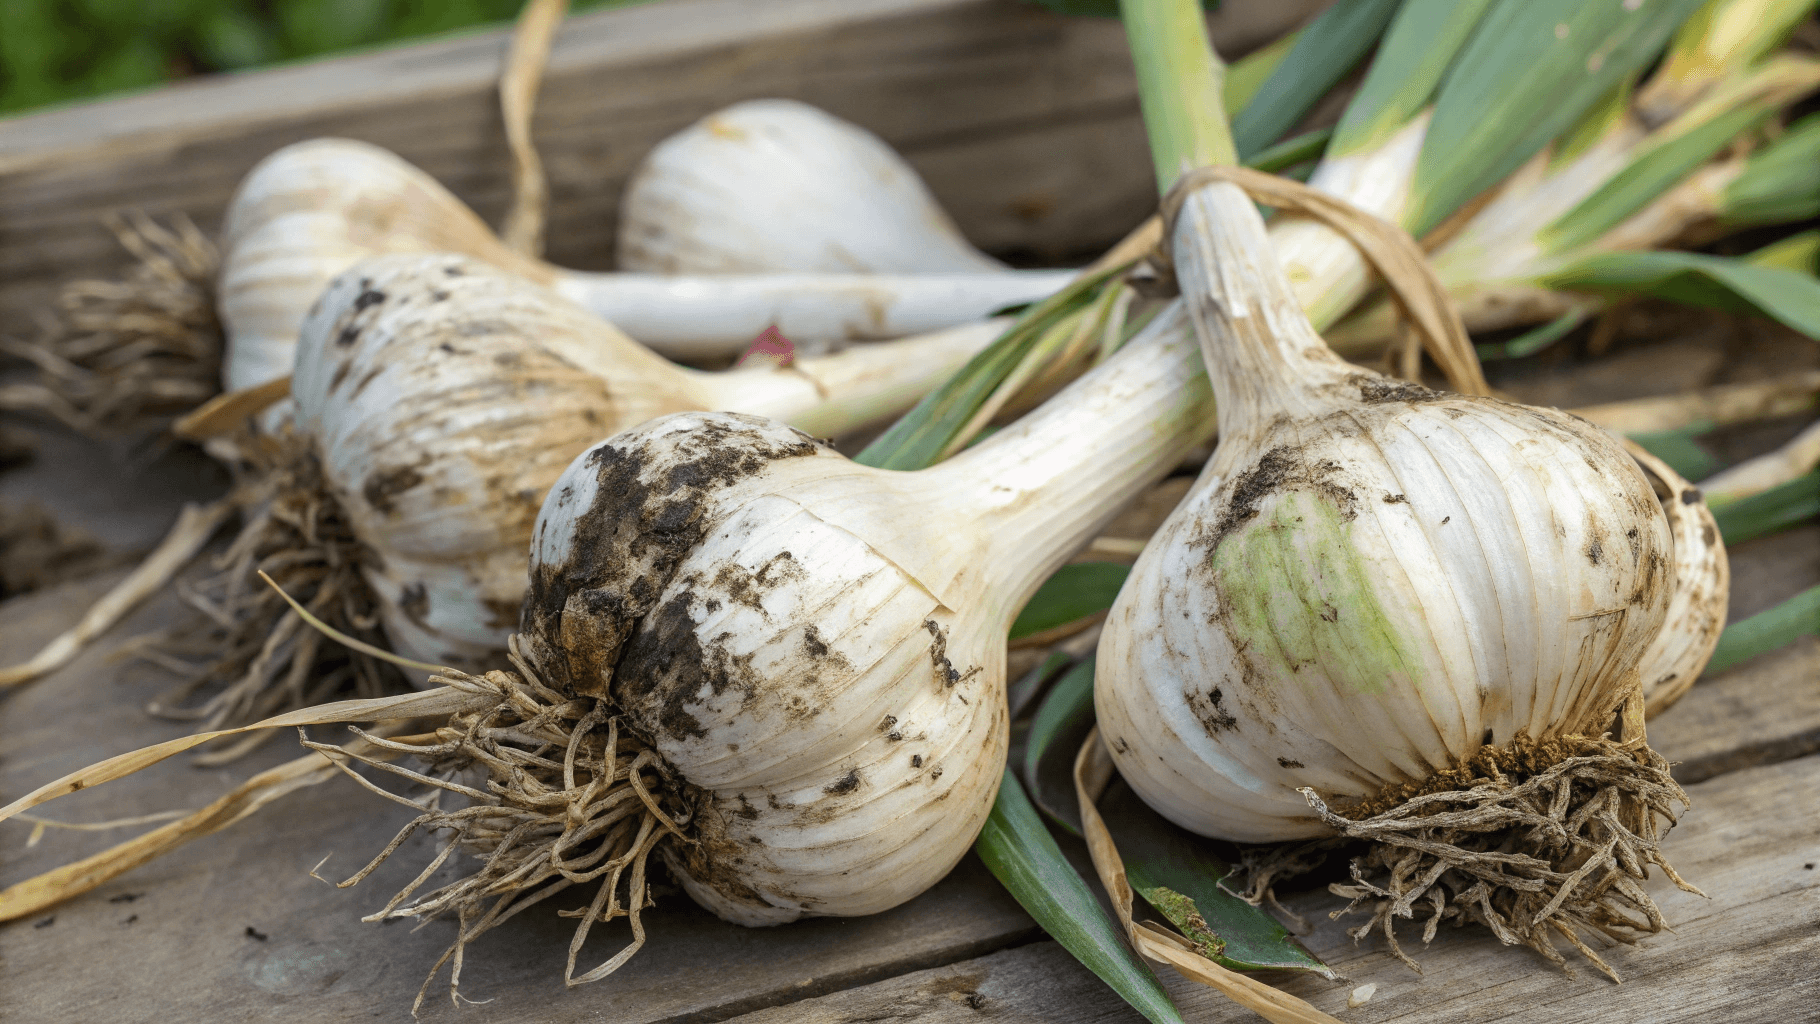
Harvesting and Storing Garlic
Harvest time is the most satisfying part of the process, but timing matters.
When to Harvest
Garlic is ready when half to two-thirds of the leaves have turned brown, usually in mid to late summer (June–July, depending on your region). Don’t wait until all the leaves are dead, or the bulbs might split and lose storage quality.
How to Harvest
- Loosen the soil gently with a garden fork; don’t pull by the stems.
- Lift the bulbs carefully and shake off excess soil.
- Do not wash them; moisture can lead to rot during curing.
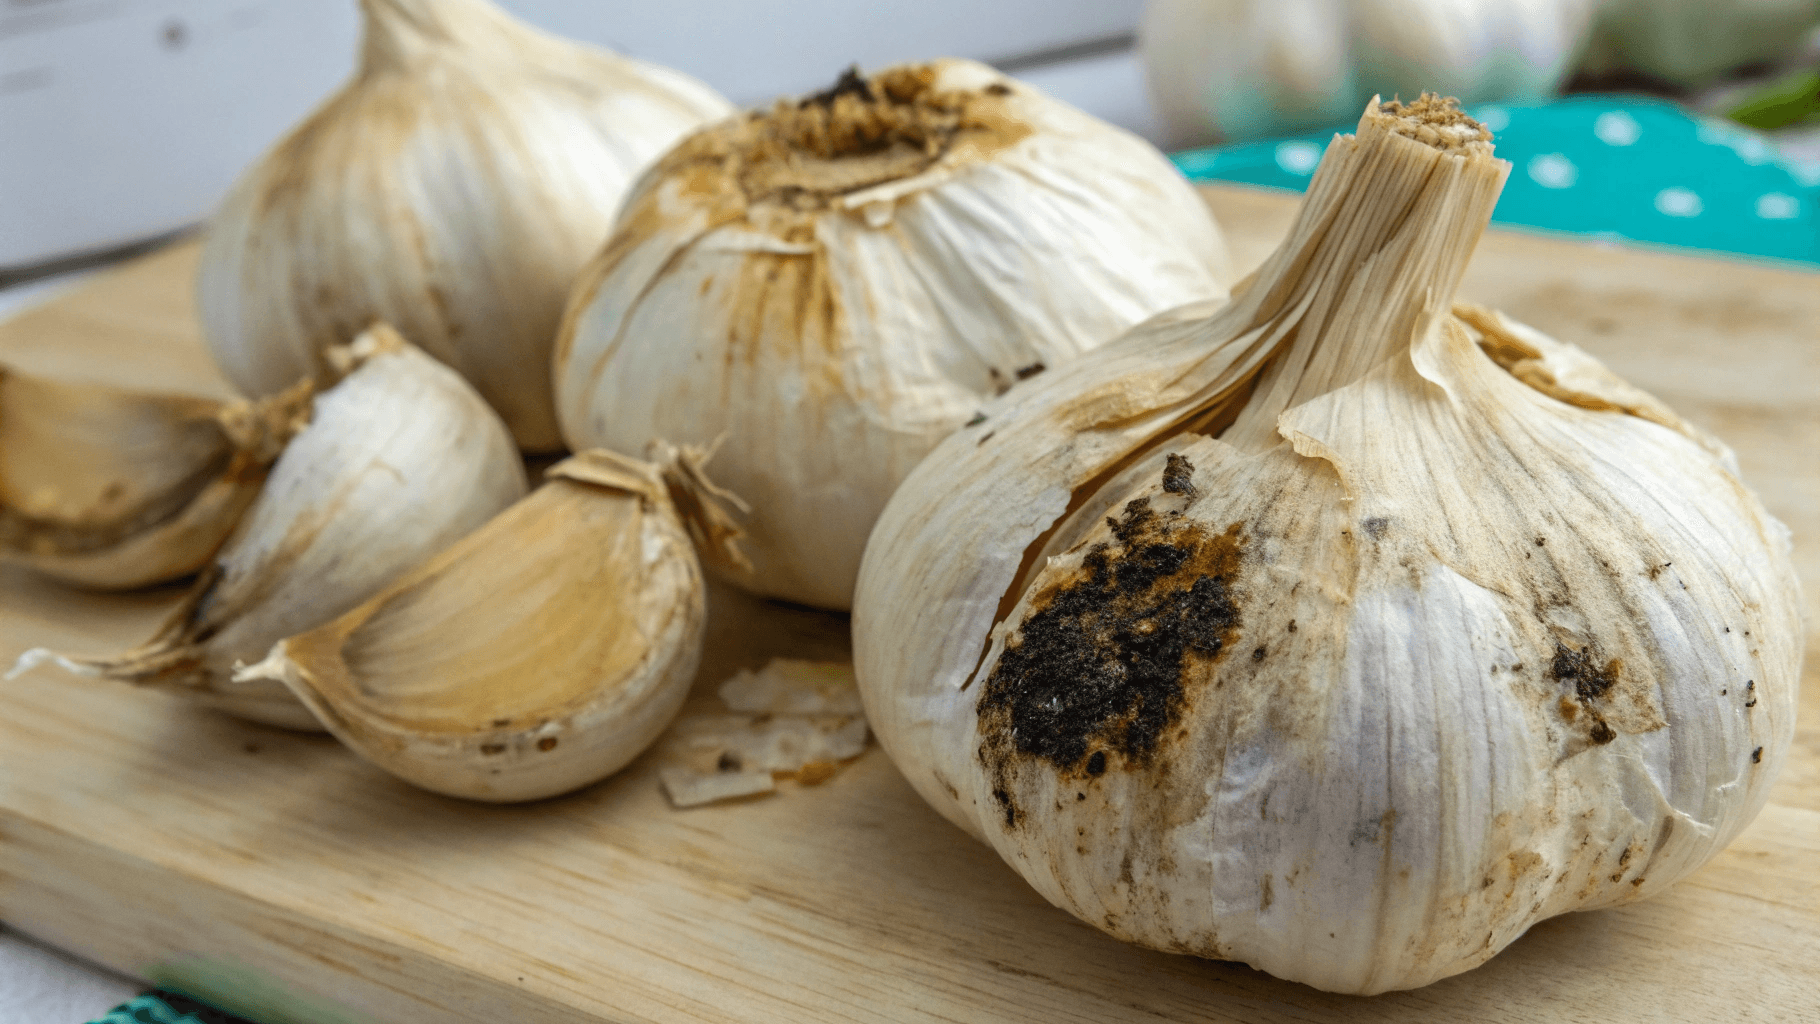
Curing Garlic
Lay your harvested bulbs in a dry, airy place out of direct sunlight, such as a shaded porch, shed, or garage. Let them cure for 2–4 weeks until the outer layers are papery and the necks are fully dry.
Once cured, trim off roots and stalks, brush off loose dirt, and store in mesh bags or baskets in a cool, dry, well-ventilated spot (ideally 50–60°F).
Properly cured garlic can last from 6 months to over a year, depending on the variety.
Common Problems and Solutions
Even the toughest plants can face a few challenges. Here’s how to troubleshoot:
1. Rot or Mold
Cause: Overwatering or poorly drained soil.
Solution: Improve drainage, reduce watering, and rotate crops yearly to avoid fungal buildup.
2. Small Bulbs
Cause: Late planting, overcrowding, or nutrient deficiency.
Solution: Plant earlier in fall, give more space, and add compost or balanced fertilizer.
3. Pests (Onion Maggots, Thrips, Nematodes)
Cause: Infested soil or nearby allium crops.
Solution: Rotate crops, use floating row covers, and apply neem oil as a natural deterrent.
4. Yellow Leaves

Cause: Nitrogen deficiency or water stress.
Solution: Feed with compost tea or organic nitrogen fertilizer and maintain consistent moisture.
Most garlic problems are preventable with proper soil care, spacing, and crop rotation.
Companion Plants for Garlic
Garlic is one of the best natural allies you can have in your garden. Its strong scent helps repel pests like aphids, spider mites, and Japanese beetles, making it a valuable companion for many vegetables and flowers.
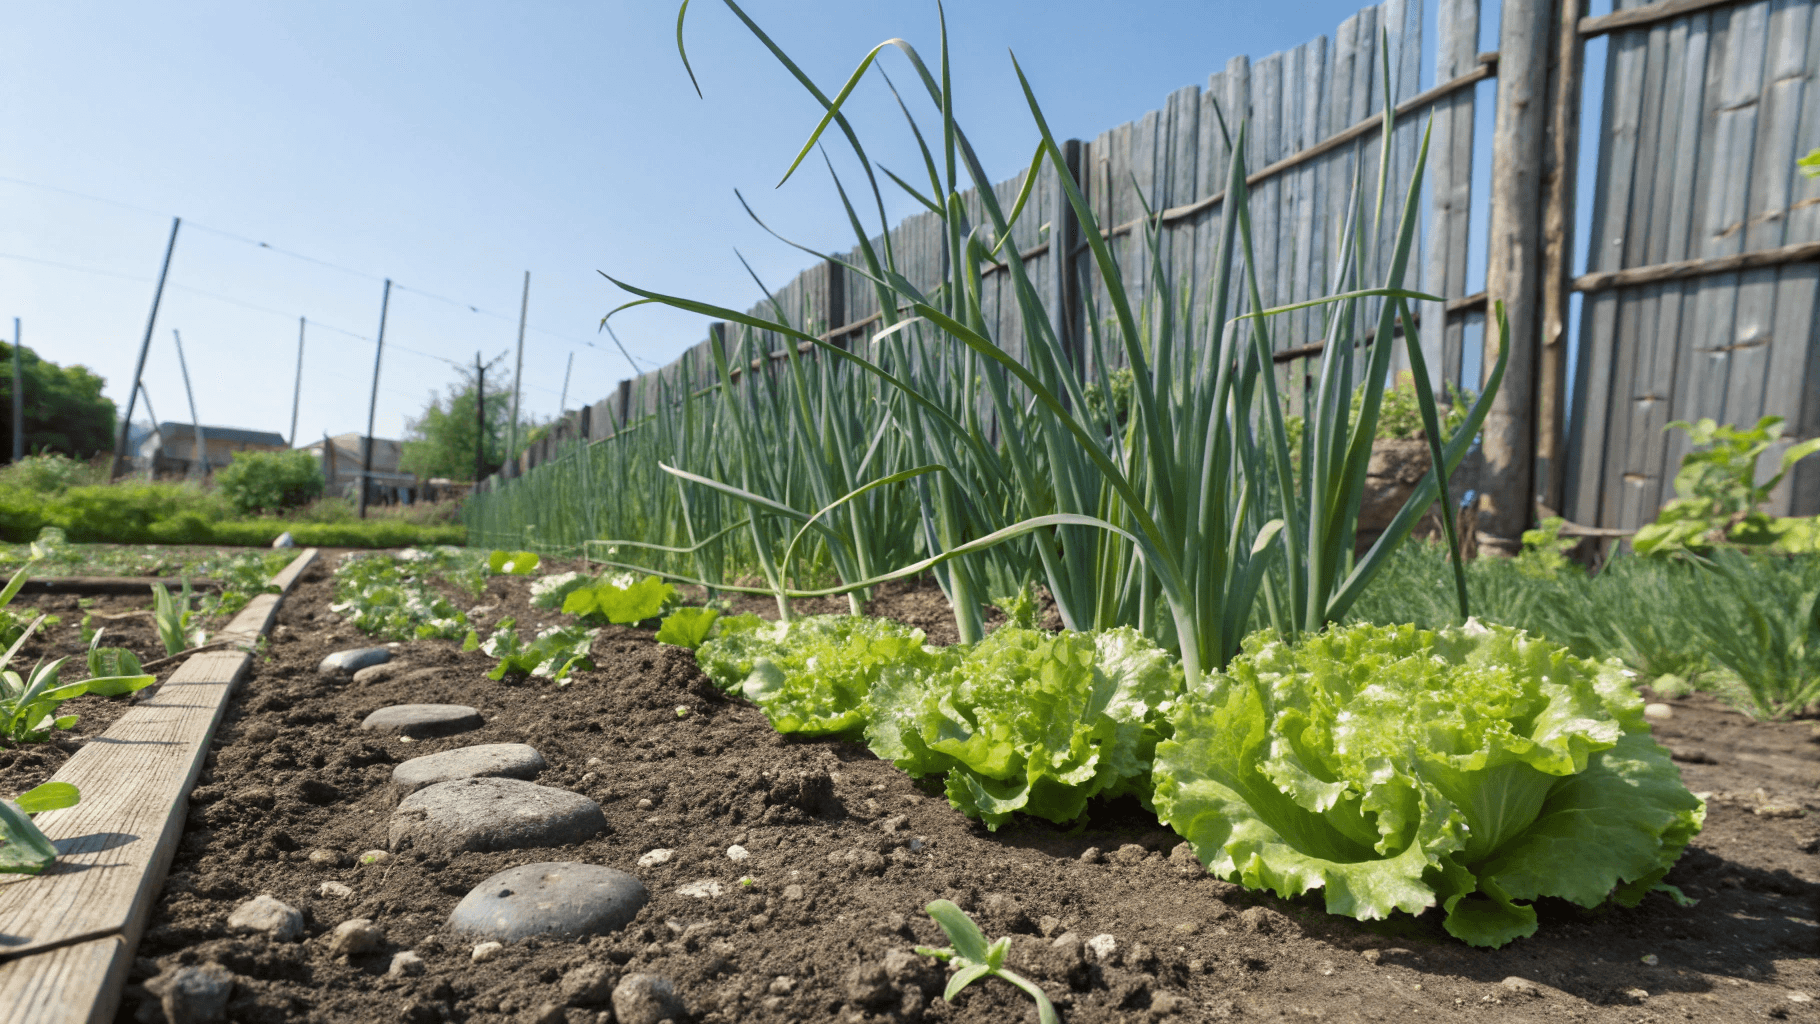
Best Companion Plants for Garlic
- Tomatoes: Garlic helps deter spider mites and whiteflies that often attack tomato plants.
- Roses: Plant garlic near roses to keep aphids at bay and enhance their fragrance.
- Carrots and Beets: Garlic can discourage pests that target root vegetables.
- Fruit Trees: A border of garlic can reduce borers and fungal diseases.
What Not to Plant with Garlic
Avoid planting garlic too close to beans or peas – it can stunt their growth by releasing natural compounds that affect legumes.
Practical Garlic Growing Tips from Home Gardens
In home vegetable gardens, garlic is often one of the most reliable crops once planted correctly. Gardeners usually find that consistent spacing, fall planting, and heavy mulching have the biggest impact on bulb size.
Over time, rotating garlic beds and adding compost each season leads to noticeably larger and healthier harvests.
Conclusion
Planting garlic isn’t complicated; it’s about timing, care, and patience. With just a few bulbs and a little attention, you can enjoy your own homegrown garlic year after year.
To recap:
- Choose quality seed garlic suited to your climate.
- Plant in fall, pointy side up, and mulch well.
- Keep the bed weed-free and evenly moist.
- Harvest when leaves start to brown, and cure properly for long storage.
Once you’ve done it once, you’ll wonder why you ever bought garlic from the store.
Leave a Reply