
You’ve spent weeks caring for seedlings, watering carefully, and watching them grow. Then suddenly, they wilt, turn yellow, or get overrun by tiny flies. It’s frustrating, especially when you’ve done everything “right.”
In many cases, the problem isn’t your plants. It’s the soil.
Learning how to sterilize soil gives your plants a clean start by removing hidden pests, diseases, and weed seeds before they cause problems. It’s not about destroying your soil. It’s about resetting it when conditions call for it.
Whether you’re starting seeds, reusing old potting mix, or recovering from plant disease, this guide walks you through six practical ways to sterilize soil safely and effectively.
If you’re new to gardening, see my full guide: Vegetable Gardening for Beginners (step-by-step guide).
What Is Soil Sterilization?
Soil sterilization is the process of using heat or treatment methods to kill harmful organisms in soil, such as fungi, bacteria, insects, nematodes, and weed seeds.
The goal isn’t to create “dead soil” forever. It’s to remove problems that can harm young plants, then rebuild healthy soil life afterward with compost or organic matter.
Why Do Gardeners Sterilize Soil?
Soil looks harmless, but beneath the surface, it can hold serious threats to plant health.
Gardeners sterilize soil to eliminate:
- Seedling diseases like damping-off that cause sudden collapse
- Fungus gnat eggs and larvae hiding in potting mix
- Soil-borne diseases such as fusarium and verticillium wilt
- Nematodes that damage roots and stunt growth
- Weed seeds that can remain dormant for years
Reusing old soil without sterilizing often means reintroducing the same problems again and again.
When You Should (and Shouldn’t) Sterilize Soil
When Sterilizing Soil Makes Sense
- Starting seeds indoors
- Reusing old potting soil
- After soil-borne diseases
- Using unknown or unfinished compost
- Growing vegetables in containers
When You Can Skip Sterilization
- Healthy in-ground garden beds
- Living soil systems with no disease history
- Areas with strong crop rotation and compost use
Sterilization is a targeted solution, not a routine step for every garden.
What Temperature Kills Soil Pests and Diseases?
Heat is what makes soil sterilization effective.
- Weed seeds: 140-160°F (60–71°C)
- Fungal pathogens: 160-180°F (71–82°C)
- Insects and larvae: 160°F+ (71°C+)
Avoid heating soil above 200°F, as this can damage soil structure and create harmful compounds.
How to Sterilize Soil – 6 Easy Ways
Method 1: Solarization
Solarization uses summer heat to naturally sterilize soil. Soil temperatures can reach levels that kill most common soil pathogens down to 12 inches without chemicals.

- Best for: Large garden beds and raised beds
- Why it works: Traps solar heat to kill soil pathogens, pests, and weed seeds naturally
- Time needed: 4-6 weeks during hot weather
- Watch out: Don’t till after treatment, or you’ll bring buried weed seeds back to the surface
How to do it:
- Remove weeds and debris
- Water soil thoroughly
- Cover tightly with a clear 6-mil plastic over the bed and bury the edges
- Leave for 4-6 weeks in hot weather
- Pro tip: Double-layer plastic with an air gap between sheets. Boosts heat by 15°F!
Slide a soil thermometer under the plastic. You’re golden when it hits 125°F+ at 6 inches deep.
Method 2: Oven Sterilization
Your kitchen will smell like a rainforest. Open windows.
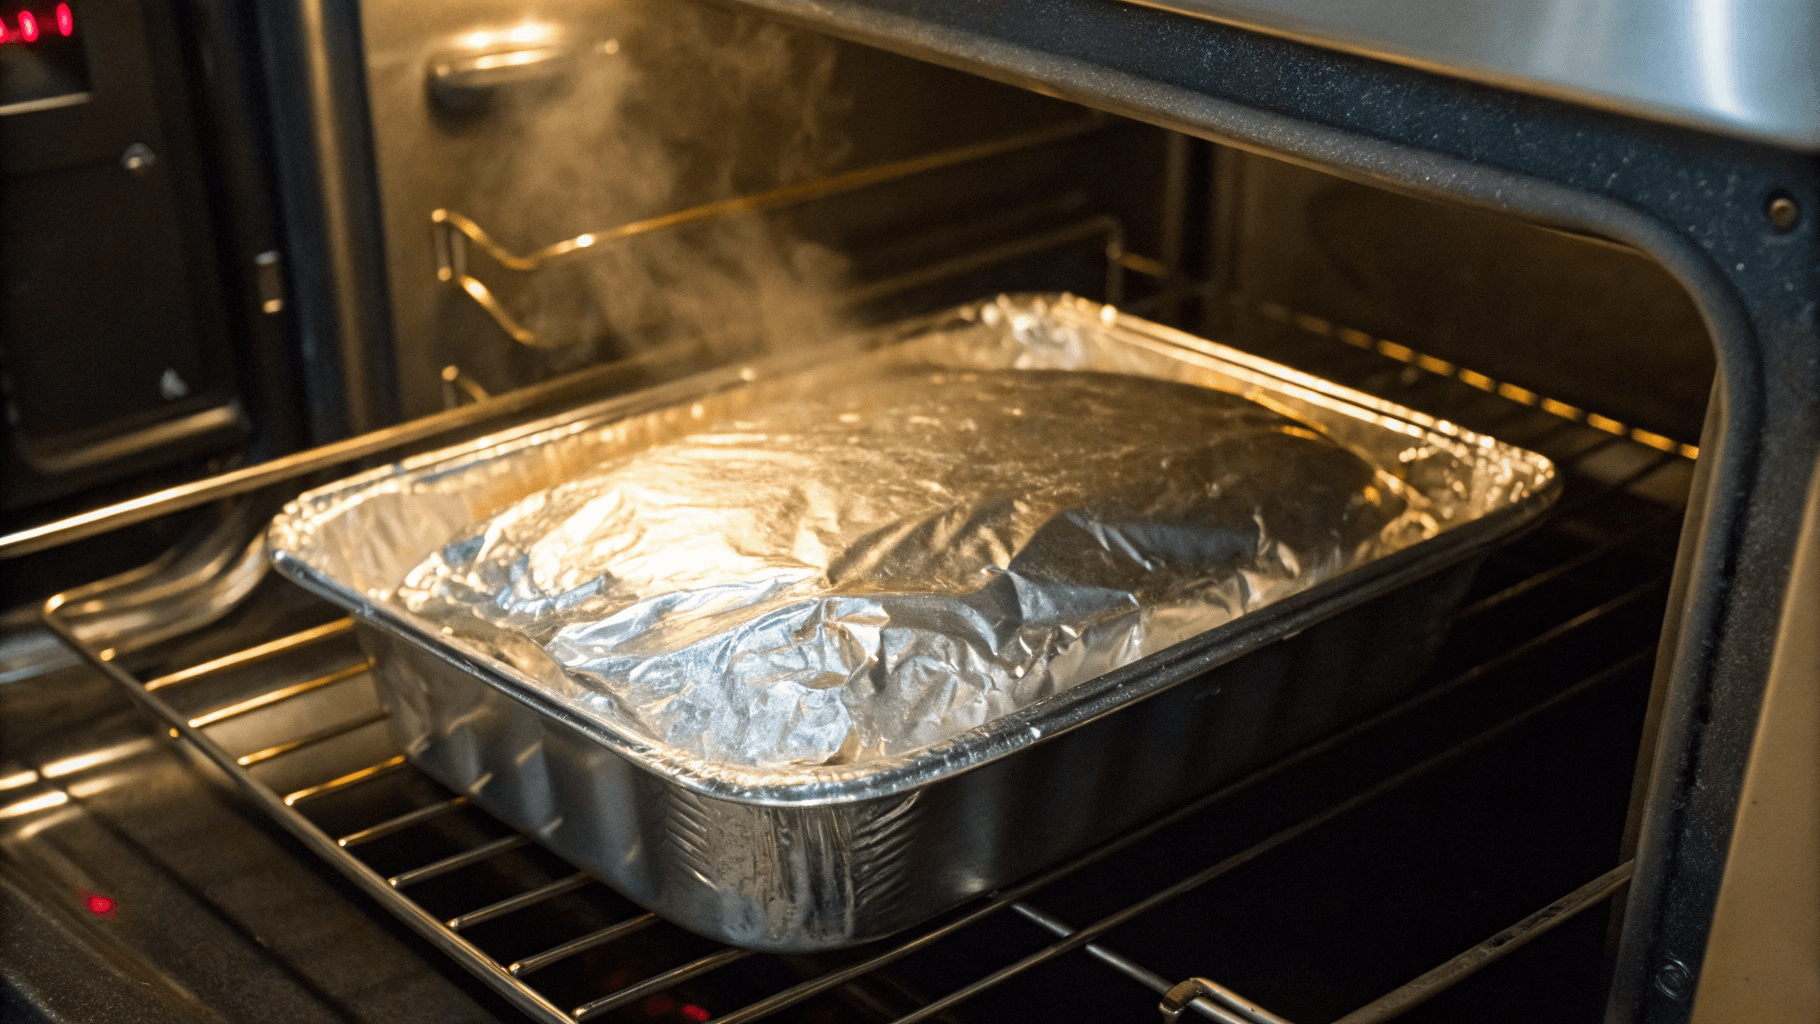
- Best for: Seed-starting mixes and small batches
- Why it works: Moist heat kills pathogens while preserving soil structure
- Time needed: About 1 hour + cooling
- Watch out: Overheating above 200°F damages soil and releases odors
Steps:
- Moisten soil till it clumps lightly (not dripping)
- Spread no deeper than 4 inches in a pan
- Cover tightly with foil (steam is key)
- Bake at 200°F until soil reaches 180°F (stick a meat thermometer in center)
- Hold for 30 minutes
- Turn off oven and let cool completely while covered
Only sterilize plain soil. Avoid perlite, vermiculite, or fertilizers. They release toxic fumes!
Method 3: Microwave Sterilization
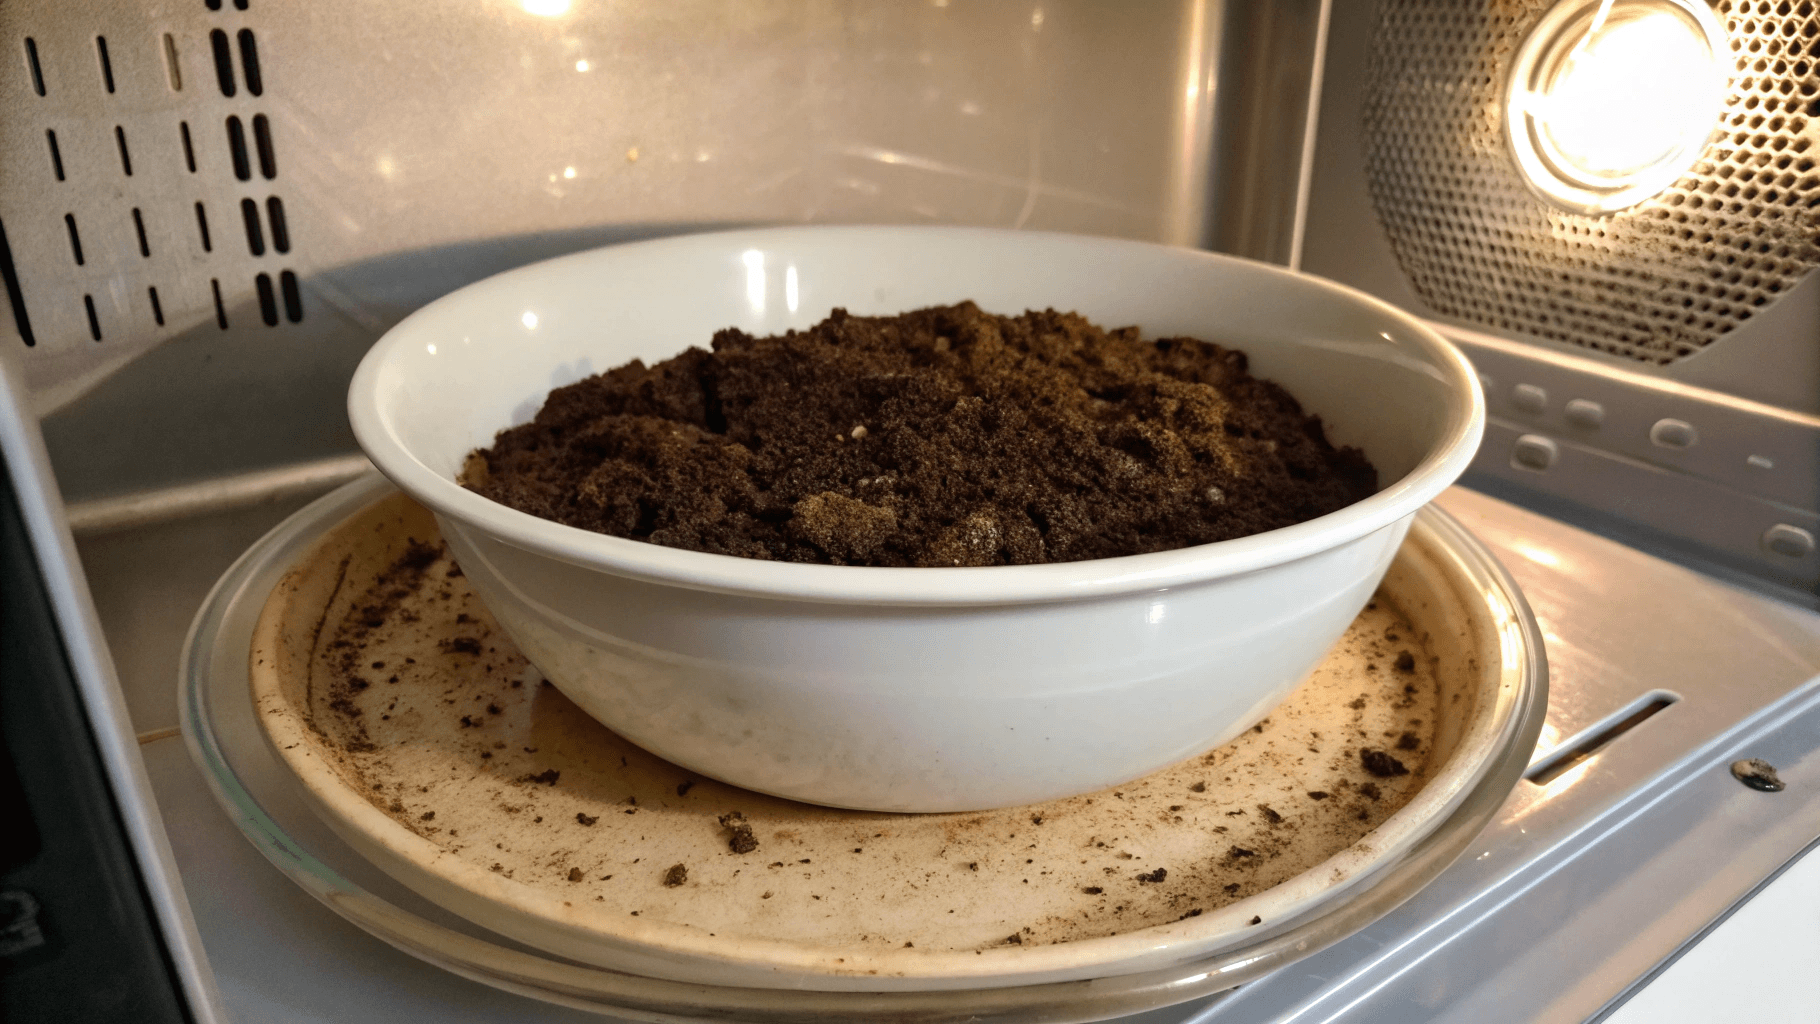
- Best for: One or two seed trays
- Why it works: Rapid steam heat kills pests quickly
- Time needed: 5-10 minutes
- Watch out: Uneven heating, always check temperature
Steps:
- Place damp soil in a microwave-safe container
- Cover with a vented lid
- Nuke 90 sec on high. Stir. Check the temperature
- Repeat in 30-second bursts until center reaches 180°F
- Let steam finish job before cooling
Place a cup of water in the microwave to prevent soil from scorching.
Method 4: Steam Power
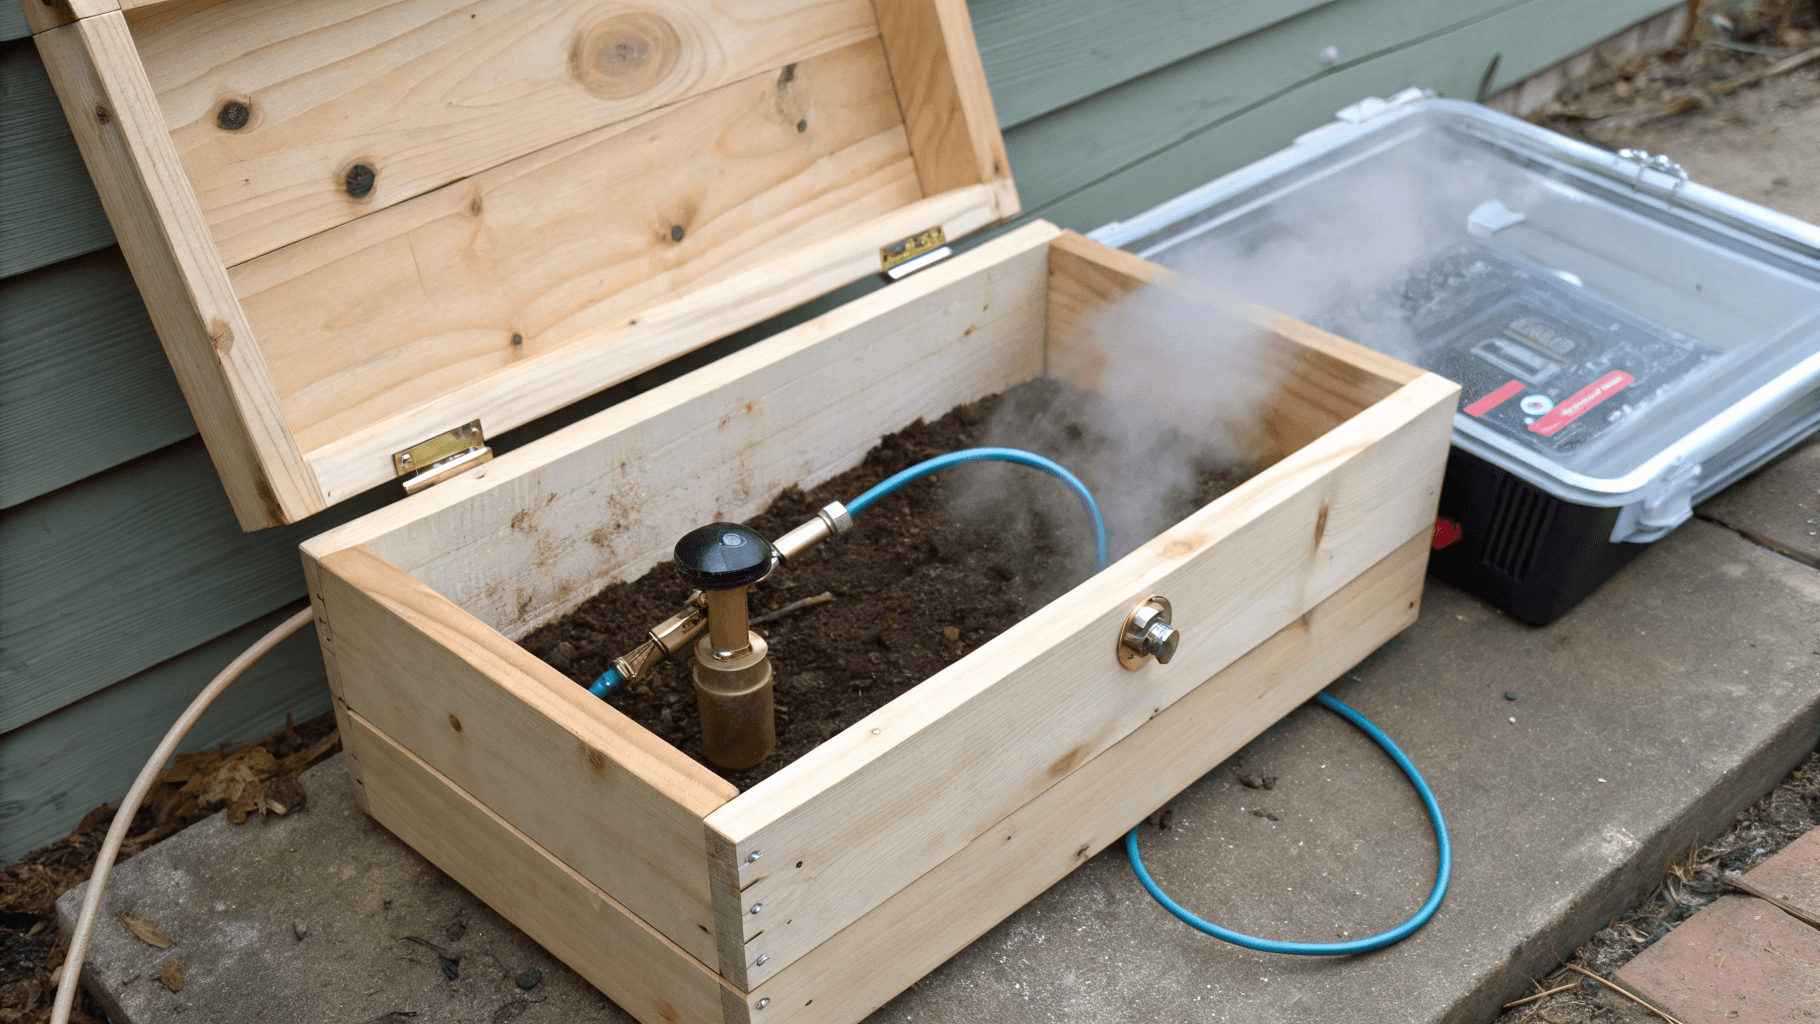
- Best for: Larger batches without high heat
- Why it works: Steam kills pathogens at lower temperatures
- Time needed: About 30 minutes
- Watch out: Requires thermometer and setup
Steps:
- Layer soil in shallow trays inside the box
- Steam soil until it reaches 160°F for 30 minutes. This kills pathogens while preserving soil structure better than dry heat
- Let cool before use
Method 5: Boiling Water
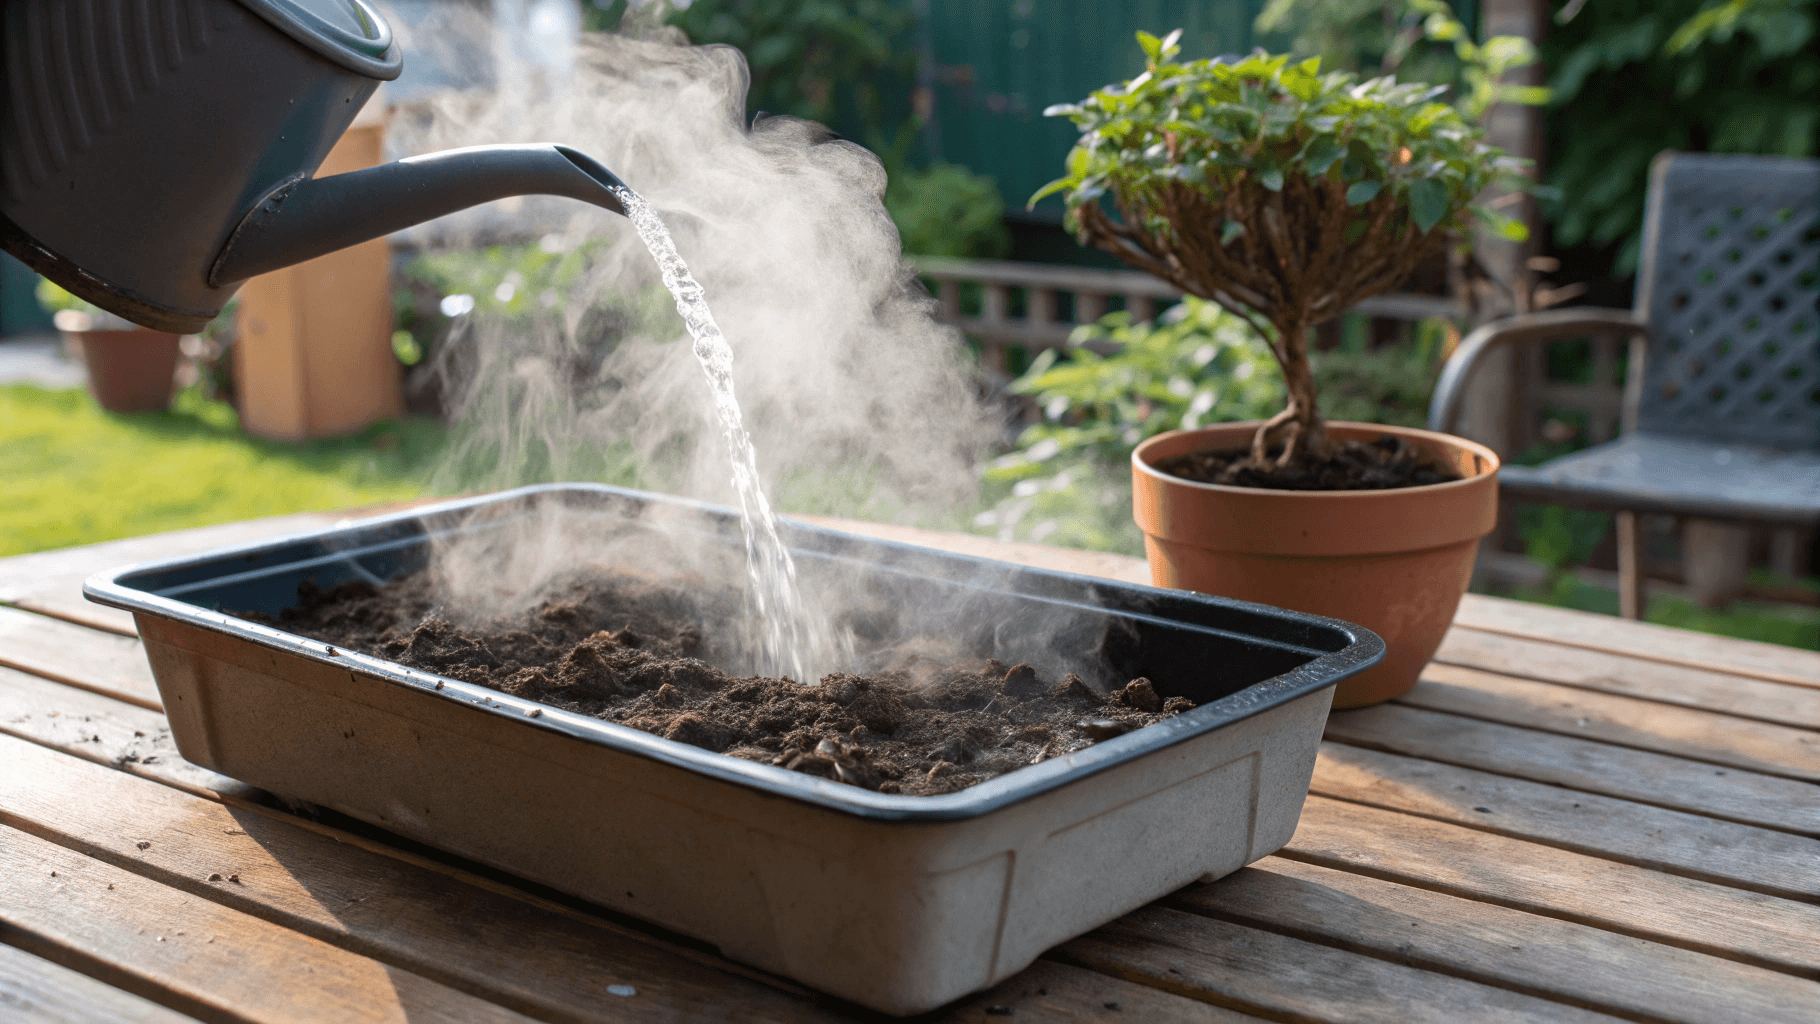
- Best for: Small problem areas
- Why it works: Instantly kills surface pests and weed seeds
- Time needed: Immediate
- Watch out: Only penetrates a few inches
Pour boiling water directly onto soil. This kills surface pests but only penetrates a few inches. Not suitable for entire beds.
Method 6: Chemicals Treatments (Use Only if Necessary)
Please avoid unless desperate!
- Best for: Fungus gnat infestations
- Why it works: Breaks insect life cycles
- Time needed: Immediate
- Watch out: Can damage soil biology
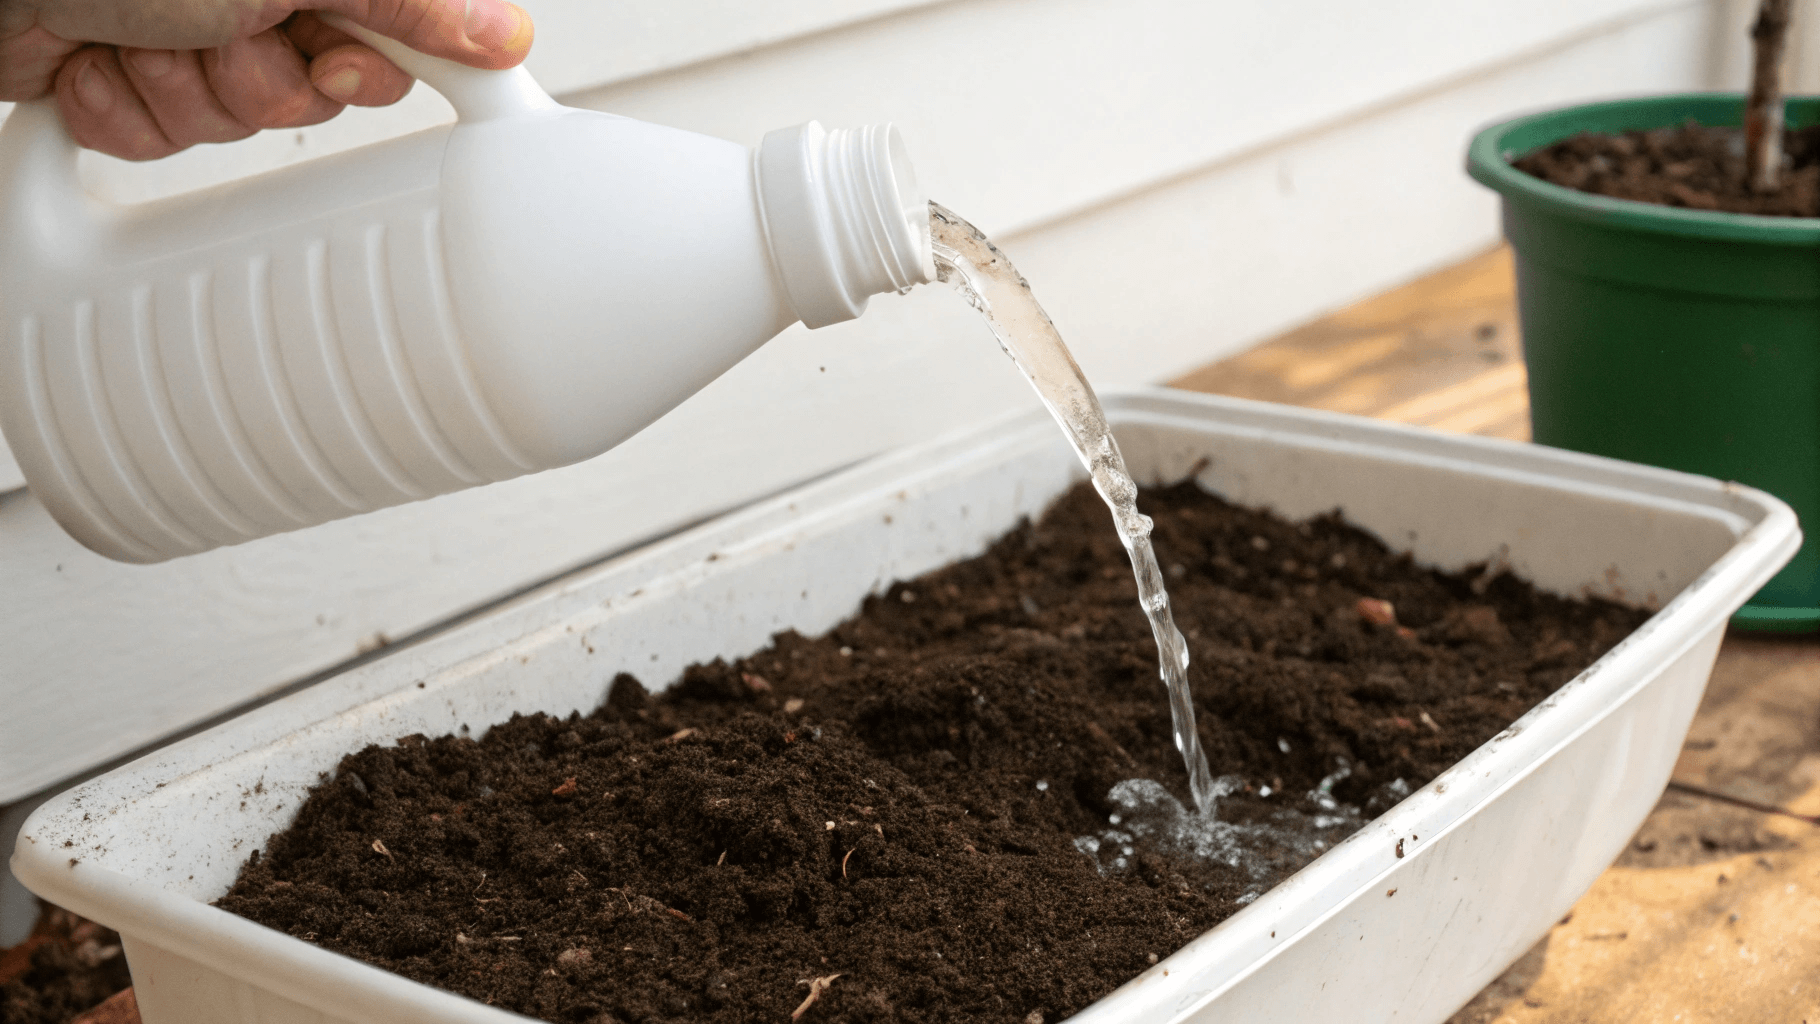
Hydrogen peroxide (1:3 ratio with water) can help control fungus gnats. Avoid bleach or harsh chemicals, which damage soil long-term and can harm plants even after rinsing
Common Mistakes to Avoid When Sterilizing Soil
- Overheating soil above 200°F (180°F is the sweet spot)
- Leaving soil uncovered while cooling
- Adding compost before sterilizing kills its microbiome
- Recontaminating soil with dirty tools.
Always sterilize first, then rebuild soil life afterward.
How to Restore Life to Sterilized Soil
Sterilized soil is a clean slate, not finished soil.
After cooling:
- Mix in compost (about 20%)
- Add worm castings or organic matter, they supercharge root health
- Avoid synthetics: Chemical fertilizers harm microbial rebound
Beneficial microbes return quickly when conditions are right. Store cooled, bagged soil in a garage.
Is Sterilized Soil Safe for Vegetables?
Yes. Sterilized soil is safe and often ideal for vegetables when:
- Soil has fully cooled
- Nutrients are restored
- Moisture is managed properly
Many gardeners sterilize soil specifically to protect young vegetable plants.
Conclusion
Sterilizing soil isn’t about fear or perfection. It’s about solving specific problems before they damage your plants.
When done correctly, soil sterilization gives you healthier seedlings, fewer pests, and stronger growth. Combine it with compost and good watering habits, and your soil becomes even better than before. Sometimes, the best thing you can do for your garden is start fresh, carefully and intentionally.

Leave a Reply