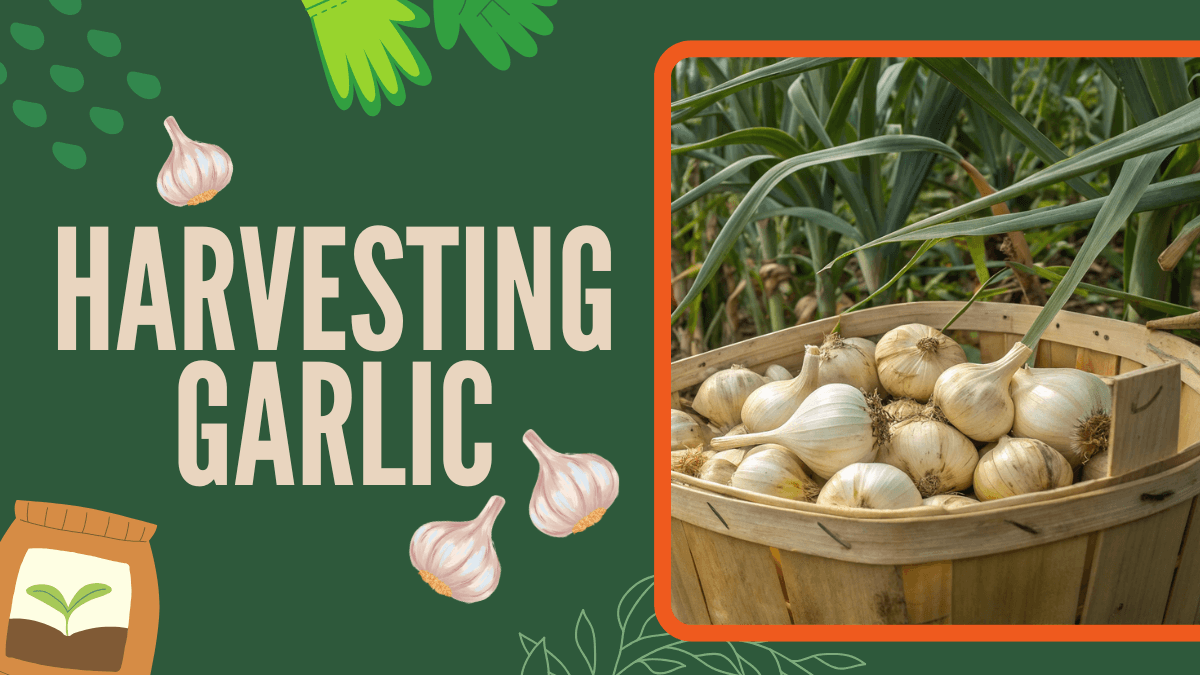
You’ve nurtured your garlic from a single clove into a lush, green crop. You’ve watered, weeded, and fed it faithfully. But just when you think the job’s done, there’s one final chapter that determines whether you’ll enjoy those beautiful, firm bulbs for months or end up with soft, moldy disappointments.
That’s right: harvesting garlic, curing, and storing is just as important as planting it. Many gardeners get stuck here, unsure of when to pull the bulbs, how long to dry them, or how to keep them fresh through the winter.
Planting is only half the story, what you do next makes all the difference.
When to Start Harvesting Garlic
Timing your garlic harvest can feel like guesswork, but it doesn’t have to be. The key is learning to read the plant’s natural signals rather than relying on a calendar date.
Look at the Leaves
Each leaf on a garlic plant represents one layer of skin around the bulb. When the lower leaves start to turn brown while the top few remain green, it’s a sign your garlic is nearly ready.
- For hardneck garlic, harvest when about half to two-thirds of the leaves have dried.
- For softneck varieties, wait until three to four lower leaves are brown, but the top ones are still green.
If you wait too long, the bulbs will start to split open underground, reducing their storage life. Harvest too early, and the cloves won’t have reached full size.
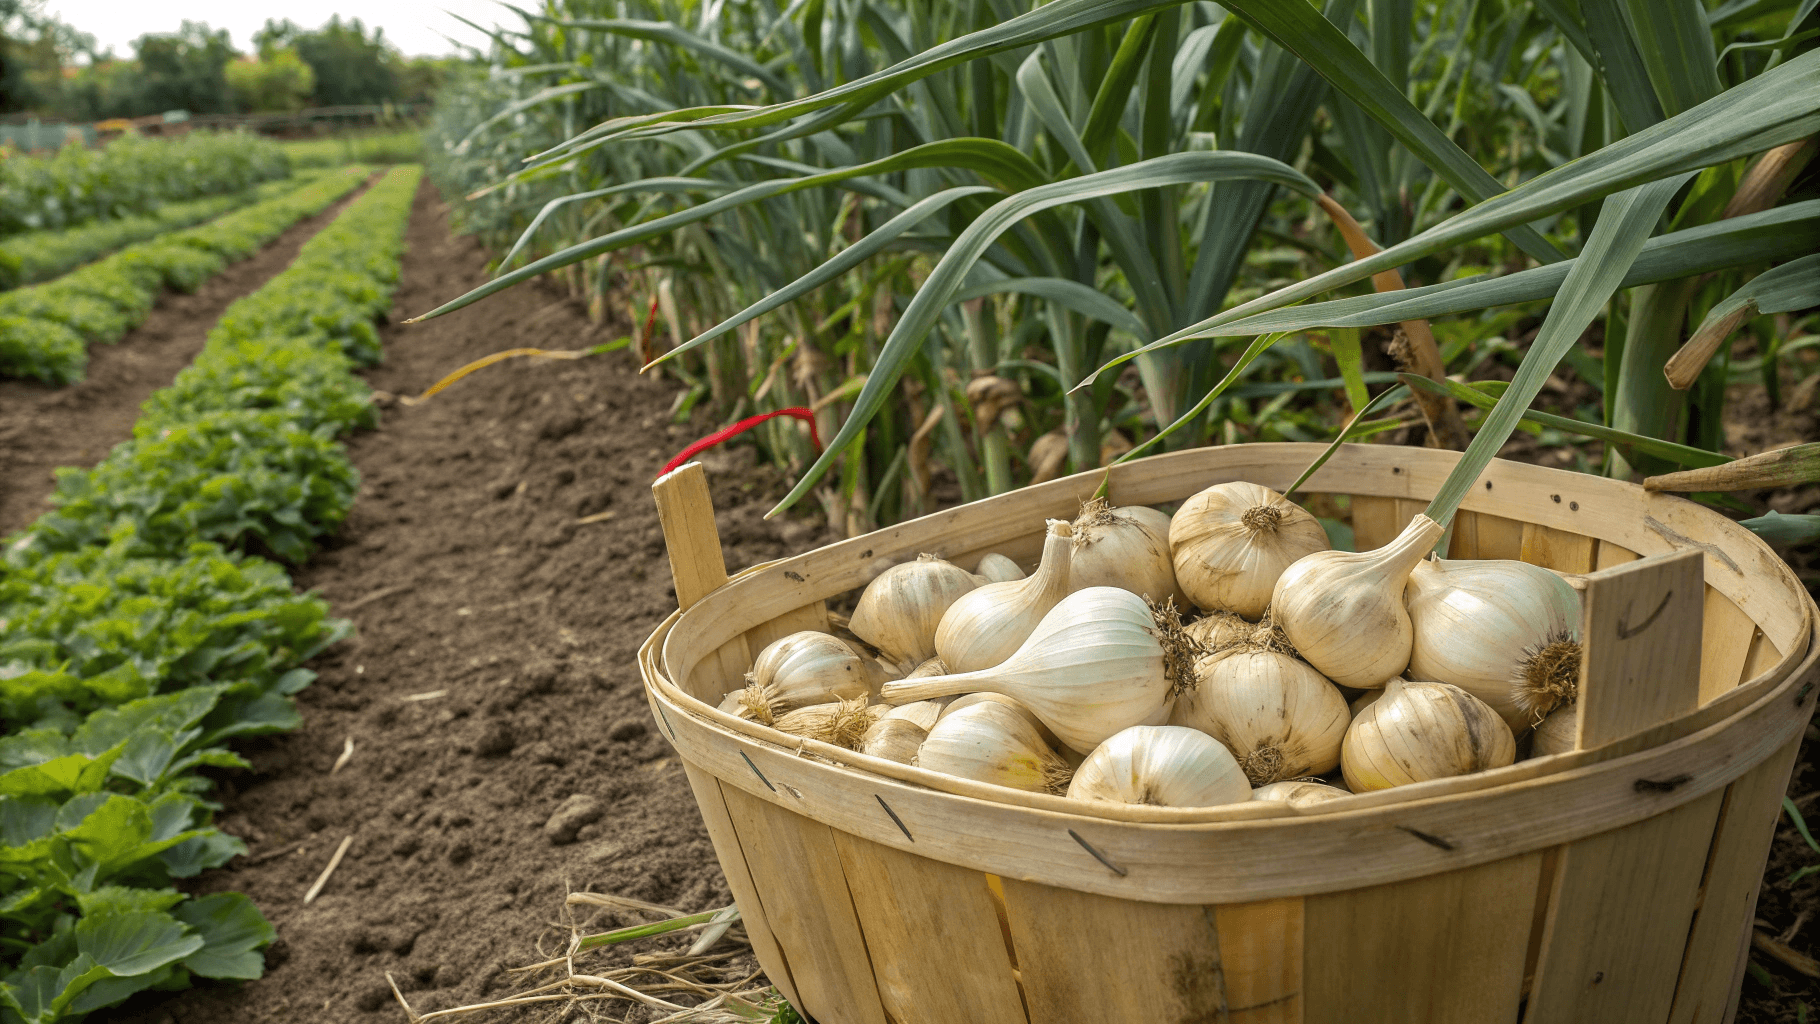
Check the Bulbs
To be sure, dig up one test bulb, don’t pull it! Use a garden fork to gently lift the bulb from below and inspect it. The cloves should be plump and distinct beneath a tight, papery wrapper.
If the skins are still thin and hard to peel, wait another week or two and check again. Garlic usually ripens in mid to late summer, depending on your planting time and local climate.
TIP: Avoid watering your garlic for about a week before harvest. Drier soil helps the bulbs cure faster and prevents mold during drying.
How to Cure Garlic Properly
Once you’ve lifted those fragrant bulbs, it’s tempting to clean and use them right away. But patience pays off here. Curing is what transforms your garlic from fresh produce into a long-lasting kitchen staple.
What Is Curing Garlic?
Curing simply means drying garlic slowly in a shaded, well-ventilated space to toughen the outer skin and seal in its flavor. During this time, excess moisture evaporates, preventing rot and extending storage life.
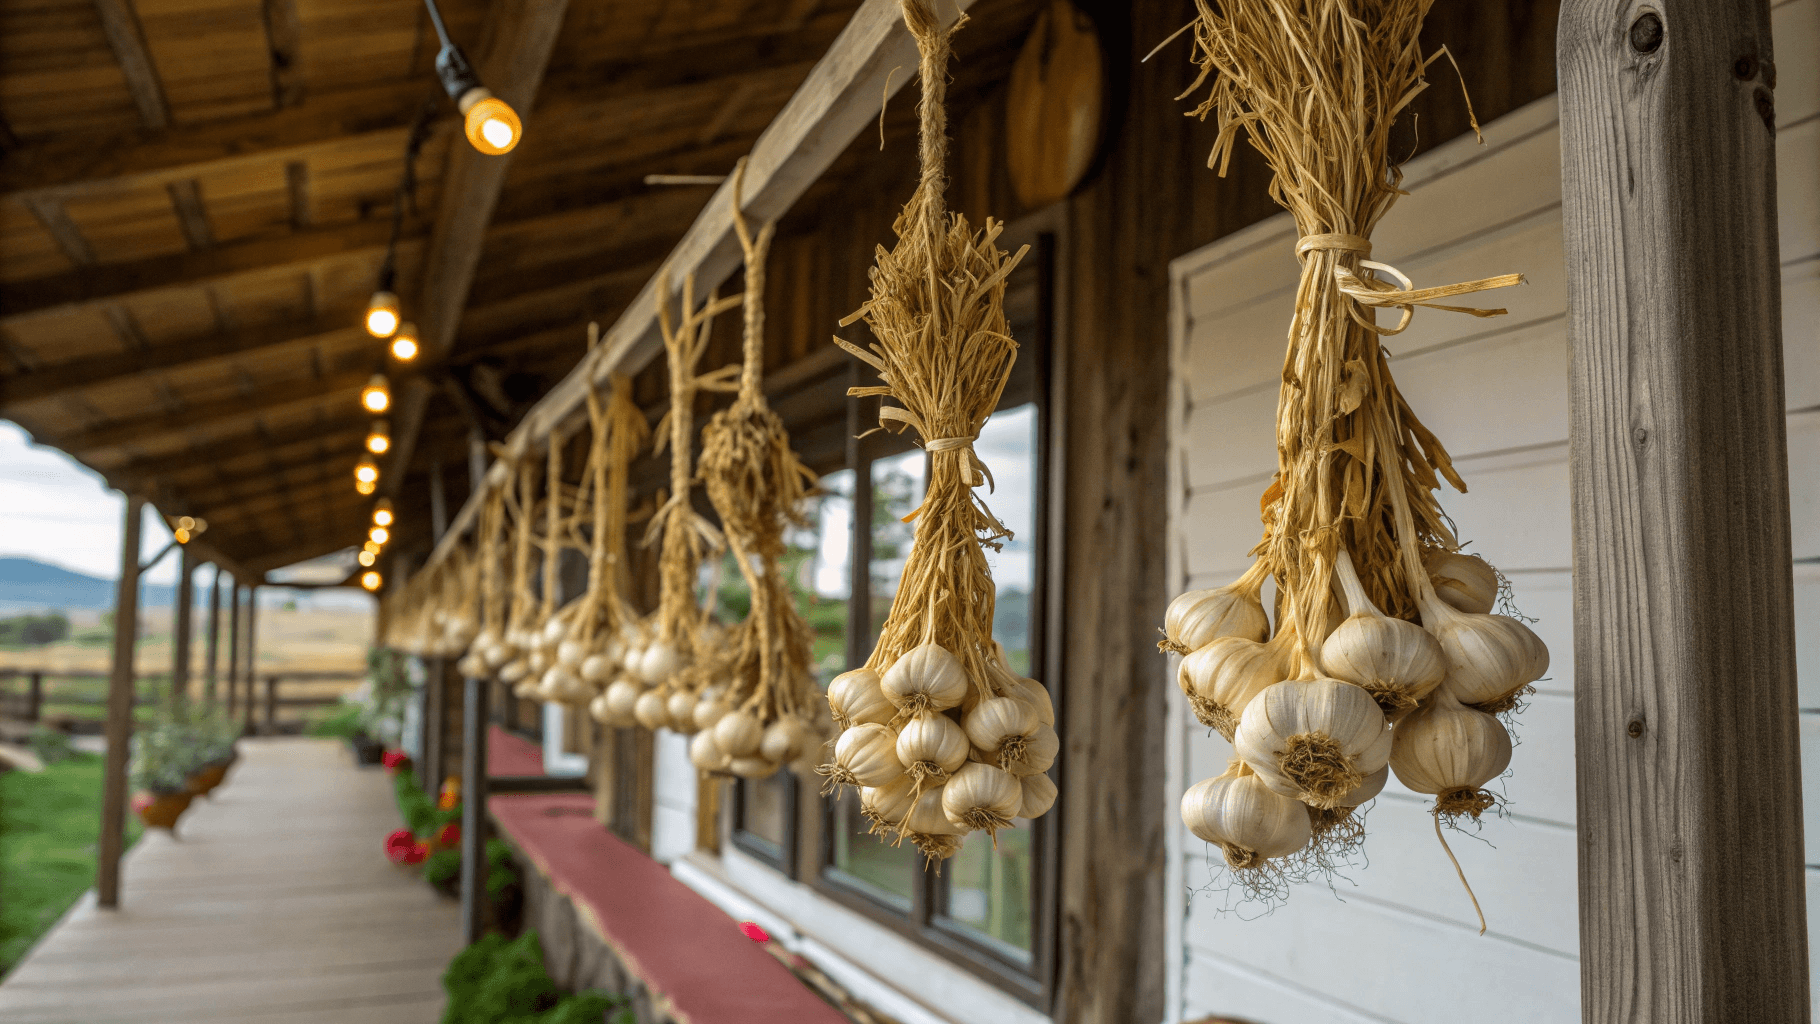
The Right Way to Cure Garlic
- Leave the stalks and roots attached. This helps the garlic continue drawing nutrients and moisture from the leaves during drying.
- Brush off dirt gently, but don’t wash. Moisture is your enemy now, skip the water entirely.
- Bundle or hang bulbs. Tie garlic in small bunches (5–10 bulbs) and hang them upside down in a dry, airy place like a shed, barn, or covered porch.
Alternatively, spread them out on wire racks or mesh trays. - Choose the right environment.
- Temperature: around 60–70°F (15–20°C)
- Humidity: 45–55%
- Airflow: continuous, gentle ventilation
Avoid direct sunlight, it can scorch the bulbs and reduce flavor.
How Long Does Curing Take?
Curing typically takes 2 to 4 weeks, depending on humidity. You’ll know it’s ready when:
- The outer skins are dry and papery.
- The roots are brittle.
- The necks are tight and firm when squeezed.
Once fully cured, trim off the roots and cut the stalks down to about an inch (or braid them, if using softneck varieties for decorative storage).
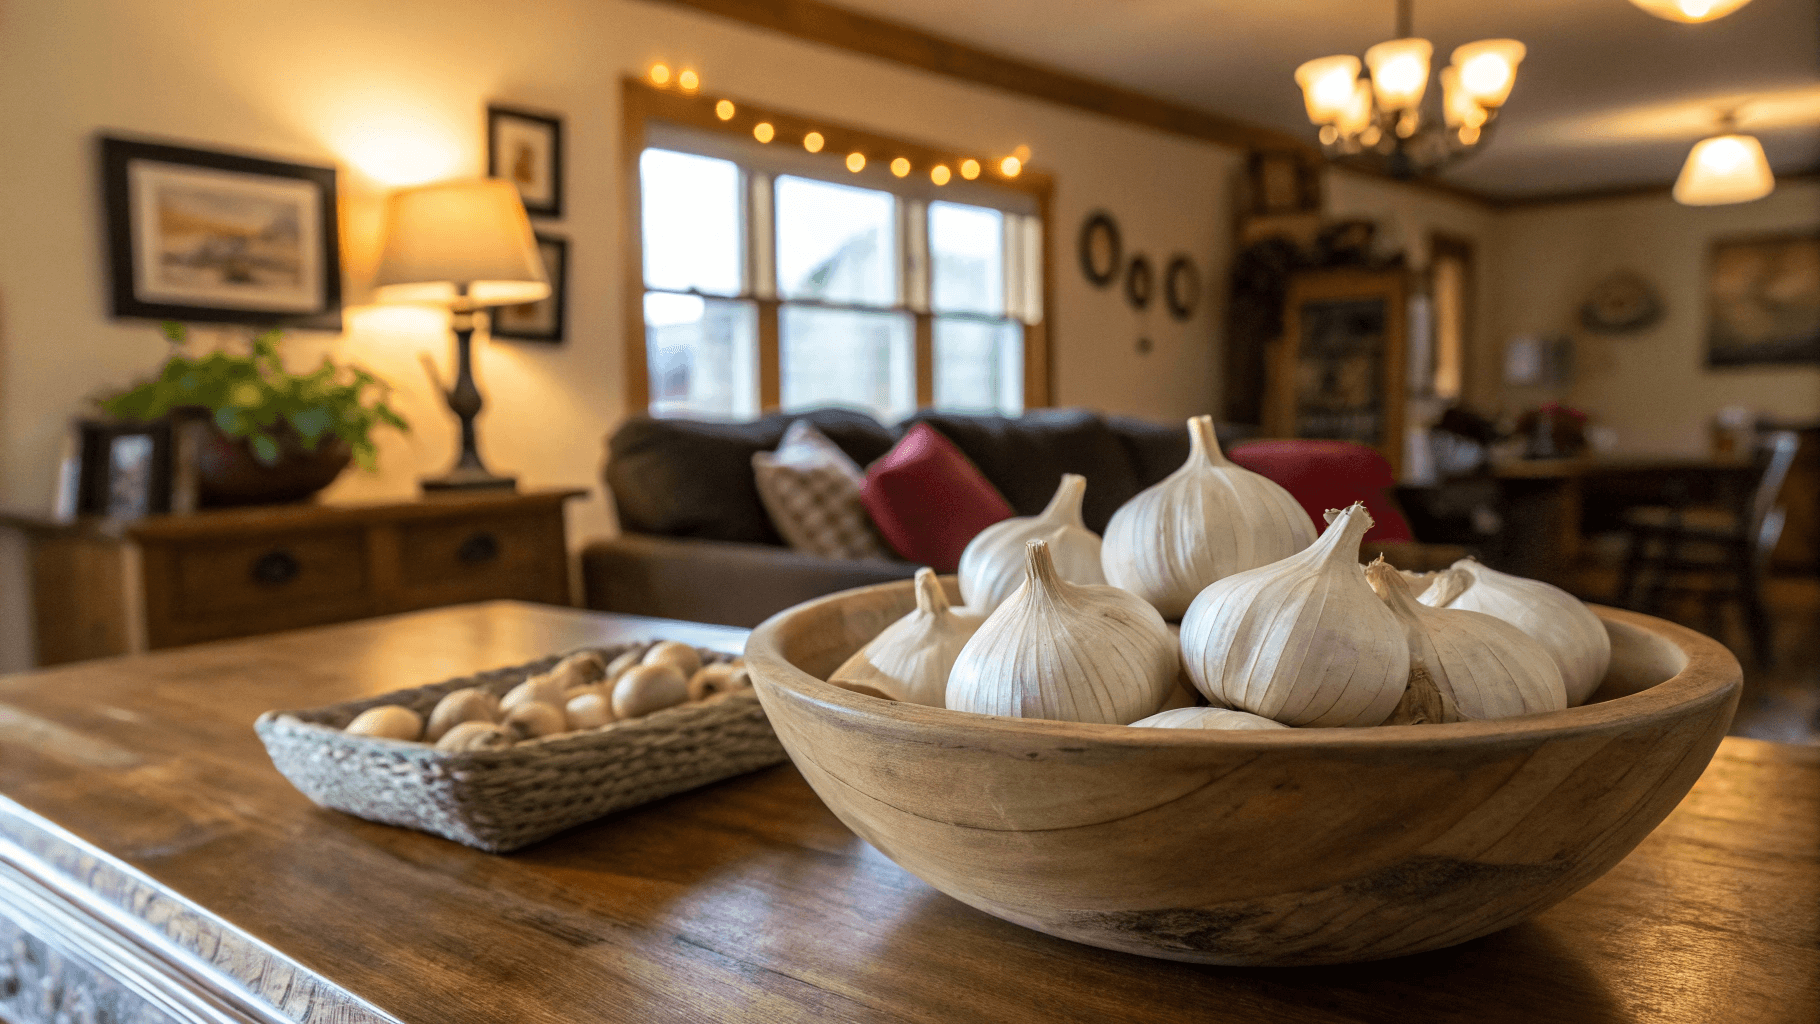
Storing Garlic for Months
Now comes the best part: preserving your harvest so it lasts through winter (and even beyond). Proper storage depends on temperature, humidity, and air circulation.
Ideal Garlic Storage Conditions
Garlic likes to be cool, dry, and dark. The sweet spot for long-term storage is:
- Temperature: 55-60°F (13-16°C)
- Humidity: 50-60%
- Airflow: consistent and gentle
Avoid the refrigerator, cold temperatures trigger sprouting. Also, don’t store garlic in plastic bags or sealed containers, which trap moisture and cause mold.
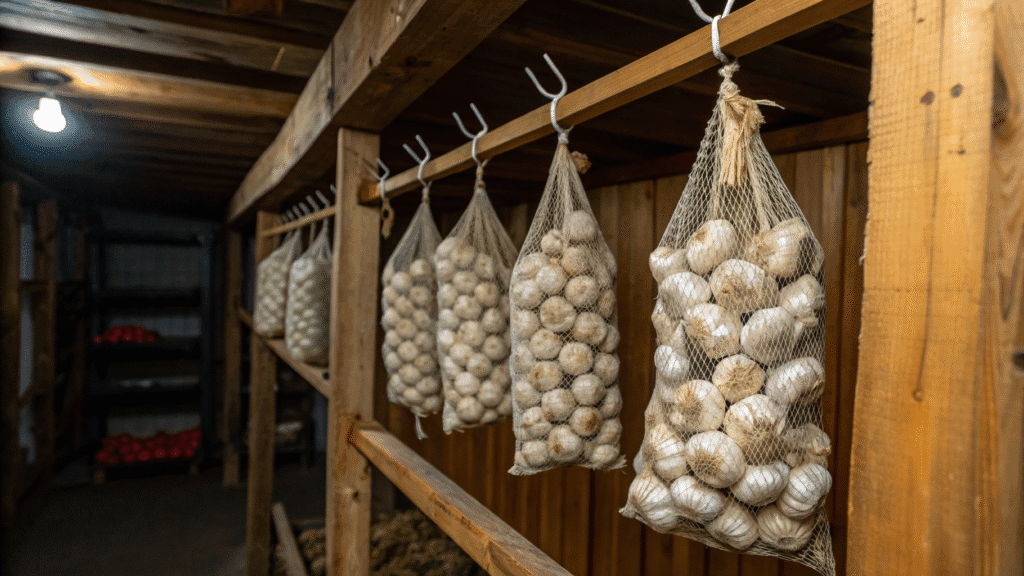
Best Storage Options
- Mesh bags or baskets: Allow good air circulation and prevent rot.
- Paper bags or cardboard boxes: Great for pantry or cellar storage.
- Hanging braids: Perfect for softneck garlic, beautiful and functional.
- Cloth produce bags: A breathable option that keeps dust away.
Keep your garlic away from potatoes or onions, both release moisture and gases that can shorten storage life.
How Long Will It Last?
- Softneck garlic: up to 9-12 months when stored properly.
- Hardneck garlic: usually 4-6 months before sprouting.
TIP: Check your bulbs monthly. Remove any that show soft spots or mold to protect the rest of your stash.
What to Do With Your Best Bulbs (Seed for Next Year)
The best garlic growers always save their top performers for planting again. Why? Because garlic adapts to your soil and climate over time. By replanting the healthiest, biggest bulbs, you’re naturally selecting stronger genetics for future harvests.
How to Select Seed Garlic
When sorting your cured garlic:
- Set aside your largest, firmest bulbs, the kind you’d be proud to show off.
- Check that they’re disease-free, with tight skins and no soft spots.
- Label them clearly as “seed garlic” so you don’t eat them by accident.
Larger cloves produce larger bulbs, so size really does matter here.
How to Store Seed Garlic Until Planting
Keep your seed garlic in the same cool, dry place as your eating bulbs, but separate from your kitchen stash to prevent confusion. Avoid refrigeration until just before planting time (usually fall), when a brief chill can actually help trigger root growth.
When you’re ready to plant again, refresh your memory with these helpful guides:
- How to Plant Garlic – 7 Steps to Grow Big, Healthy Bulbs
- How to Prepare Soil for Garlic Growth and Maximum Yield
- Feeding and Watering Garlic Methods
These posts cover everything from soil prep and watering to fertilizing schedules, so your next garlic crop can be even better.
Troubleshooting Common Garlic Harvest Mistakes
Even experienced gardeners slip up occasionally. Here are a few common pitfalls to avoid:
- Harvesting too late: Bulbs split and don’t store well.
- Skipping the curing process: Leads to rot and short shelf life.
- Too much humidity during storage: Encourages mold and sprouting.
- Washing bulbs: Adds unnecessary moisture.
- Storing in the fridge: Garlic thinks it’s winter, then sprouts when removed.
If you avoid these mistakes, your garlic can stay firm and flavorful well into next spring.
Creative Ways to Use Stored Garlic
Once you’ve perfected storage, you’ll find yourself with plenty of garlic to enjoy. Here are a few clever ways to use your harvest.
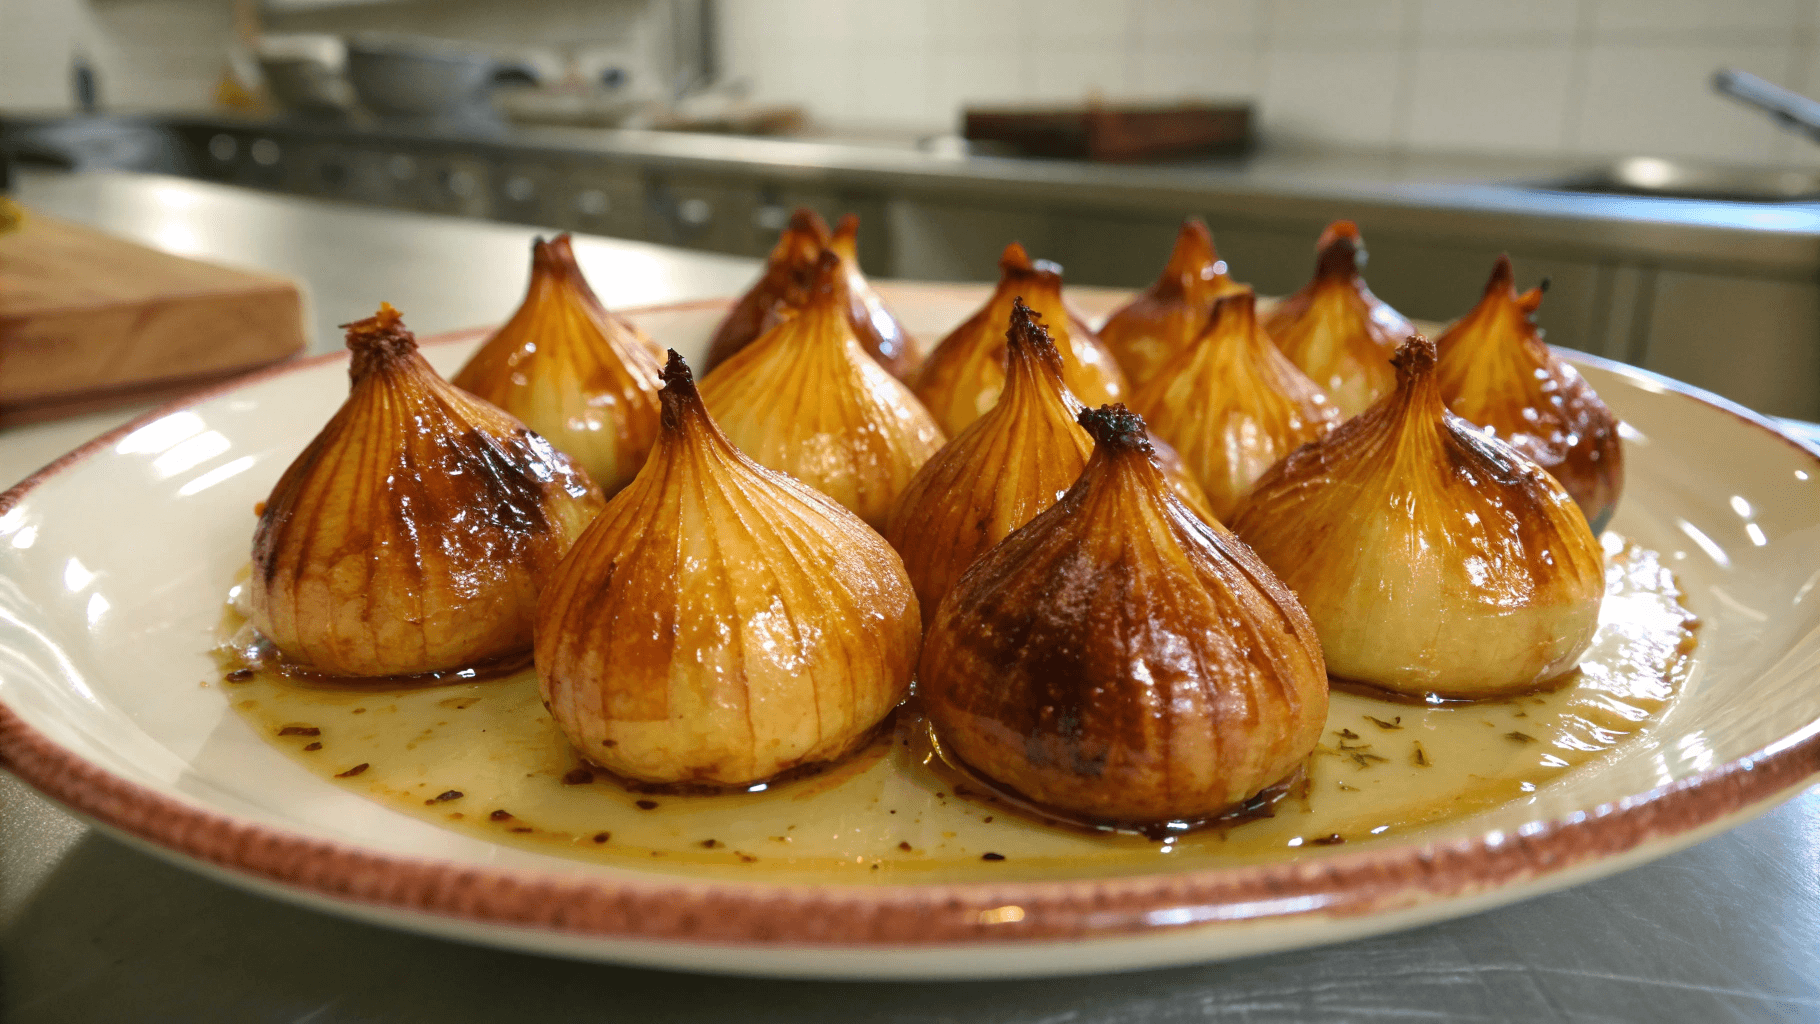
- Roast whole bulbs for a caramelized, spreadable treat.
- Make garlic-infused oil (store safely in the fridge and use within a week).
- Dry and grind garlic into powder for easy seasoning.
- Freeze peeled cloves or chopped garlic in olive oil cubes for quick cooking.
- Gift braided garlic, it’s rustic, fragrant, and always appreciated.
With the right curing and storage methods, your garlic will stay aromatic, flavorful, and ready for every recipe that needs a touch of homegrown magic.
Conclusion
Harvesting, curing, and storing garlic may seem like the final act, but in truth, it’s the bridge to your next season’s success. The care you take now determines how long your harvest lasts and how strong your future bulbs will be.
Remember:
- Harvest at the right time, watch the leaves, not the calendar.
- Cure slowly and patiently in a dry, airy space.
- Store smartly to keep bulbs firm and flavorful for months.
- Save your best bulbs for next year’s planting.
Your garlic deserves the best care from planting to storage. And now, you know exactly how to do it like a pro.

Leave a Reply