 Perplexity
 Claude
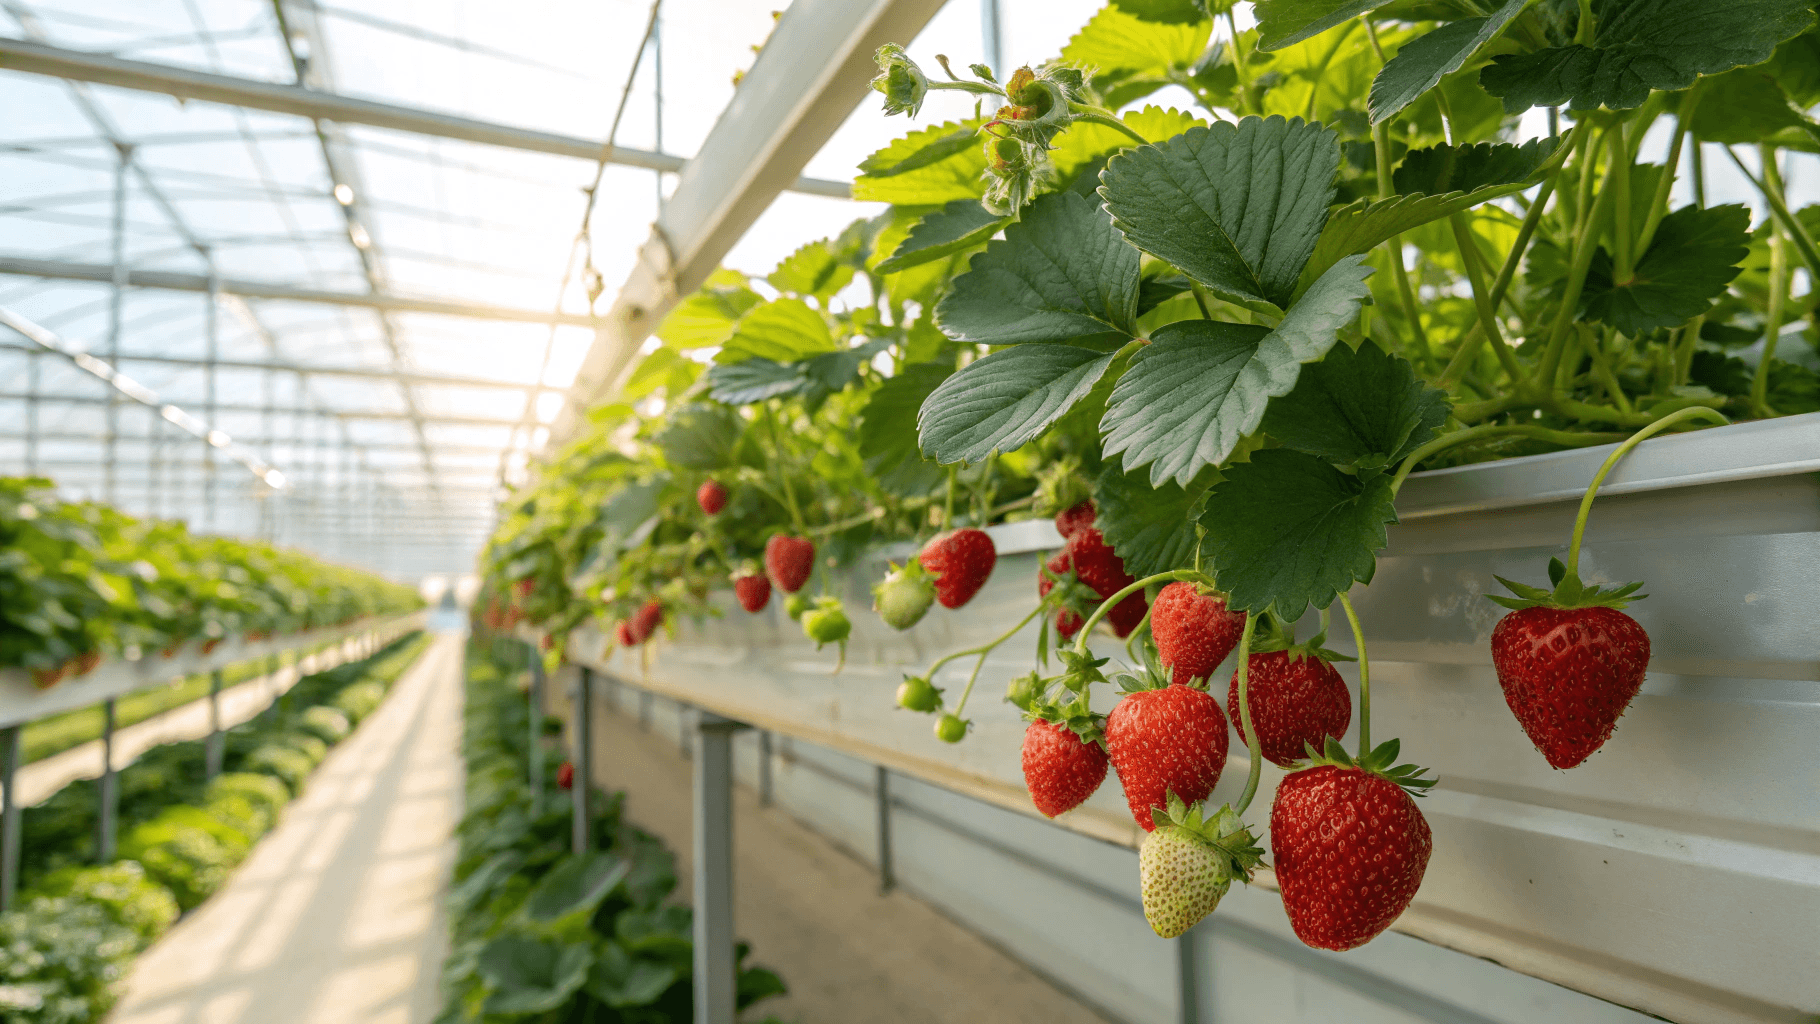
Imagine this: plump, ruby-red strawberries ripening on your kitchen countertop in January, their sweet aroma filling the air. No dirt, no weeds, just pure berry bliss. Hydroponic strawberries aren’t just a gardening trend—they’re a revolution.
Whether you’re a city dweller with no backyard or a soil gardener curious about innovation, in this guide, you’ll learn everything from choosing the right system to harvesting plump berries.
What Are Hydroponic Strawberries?
Hydroponic strawberries are grown in nutrient-rich water instead of soil. The roots absorb minerals directly from the water, allowing the plant to focus energy on producing fruit. (learn more – Wikipedia)
This method uses systems like:
- Nutrient Film Technique (NFT): Roots sit in a shallow stream of nutrient solution.
- Deep Water Culture (DWC): Roots dangle into oxygenated water.
- Ebb and Flow: Plants are periodically flooded with nutrients.
- Vertical Towers: Space-saving setups for small areas.
Strawberries thrive in hydroponics because they’re lightweight and love consistent moisture.
Bonus: Read my article “Top 5 Strawberry Companion Plants” to know what plants you can have around your strawberries, everywhere you want to plant them.
Why Grow Hydroponic Strawberries?
Strawberries are one of the most rewarding crops for hydroponic beginners and experts alike. Their shallow root systems adapt beautifully to water-based growing, and their rapid growth cycle means you’ll see results faster than traditional gardening.
Here’s why hydroponics is stealing the spotlight:
- Faster Growth: Hydroponic strawberries grow 30–50% faster than soil-grown ones. Without battling soil compaction or nutrient competition, plants channel energy straight into fruiting.
- Less Space: Vertical towers, countertop systems, or even repurposed gutters—hydroponics fits anywhere. Perfect for balconies, garages, or kitchens. A 4-foot tower can hold 20+ plants!
- Year-Round Freshness: With indoor setups, you control light, temperature, and humidity. Say goodbye to seasonal limitations.
- Pest-Free: Soil-borne pests like slugs, nematodes, and fungi are virtually eliminated.
- Water Efficiency: Hydroponics uses 90% less water than soil gardening. Systems recirculate water, making them ideal for drought-prone areas.
Hydroponic vs. Organic Strawberries: Key Differences
| Factor | Hydroponic Strawberries | Organic Strawberries |
|---|---|---|
| Nutrients | Synthetic or organic liquid nutrients | Compost, manure, and natural soil amendments |
| Pest Control | Fewer pests; solutions like neem oil | Organic pesticides (e.g., diatomaceous earth) |
| Growth Speed | Faster (6–8 weeks to fruit) | Slower (3–4 months to fruit) |
| Environmental Impact | Uses less water, no soil erosion, but requires energy for pumps/lights | Supports soil health but needs more land and water |
The organic vs. hydroponic strawberry debate is hotter than a summer greenhouse.
Let’s unpack the key differences:
Nutrient Sources & Soil Dependency
- Hydroponic: Nutrients come from liquid solutions (synthetic or organic). No soil is used, but proponents argue that precision nutrient dosing can mimic or surpass soil quality.
- Organic: Relies on compost, manure, and natural soil amendments. Organic certification requires nurturing soil ecosystems, which hydroponics bypasses.
Certification Controversy
In the U.S., USDA organic certification excludes hydroponic crops due to the lack of soil involvement. However, countries like Canada and Mexico certify hydroponic produce as organic if organic nutrients are used. This regulatory patchwork sparks endless debate among farmers and foodies.
Environmental Impact
| Hydroponic Pros | Hydroponic Cons |
| Uses less water, prevents soil erosion, and allows urban farming | Energy-intensive (pumps, lights) and relies on non-renewable resources like rockwool |
| Organic Pros | Organic Cons |
| Builds soil health, supports biodiversity, and uses renewable resources | Requires more land and water, and yields are often lower |
Taste & Nutrition Face-Off
A 2020 study in the Journal of Agricultural Science found that hydroponic strawberries often have higher sugar content due to controlled nutrient delivery. However, organic berries may contain more antioxidants from soil microbes. Taste-wise, it’s a tie—both methods can produce mouthwatering fruit.
Choosing Your Hydroponic System
Your system is the backbone of your hydroponic journey. Let’s explore the best options for strawberries, with real-world examples:
1. Deep Water Culture (DWC): The Beginner’s Best Friend
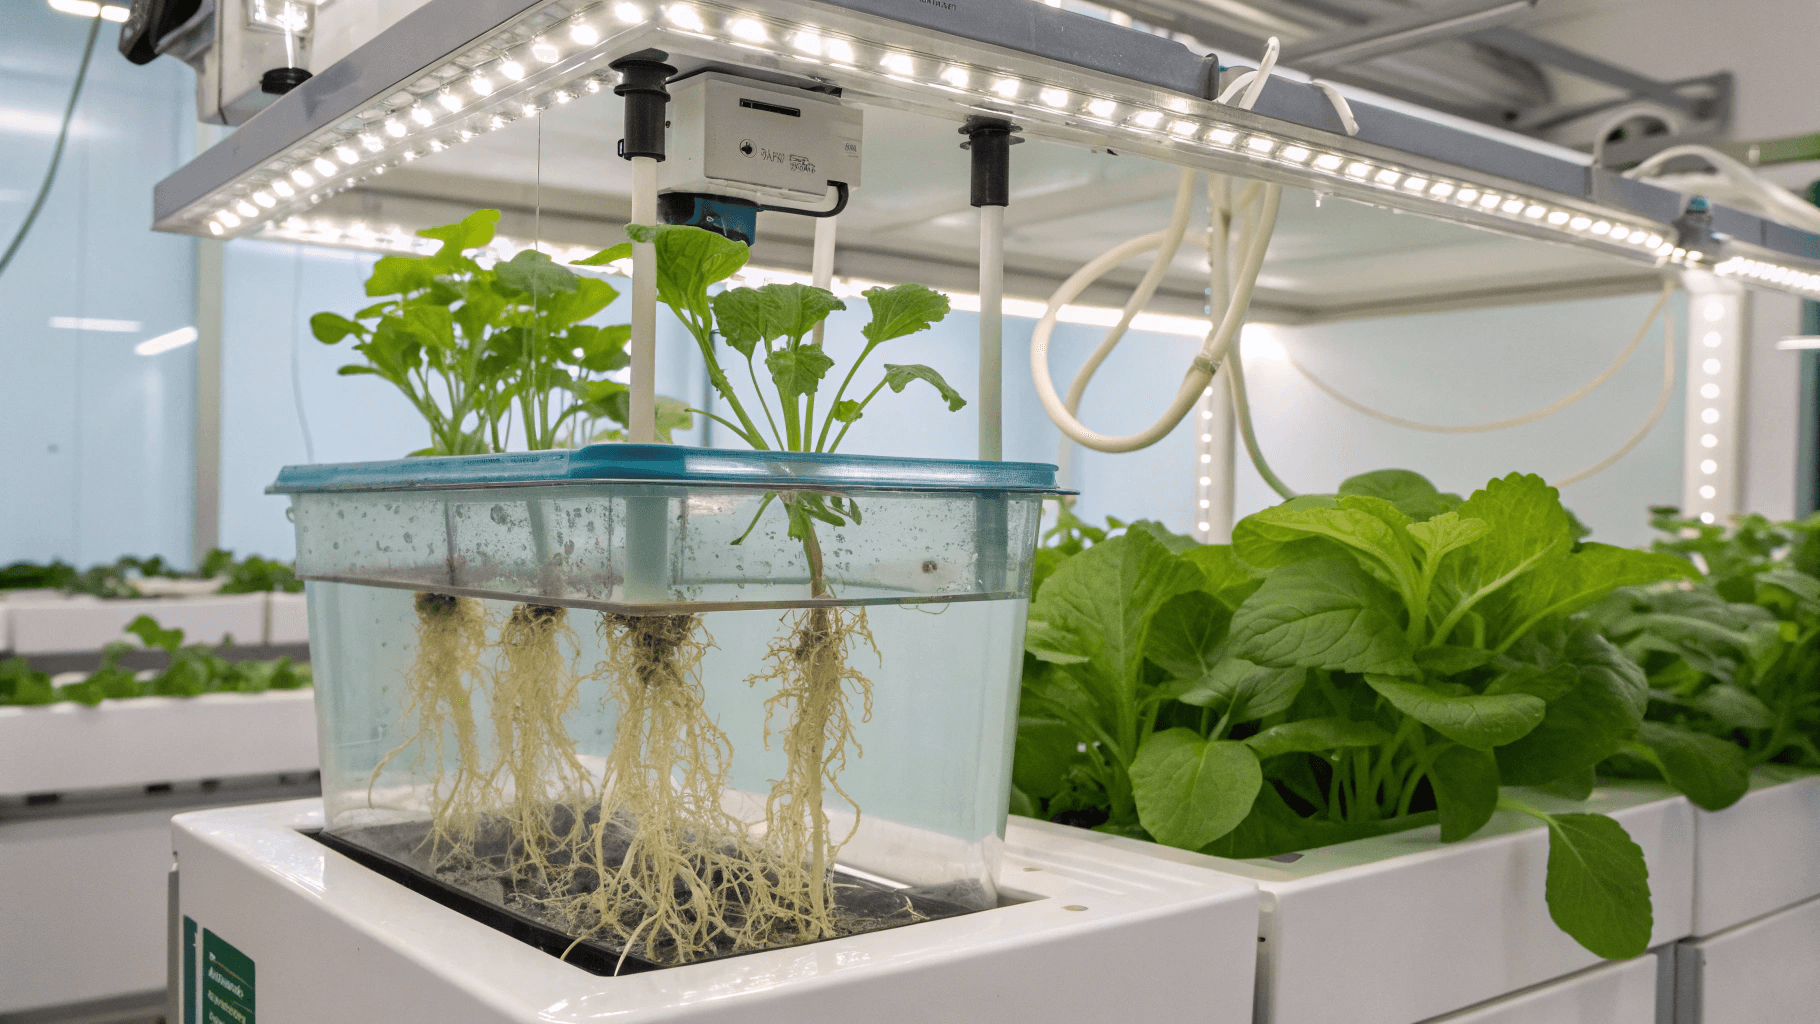
- How It Works: Plants float on a raft (like a pool noodle) with roots submerged in aerated nutrient water.
- DIY Example: Use a 5-gallon bucket, an aquarium air pump, and a Styrofoam sheet.
- Setup Cost: 30-100 for a DIY system using a bucket, air pump, and raft.
- Best For: Small-scale growers craving simplicity.
- Tip: Add hydrogen peroxide (3%) to the reservoir weekly to prevent root rot.
| Pros | Cons |
| Easy, low maintenance | Requires air pumps to prevent root rot |
2. Nutrient Film Technique (NFT): The Space Saver
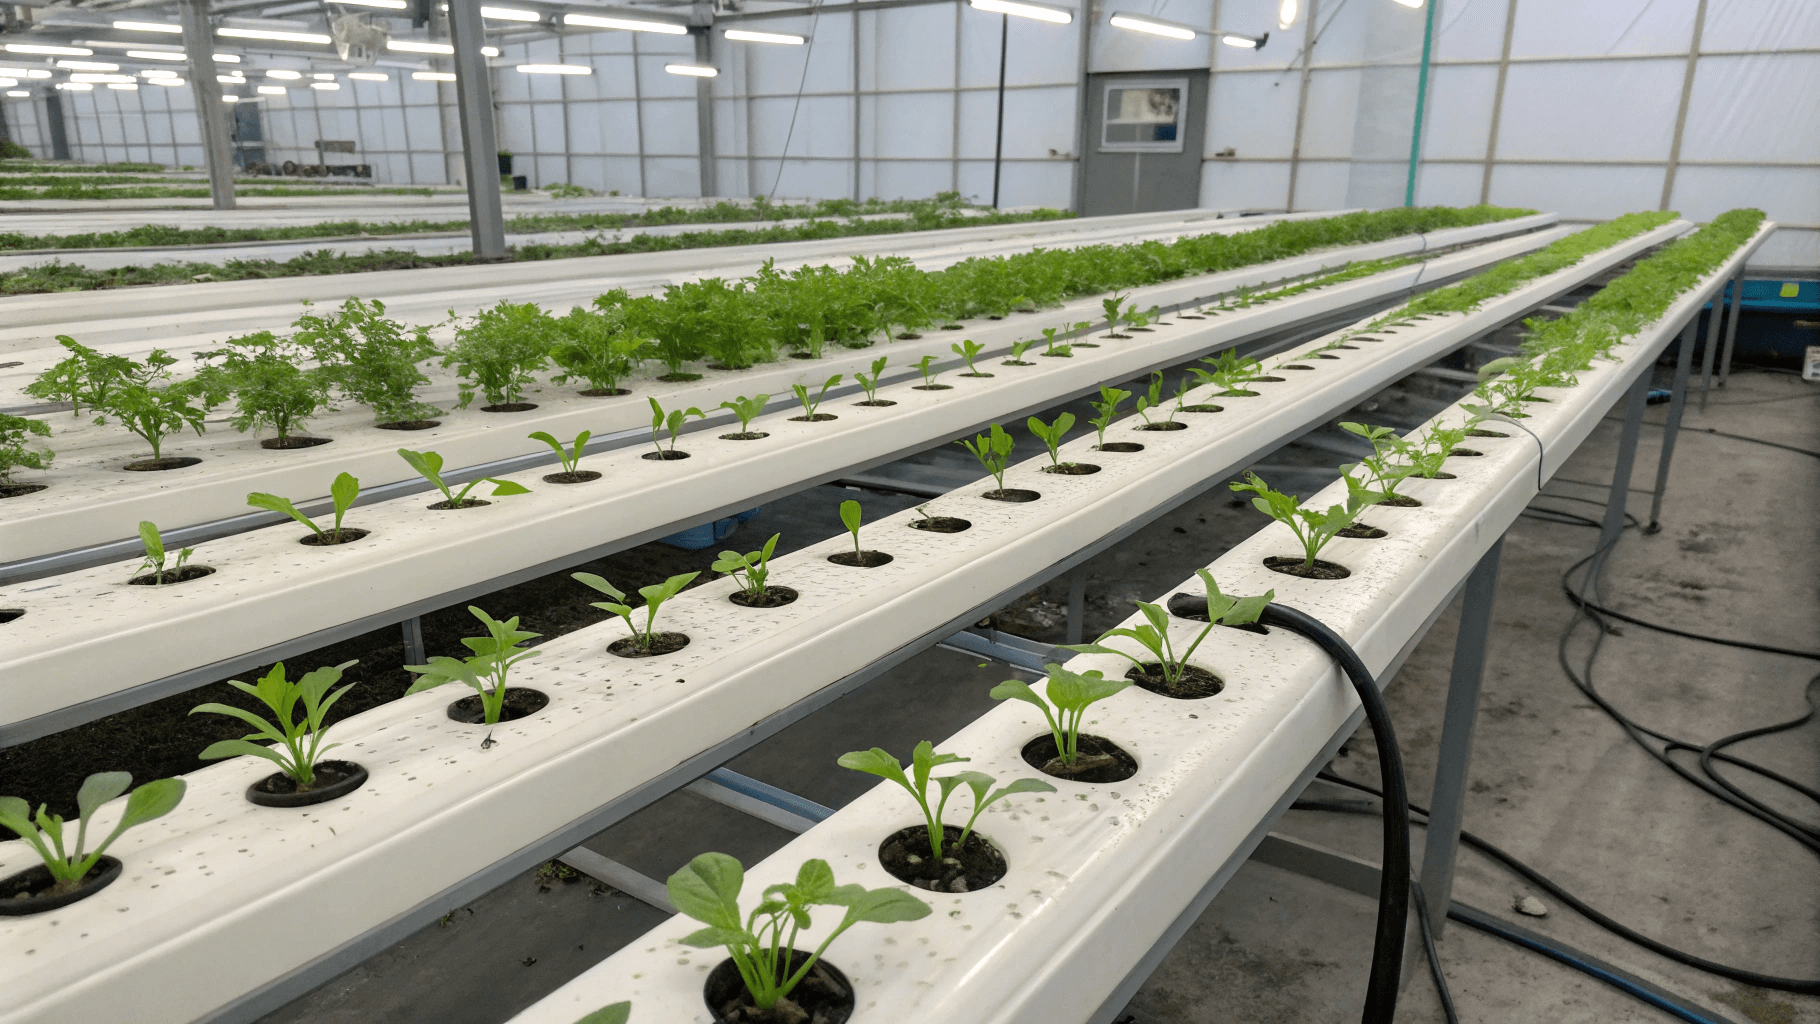
- How It Works: A thin stream of nutrient solution flows through sloping PVC pipes or channels, bathing roots.
- DIY Example: Repurpose rain gutters mounted on a wall.
- Setup Cost: 80–200 for a DIY setup using PVC pipes or repurposed gutters.
- Best For: Vertical gardens or balconies.
- Tip: Angle channels at 3–5° to ensure smooth water flow.
| Pros | Cons |
| Great for vertical setups | Power outages can dry roots quickly |
3. Ebb and Flow: The Versatile Workhorse
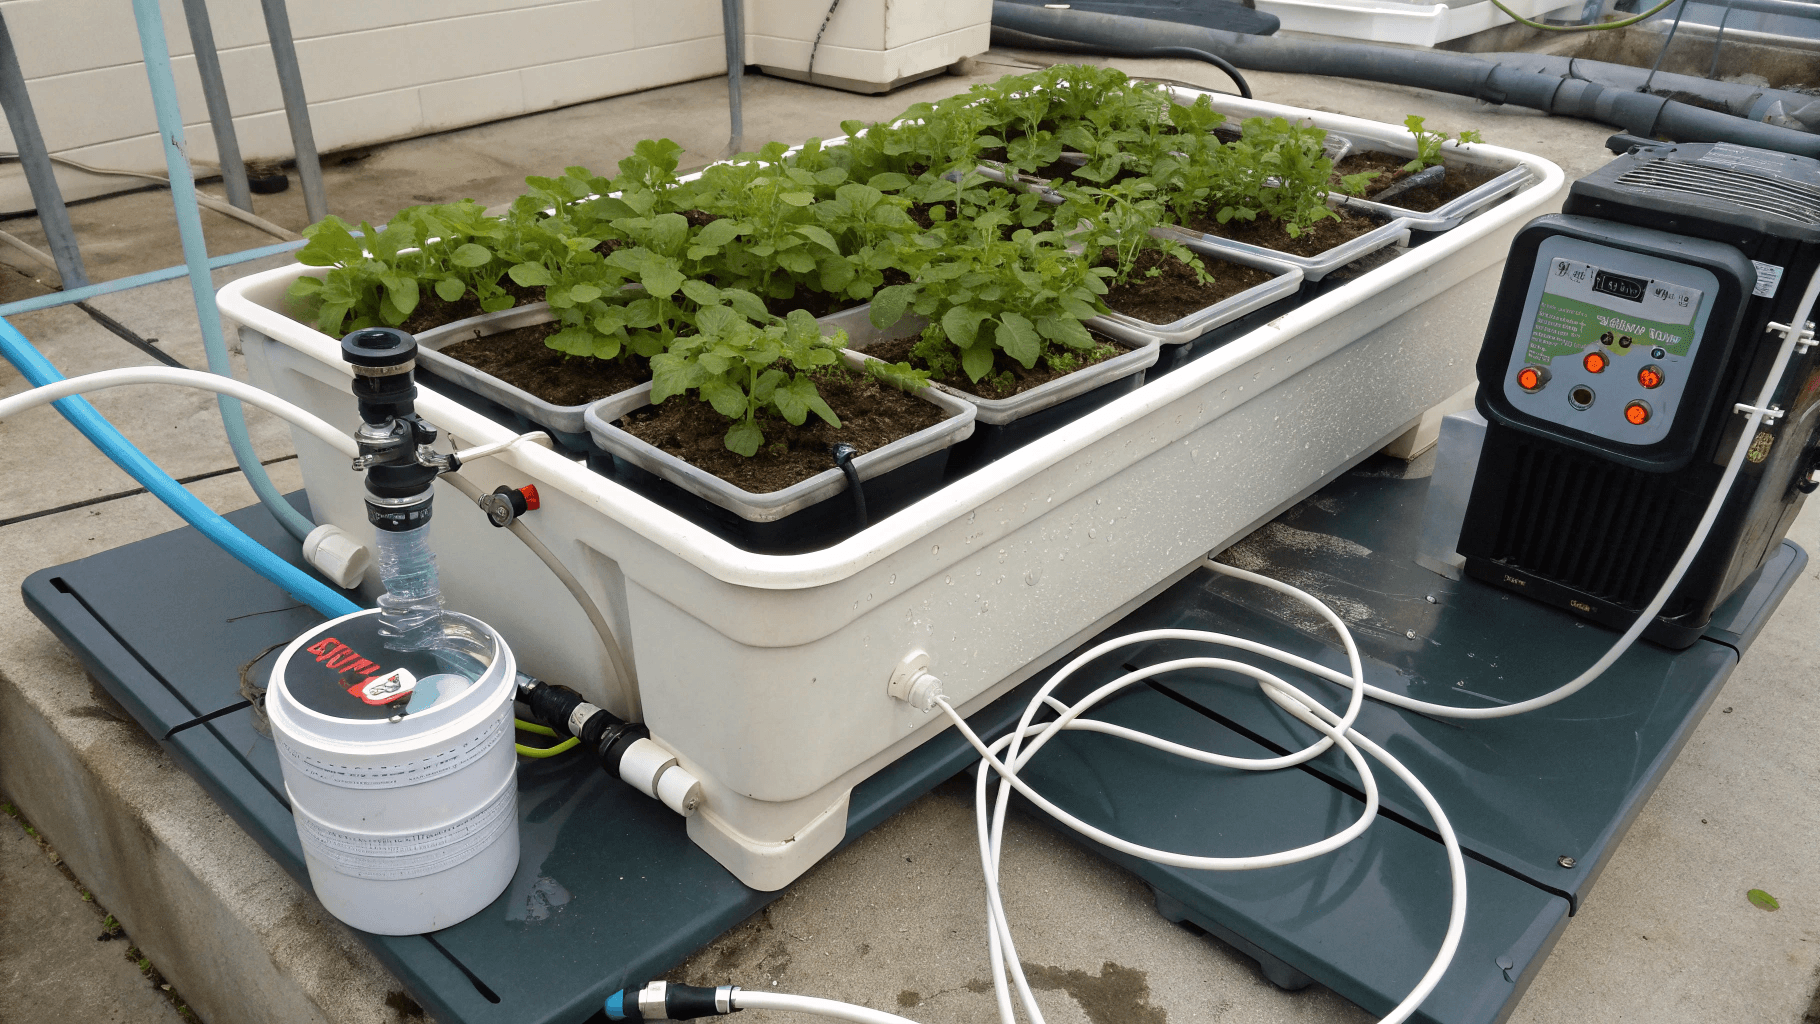
- How It Works: Plants sit in trays that flood with nutrient solution 2–4 times daily, then drain.
- DIY Example: Use a storage tote, submersible pump, and timer.
- Setup Cost: 150–300 for a DIY system using a storage tote, pump, and timer.
- Best For: Medium to large setups with multiple plants.
- Tip: Use clay pebbles as a grow medium—they’re reusable and pH-neutral.
| Pros | Cons |
| Mimics natural soil conditions | Requires timers and pumps |
4. Kratky Method: The Lazy Gardener’s Dream
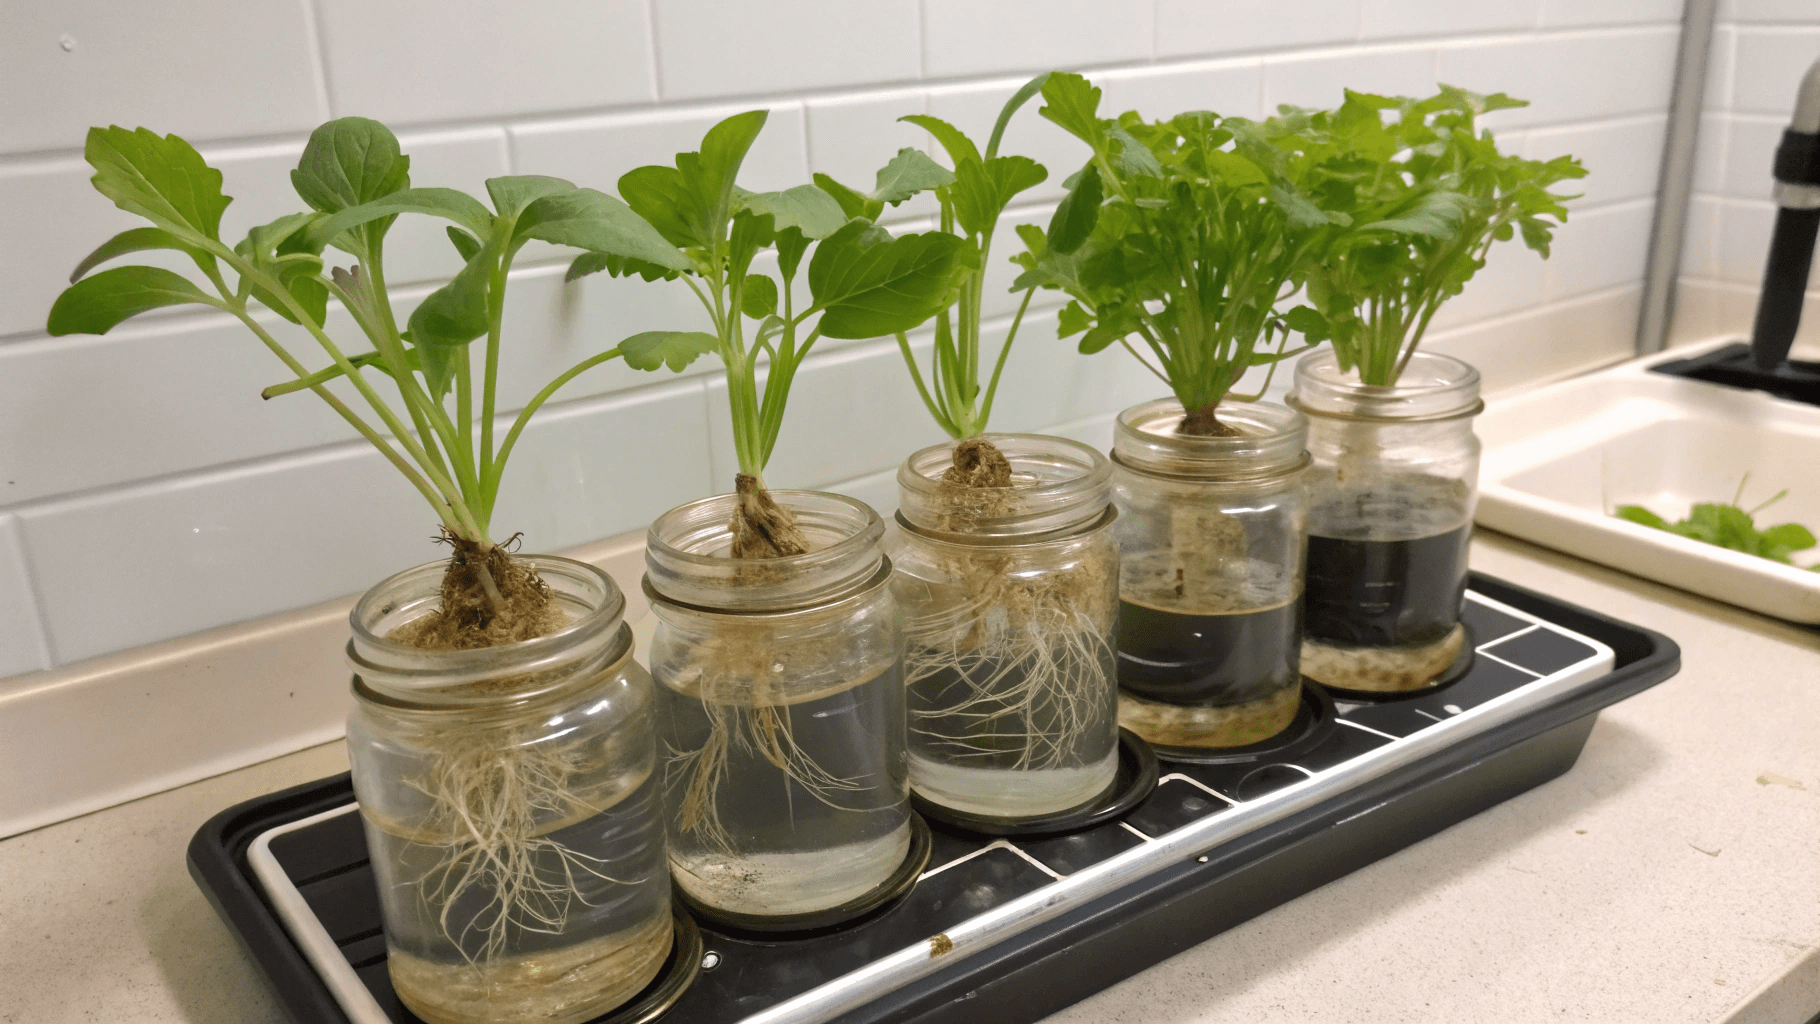
- How It Works: Plants sit in stationary nutrient solution with no pumps or electricity. The solution level drops as roots grow.
- DIY Example: Mason jars with net lids.
- Setup Cost: 20-50for mason jars or plastic containers.
- Best For: Low-maintenance growers or classrooms.
- Tip: Start with smaller plants like herbs before graduating to strawberries.
| Pros | Cons |
| Energy-free, ideal for herbs and leafy greens | Not ideal for long-term fruiting plants (requires refilling) |
Bonus: Read my articles “Best Vertical Garden Hydroponic Systems” and “Small-Space Hydroponics” to choose the best hydroponic system for you.
The Best Strawberry Varieties
Not all strawberries thrive in hydroponics. Day-neutral varieties are superstars because they fruit continuously, regardless of daylight hours.
Here are the top picks:
1. Albion
- Flavor: Bold sweetness with a hint of tartness.
- Yield: High (1–2 lbs per plant).
- Grow Time: 8–10 weeks from seedling.
- Why Growers Love It: Resistant to verticillium wilt and powdery mildew.
2. Seascape
- Flavor: Juicy with tropical notes, ideal for desserts.
- Yield: Moderate (0.5–1 pound per plant).
- Grow Time: 6–8 weeks.
- Why Growers Love It: Tolerates temperature fluctuations.
3. Mara des Bois
- Flavor: Wild strawberry aroma, chef’s favorite.
- Yield: Moderate but intensely flavorful.
- Why Growers Love It: Perfect for gourmet growers.
4. Quinault
- Flavor: Mild and sweet.
- Yield: Compact plant, perfect for small systems.
Avoid June-bearing varieties like Allstar—they require seasonal dormancy and more space, and large varieties like Chandler—they need too much space.
Hydroponic Strawberry Nutrients: What to Use
Strawberries are picky eaters. They demand precise nutrient ratios at different growth stages.
Strawberries need a balanced mix of:
Macronutrients
- Nitrogen (N): For leaf growth (use 10-5-5 in vegetative stage).
- Phosphorus (P): For flowers and roots (switch to 5-10-10 during fruiting).
- Potassium (K): For fruit size and sweetness.
Micronutrients
- Calcium: Prevents blossom-end rot.
- Magnesium: Supports photosynthesis.
- Iron: Critical for chlorophyll production.
Vegetative Stage (Weeks 1–4)
Nutrient Ratio: Aim for a 10-5-5 NPK formula.
- Focus: Leaf and root development.
- Key Nutrients:
- Nitrogen (N): 100–150 ppm (parts per million).
- Calcium (Ca): 80–120 ppm to prevent weak stems.
- Magnesium (Mg): 50–75 ppm for chlorophyll production.
pH: 5.5–6.0.
Flowering/Fruiting Stage (Weeks 5+)
Nutrient Ratio: Switch to a 5-10-10 formula.
- Focus: Blooms and berries.
- Key Nutrients:
- Phosphorus (P): 100–120 ppm for flower formation.
- Potassium (K): 150–200 ppm for sugar content.
- Boron (B): 0.5–1 ppm to aid pollination.
pH: 5.8–6.2.
DIY Nutrient Mix Recipe
For 5 gallons of water:
- 10 ml Cal-Mag
- 8 ml Potassium Silicate (strengthens cell walls)
- 5 ml Seaweed Extract (natural growth hormone)
Tip: Test EC (Electrical Conductivity) weekly. Aim for 1.8–2.5 mS/cm. Higher EC risks nutrient burn; lower EC starves plants.
Always adjust pH to 5.5–6.2 using pH Up/Down solutions.
Recommended Nutrient Brands:
- General Hydroponics Flora Series
- Fox Farm Liquid Nutrient Trio
- MasterBlend Strawberry Formula
- Botanicare KIND
- Botanicare Pure Blend Pro
- Advanced Nutrients pH Perfect
Mix nutrients according to package instructions. Change the solution every 2 weeks.
Environment Mastery: Light, Temperature & Humidity

Lighting
Strawberries need 14–16 hours of light daily.
Indoor Grow Lights:
- LEDs: Use full-spectrum LEDs (300–600 watts) or T5 fluorescent lights for energy efficiency. Hang 12–18 inches above plants.
- Natural Light: South-facing windows work, but supplement with LEDs in winter.
Outdoor:
- Ensure 6–8 hours of direct sunlight.
Temperature
- Day: 65–75°F (18–24°C)
- Night: 50–60°F (10–15°C)
Cooler nights enhance sugar production!
Humidity
- Ideal Range: 60–70% (use a hygrometer to monitor)
- pH Level: 5.5–6.2 (test weekly with a pH meter).
- Too High? Use a dehumidifier to prevent mold.
- Too Low? Mist plants or add a humidifier.
Step-by-Step Growing Guide
1. Starting from Seeds vs. Seedlings
- Seeds: Soak seeds in water for 24 hours before planting, then plant in rockwool cubes. Germination takes 14–21 days.
- Seedlings: Buy bare-root plants for faster results. Trim roots to 4–5 inches before transplanting.
2. Transplanting
- When: Seedlings should have 3–4 true leaves.
- How: Gently place roots into net pots filled with clay pebbles or coco coir. Ensure roots touch the nutrient solution. Secure plants with grow sponges if needed.
3. Pollination: The Bee-Free Method
- Indoor Hack: Gently shake plants. Do this daily during flowering, or use a soft brush to transfer pollen between flowers.
4. Pruning for Prosperity
- Remove yellow leaves, runners (stolons), and excess blooms (leave 5–6 flowers per plant for larger berries).
5. Harvesting
- When: Berries are fully red but firm. Harvest in the morning for best flavor.
- How: Snip stems with scissors—don’t tug! Hydroponic strawberries ripen 4–6 weeks after flowering.
6. Storage Tips
- Short-Term: Store in the fridge for 5–7 days.
- Long-Term: Freeze berries on a baking sheet, then transfer to bags.
Hydroponic Strawberries Grow Time
- Seed to Harvest: 12–14 weeks.
- Seedling to Harvest: 6–8 weeks.
- Continuous Harvest: Plants produce fruit for 6–12 months.
Tip: Stagger planting every 2 weeks for year-round berries.
Troubleshooting: Fixes for Common Issues
1. Yellow Leaves
- Causes: Nitrogen deficiency, pH imbalance, or overwatering.
- Fix: Flush the system with pH-balanced water, then add a nitrogen boost.
2. Root Rot
- Causes: Poor aeration or contaminated water.
- Fix: Trim black roots, add hydrogen peroxide (1 tsp/gal), and increase aeration. Add air stones to your reservoir.
3. No Flowers
- Causes: Excess nitrogen or insufficient light.
- Fix: Switch to bloom nutrients and ensure 14+ hours of light.
4. Bitter Berries
- Causes: High EC or inconsistent watering.
- Fix: Dilute the nutrient solution and maintain a steady pH.
5. Small Fruit
- Causes: Not enough light or potassium.
- Fix: Increase light hours or add bloom nutrients.
Cost Analysis: Is Hydroponics Worth It?
Startup Costs
- Budget Setup (Kratky): 30$–100$
- Mid-Range (NFT): 100$–300$
- High-End (Ebb & Flow + LEDs): 400$–1000$
Ongoing Costs
- Nutrients: 20–50/month
- Electricity: 10–30/month (for pumps and LEDs)
Savings
- Yield: Hydroponics produces 2–3x more berries per square foot.
- Longevity: Systems last 3–5 years with proper care.
Final Thoughts
Growing hydroponic strawberries is a fun, efficient way to enjoy fresh fruit year-round. While it requires an initial investment, the rewards—faster growth, bigger harvests, and fewer pests—make it worth it. By mastering this technique, you’re not only growing food but also conserving water, reducing pesticide use, and reclaiming control over your food supply.
While the organic debate rages on, hydroponics offers a pragmatic solution for modern challenges. So, grab your net pots, mix your nutrients, and join the soil-free revolution. Your first harvest of glistening, homegrown strawberries is just weeks away!

Leave a Reply