Building a raised garden bed doesn’t have to be complicated or expensive. With the right materials and a simple design, you can create a productive, long-lasting growing space for very little money.
In this guide, you’ll learn how to build a raised garden bed the cheapest way, the pros and cons of different materials, and a step-by-step method for assembling your own 4×8 raised garden bed on a budget.
Related content:
Why Build a Raised Garden Bed on a Budget?
Raised beds improve drainage, warm up faster in spring, reduce weeds, and make gardening easier for beginners. But buying pre-made beds or expensive lumber can add up fast.
By choosing budget-friendly materials and a simple construction method, you can save money while still getting all the benefits of raised bed gardening.
Building a Raised Bed Doesn’t Have to Be Expensive
So, what’s the cheapest way to build a raised bed? Use locally available or reclaimed materials, such as untreated wood, old bricks, cinder blocks, or even heavy-duty grow bags, and stick to a basic rectangular design that requires minimal tools.
Best Budget-Friendly Materials for Raised Garden Beds
Raised beds can be built from nearly anything that creates a sturdy sidewall. Each material has its pros, cons, and cost considerations.
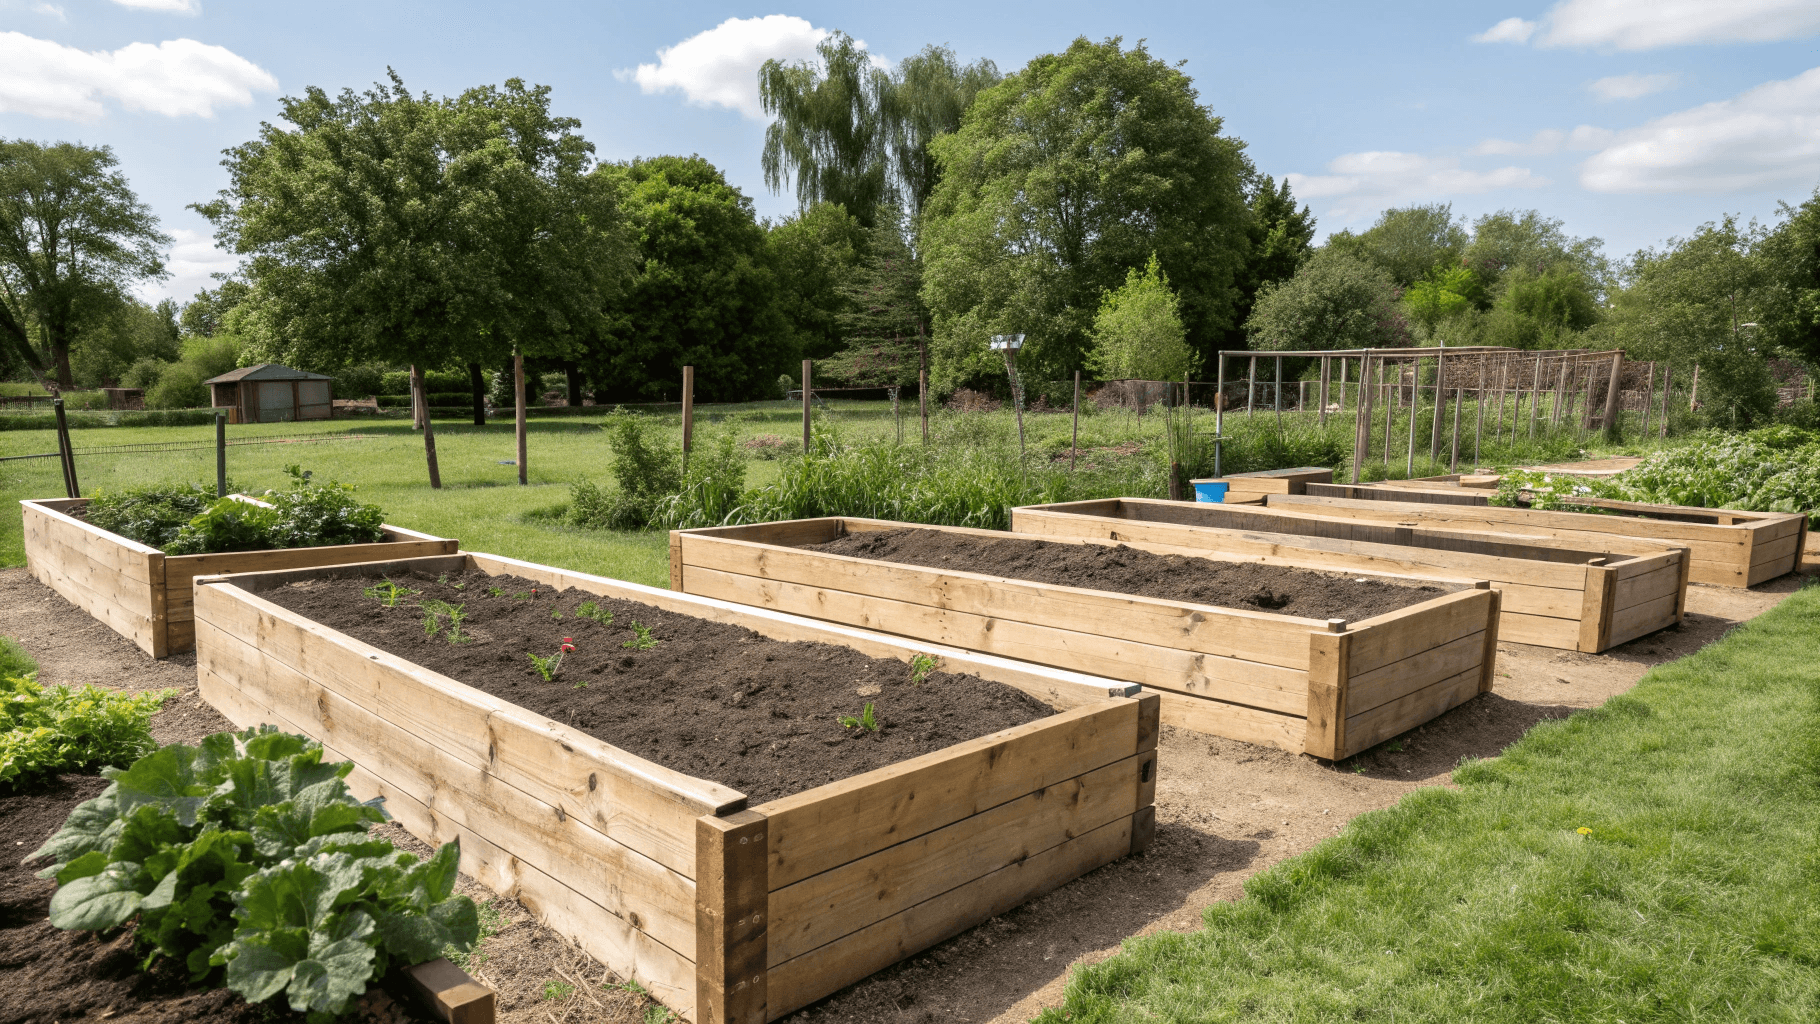
1. Wood
Wood is the classic choice for raised beds because it’s easy to work with and gives your garden a natural look.
Pros:
- Easy to cut, assemble, and source
- Affordable, especially if reclaimed
- Warm soil earlier in spring
Cons:
- Organic wood rots over time
- Treated lumber must be garden-safe (modern pressure-treated lumber is generally safe but still debated by some gardeners)
Best wood types:
- Untreated pine or spruce – cheapest but shorter lifespan
- Cedar – naturally rot-resistant, lasts 10-15 years
- Redwood – durable but expensive
2. Metal (Galvanized Steel or Corrugated Panels)
Metal beds have become increasingly popular for their sleek look and long lifespan.
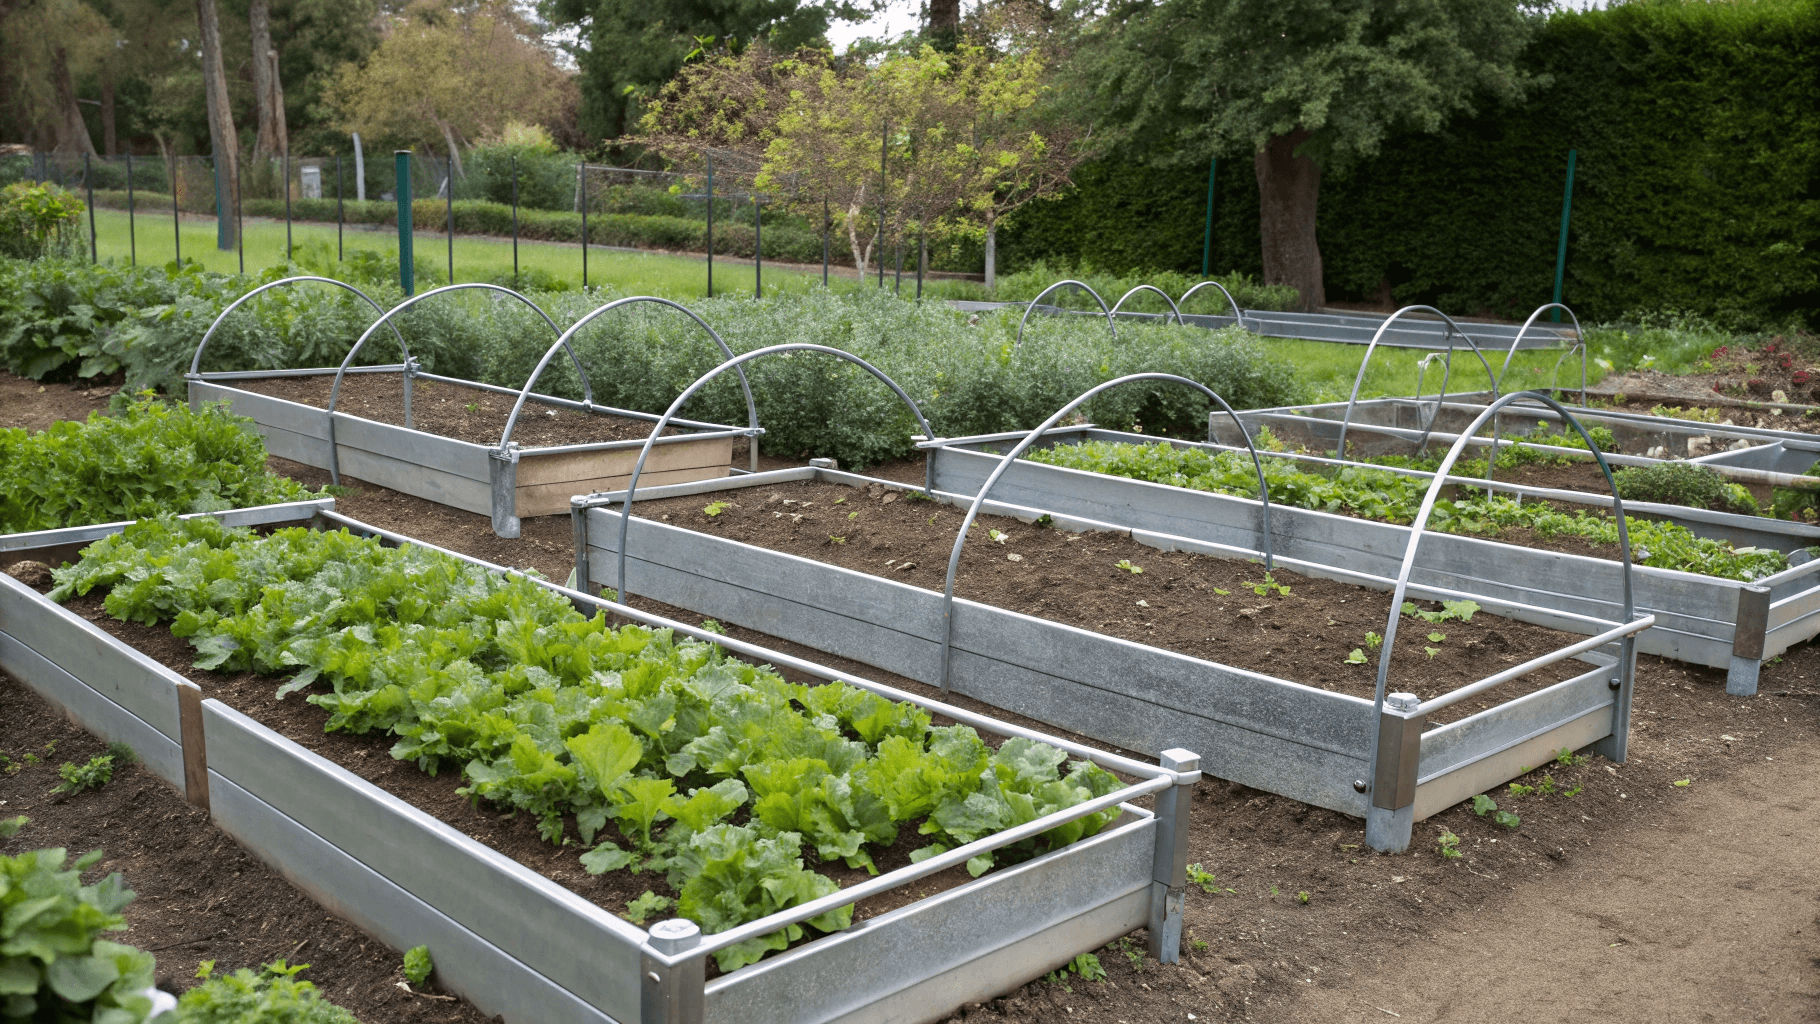
Pros:
- Extremely durable
- Resists pests and rot
- Lightweight and easy to assemble
- Modern aesthetic
Cons:
- Can be pricier upfront
- Metal can warm soil faster in hot climates
Great option if you want something long-lasting with minimal maintenance.
3. Bricks
Bricks create a beautiful, classic-looking raised bed.
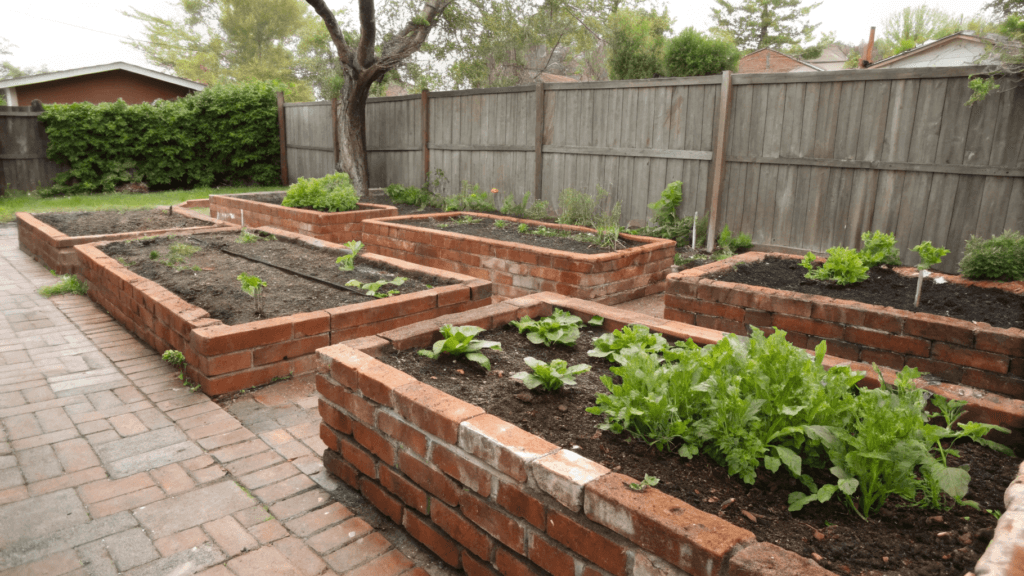
Pros:
- Attractive and sturdy
- Won’t rot
- Easily sourced from salvage yards or leftovers
Cons:
- Heavy
- Can get expensive unless you find them cheaply or for free
- Assembly takes longer
Bricks work well if you want a rustic or traditional garden look.
4. Cinder Blocks
Cinder blocks are one of the most popular budget-friendly options.
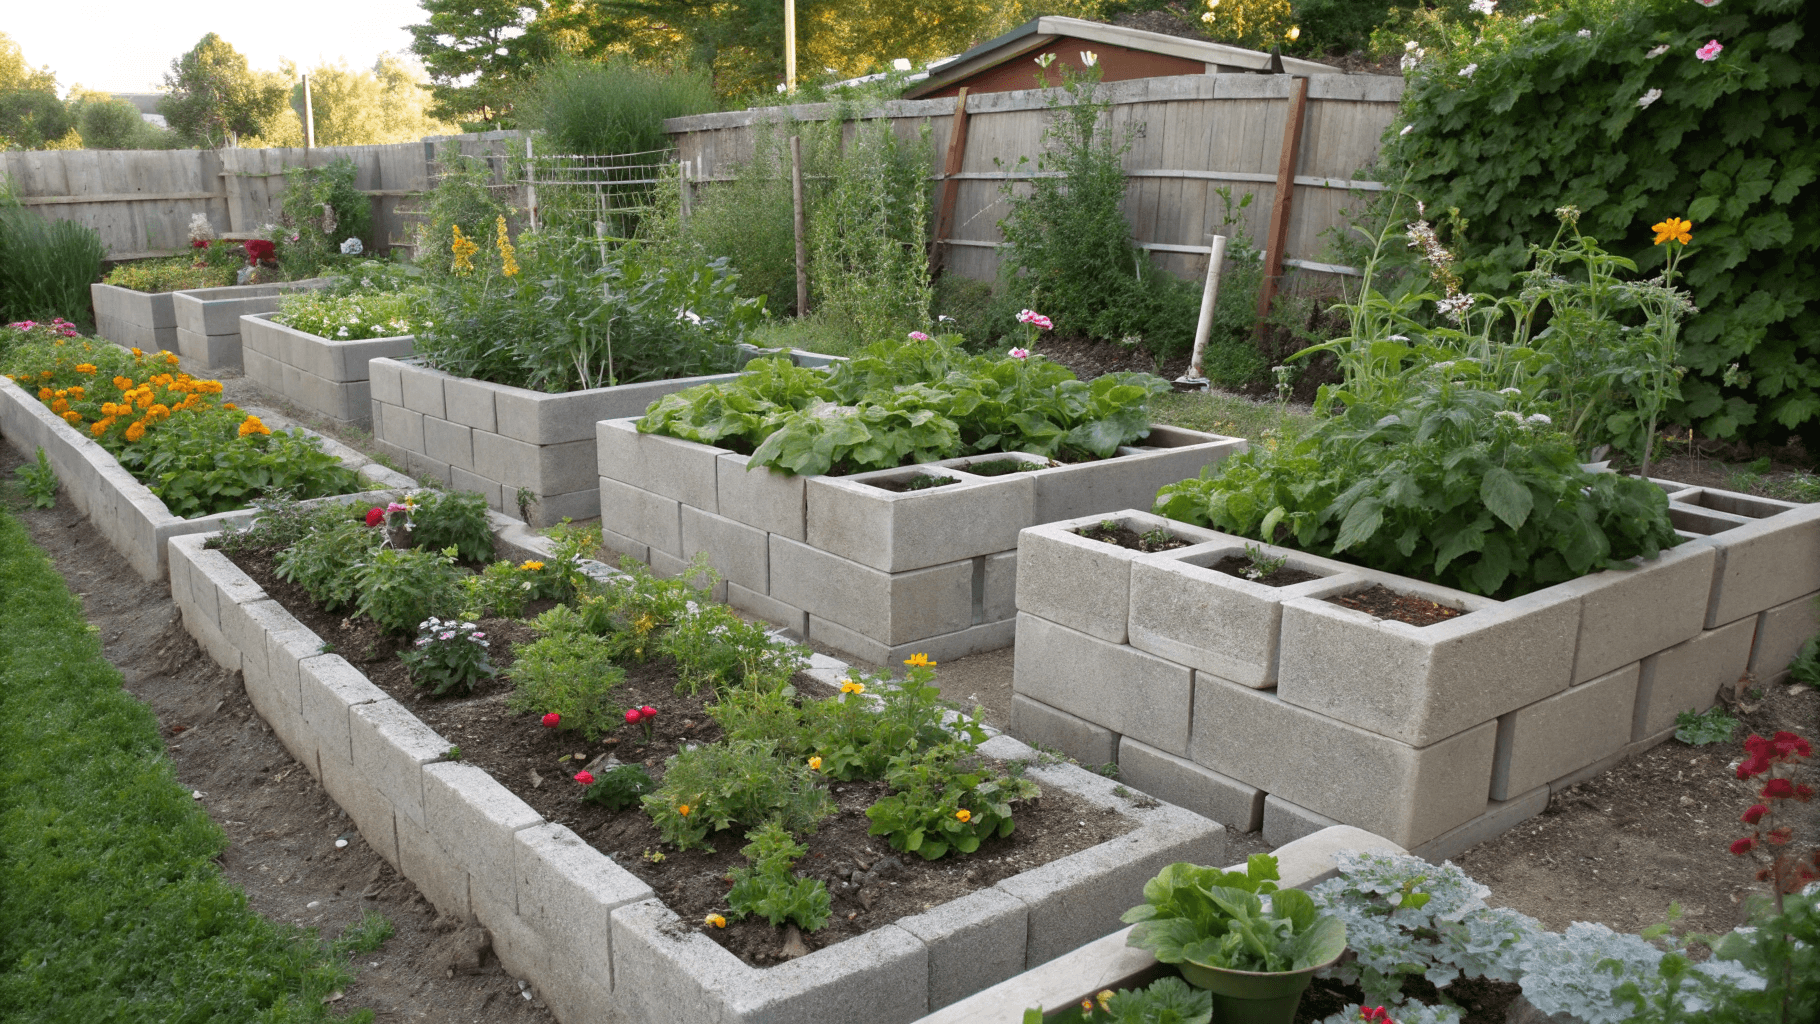
Pros:
- Very affordable
- Extremely durable
- No tools required
- Extra planting pockets in block holes
Cons:
- Industrial appearance (can be painted or covered)
- Heavy to move
If strength and cost matter more than aesthetics, cinder blocks are unbeatable.
5. Fabric Beds (Grow Bags or Fabric Raised Bed Frames)
Fabric beds are the easiest and fastest solution.
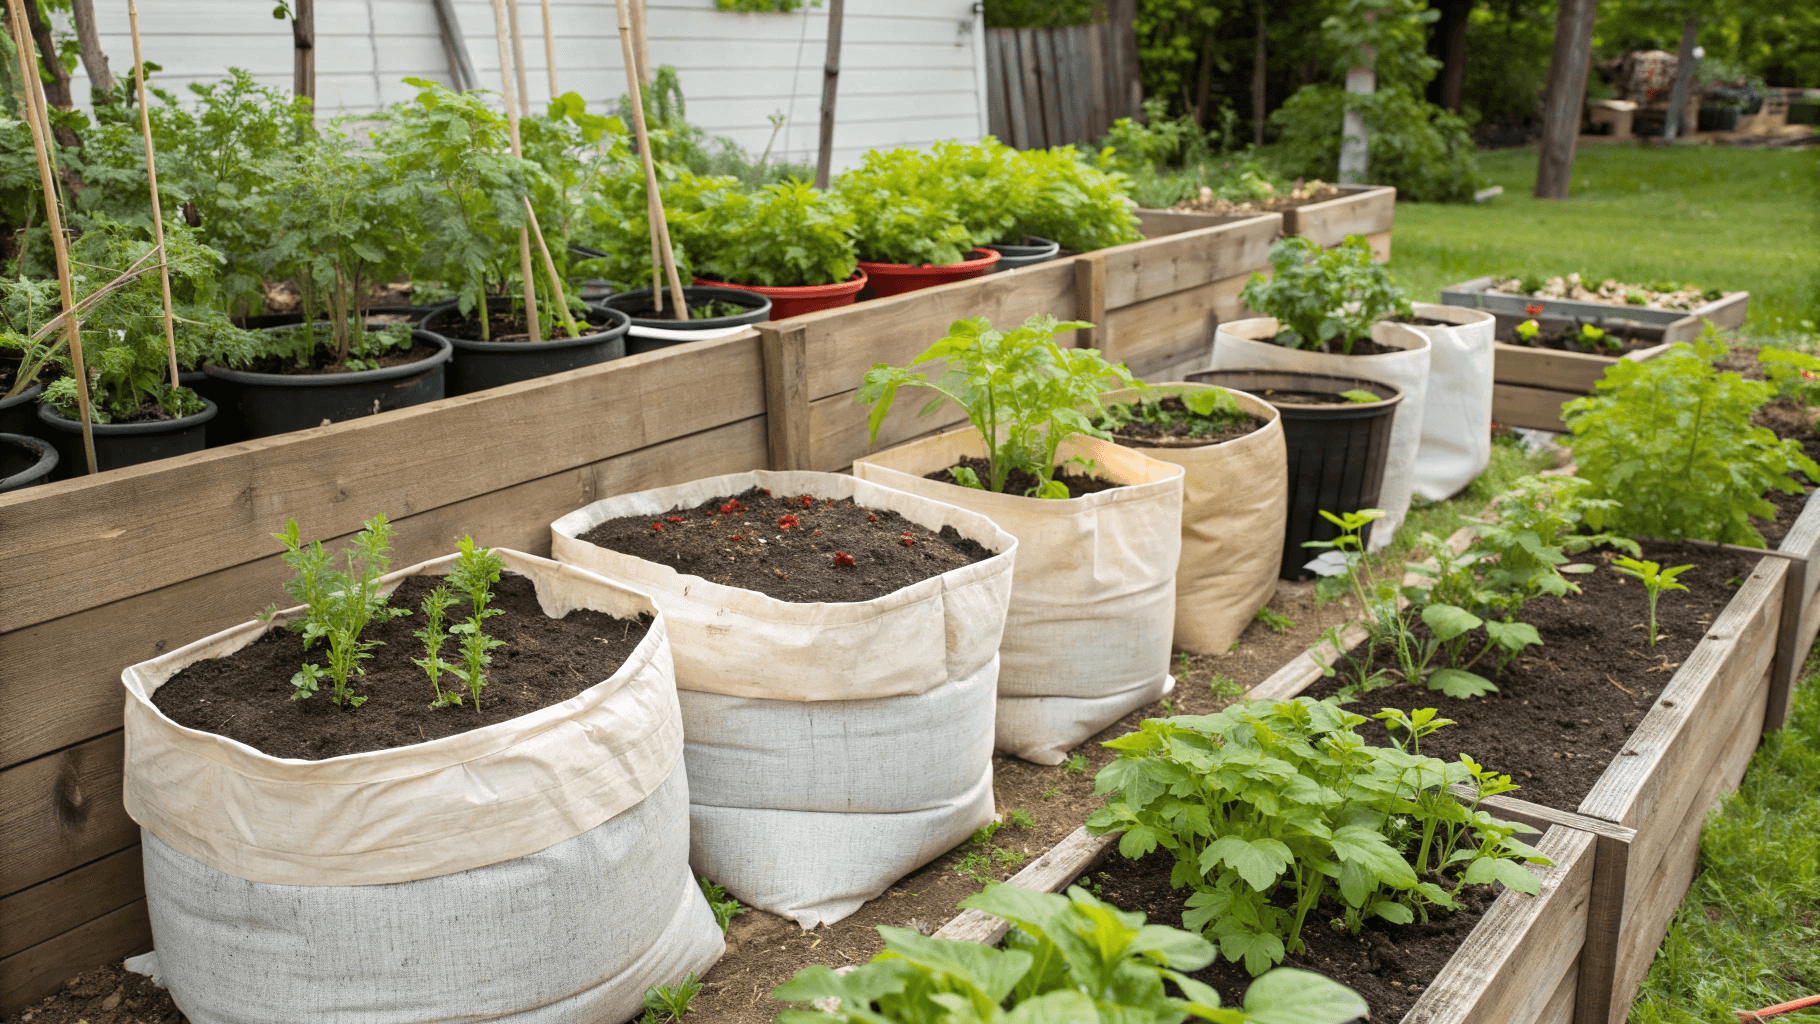
Pros:
- Very inexpensive
- No construction required
- Great drainage
- Can be moved when empty
Cons:
- Only lasts a few seasons
- Not ideal for areas with sharp rocks or strong winds
Perfect for renters or first-time gardeners trying a low-risk setup.
What Size Raised Bed Should You Build? (Best Sizes for Beginners)
The most popular raised bed sizes are 4×4, 4×8, and 2×8. A 4-foot width is ideal because you can reach the center from either side without stepping into the soil.
Beginners should start with a 4×8 or 4×4 bed because they’re easy to fill, inexpensive, and maximize planting space.
Cheapest Ways to Build a Raised Garden Bed
If your main goal is to keep costs as low as possible, here are the top money-saving methods:
1. Use reclaimed or leftover wood
Old fence panels, pallets (heat-treated only), or scrap lumber can often be found free or cheaply. Just avoid chemically treated pallets (stamped with “MB”).
2. Build with cinder blocks
Often $1-$2 each at hardware stores, and you only need 10-16 blocks for a typical small bed. They require no cutting, drilling, or special tools; just place them in a rectangle and fill with soil.
3. Stack old bricks or stones
If you have a pile of landscaping stones or leftover bricks, put them to use.
4. Buy fabric grow beds
A 4×4-foot fabric bed is often $10-$20 and still lasts several years.
5. Use logs
If you have access to woodland areas or recently cut trees, logs make a rustic and sturdy border. This is a zero-cost option for many people.
6. Check local “free stuff” listings
Facebook Marketplace, Craigslist, and neighborhood groups often have free wood, bricks, or blocks.
7. No-Frame Raised Bed
For ultra-budget builds, you can mound soil into a defined shape without any wooden or metal frame. This technically still counts as a raised bed and works well for temporary gardening.
Soil is often the most expensive part, not the frame. Filling your bed creatively (logs, sticks, leaves, compostables) using the Hugelkultur method can cut soil costs dramatically.
The simplest budget-friendly raised bed is a wooden rectangle made from four untreated boards, nothing fancy, cheap hardware, and just a few cuts.
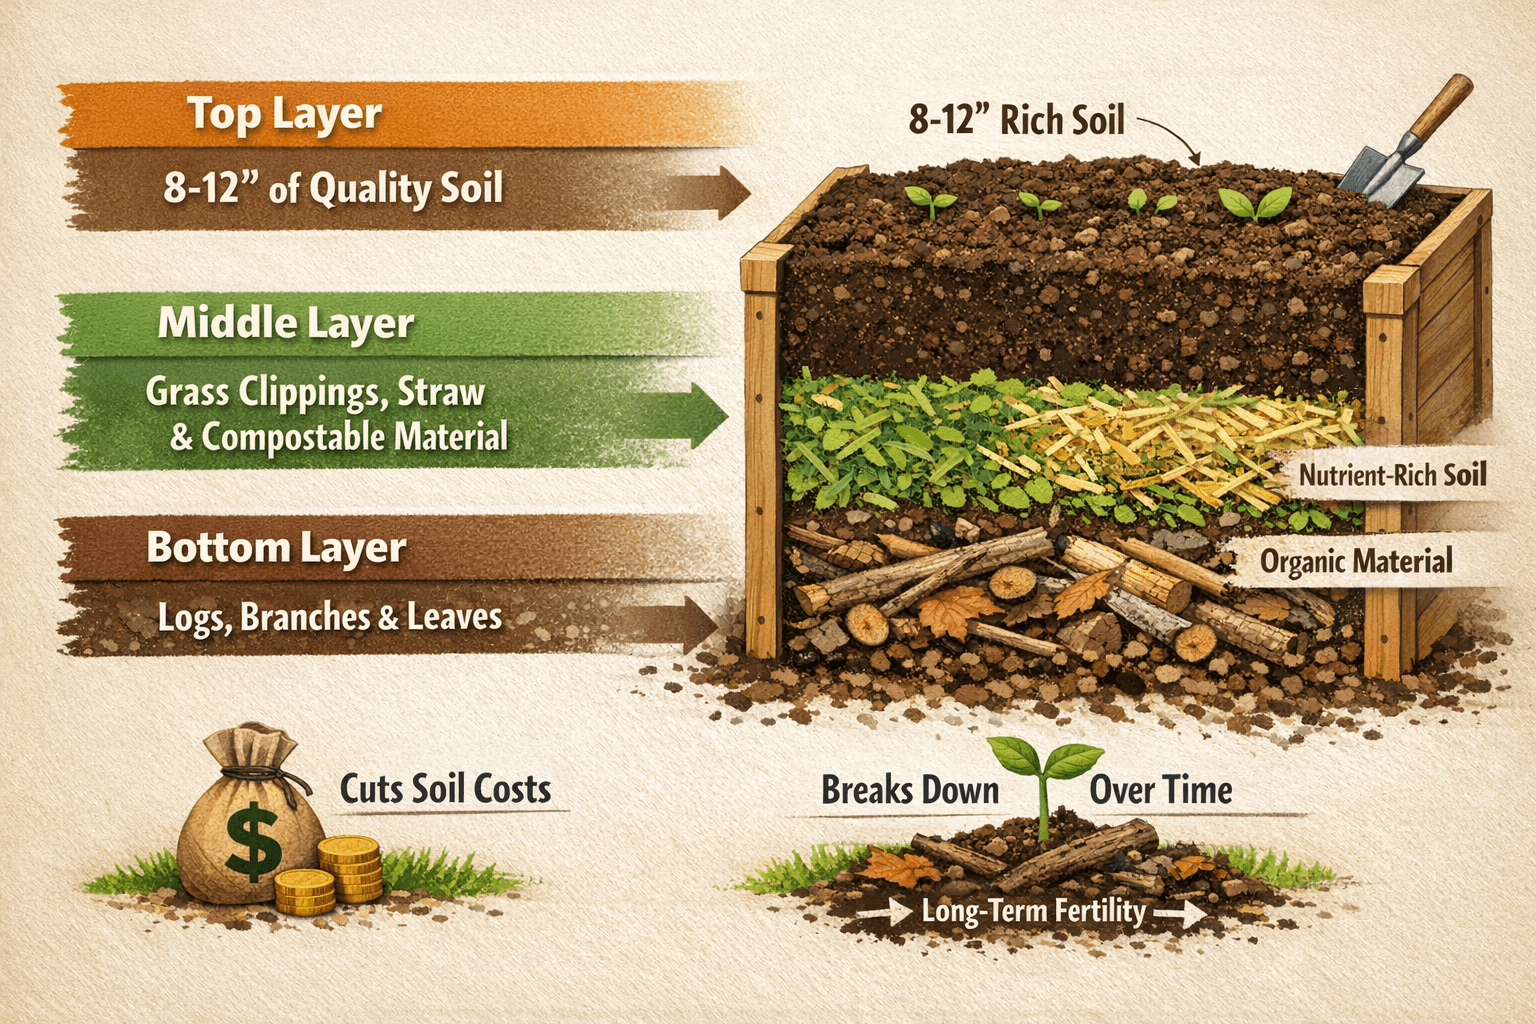
How to Fill a Raised Bed Cheaply (Hugelkultur Method)
Soil is often the most expensive part of building a raised bed. One of the easiest ways to save money is by using a layered fill method similar to Hugelkultur.
Fill the bottom third of the bed with logs, sticks, branches, or leaves. Add compostable material like grass clippings, straw, or shredded paper on top. Finish with 8-12 inches of high-quality soil.
Related content: How to Fill a Raised Garden Bed for Cheap
This reduces soil costs and creates long-term fertility as the organic matter breaks down.
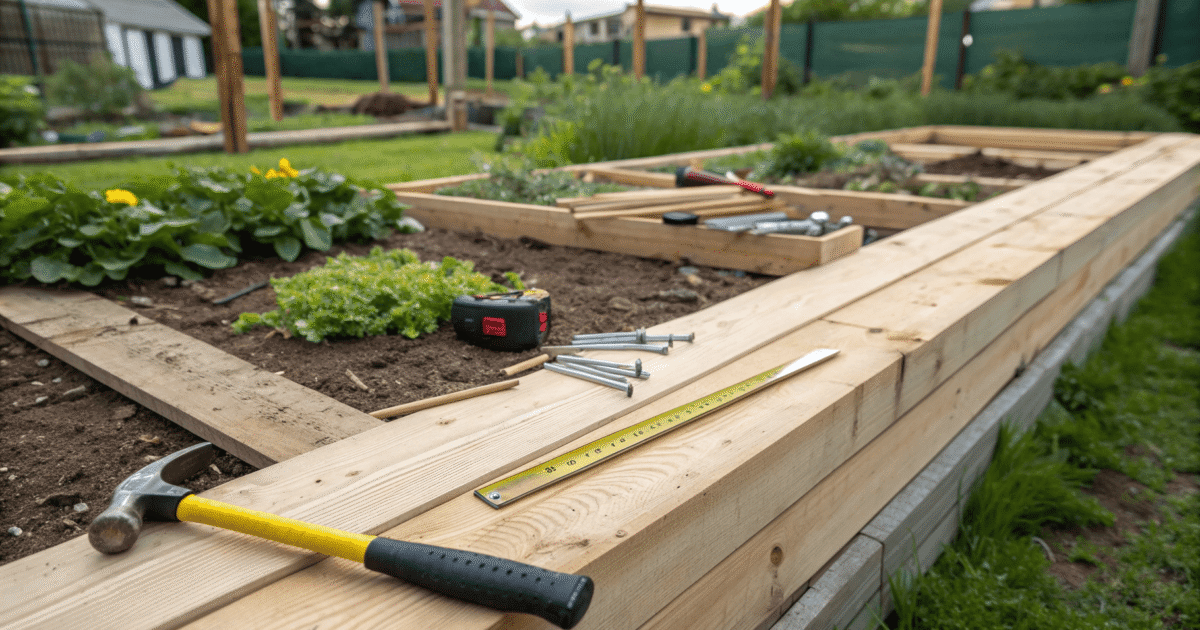
How to Build a Raised Garden Bed Step-by-Step
Below is a simple guide for building a 4 ft x 8 ft wooden raised bed, one of the most efficient and practical garden sizes.
Materials Needed:
- (2) boards: 2″ x 12″ x 8 ft
- (2) boards: 2″ x 12″ x 4 ft
- Exterior screws (deck screws work well, 2.5″ or 3″)
- Drill or screwdriver
- Measuring tape
- Level (optional but helpful)
- Cardboard (optional for weed control)
Step 1: Choose a level spot
Place your frame on the ground in the chosen spot before building (more on choosing the right location). A mostly level area requires less adjustment later. Use a level or simply adjust the soil underneath to even it out.
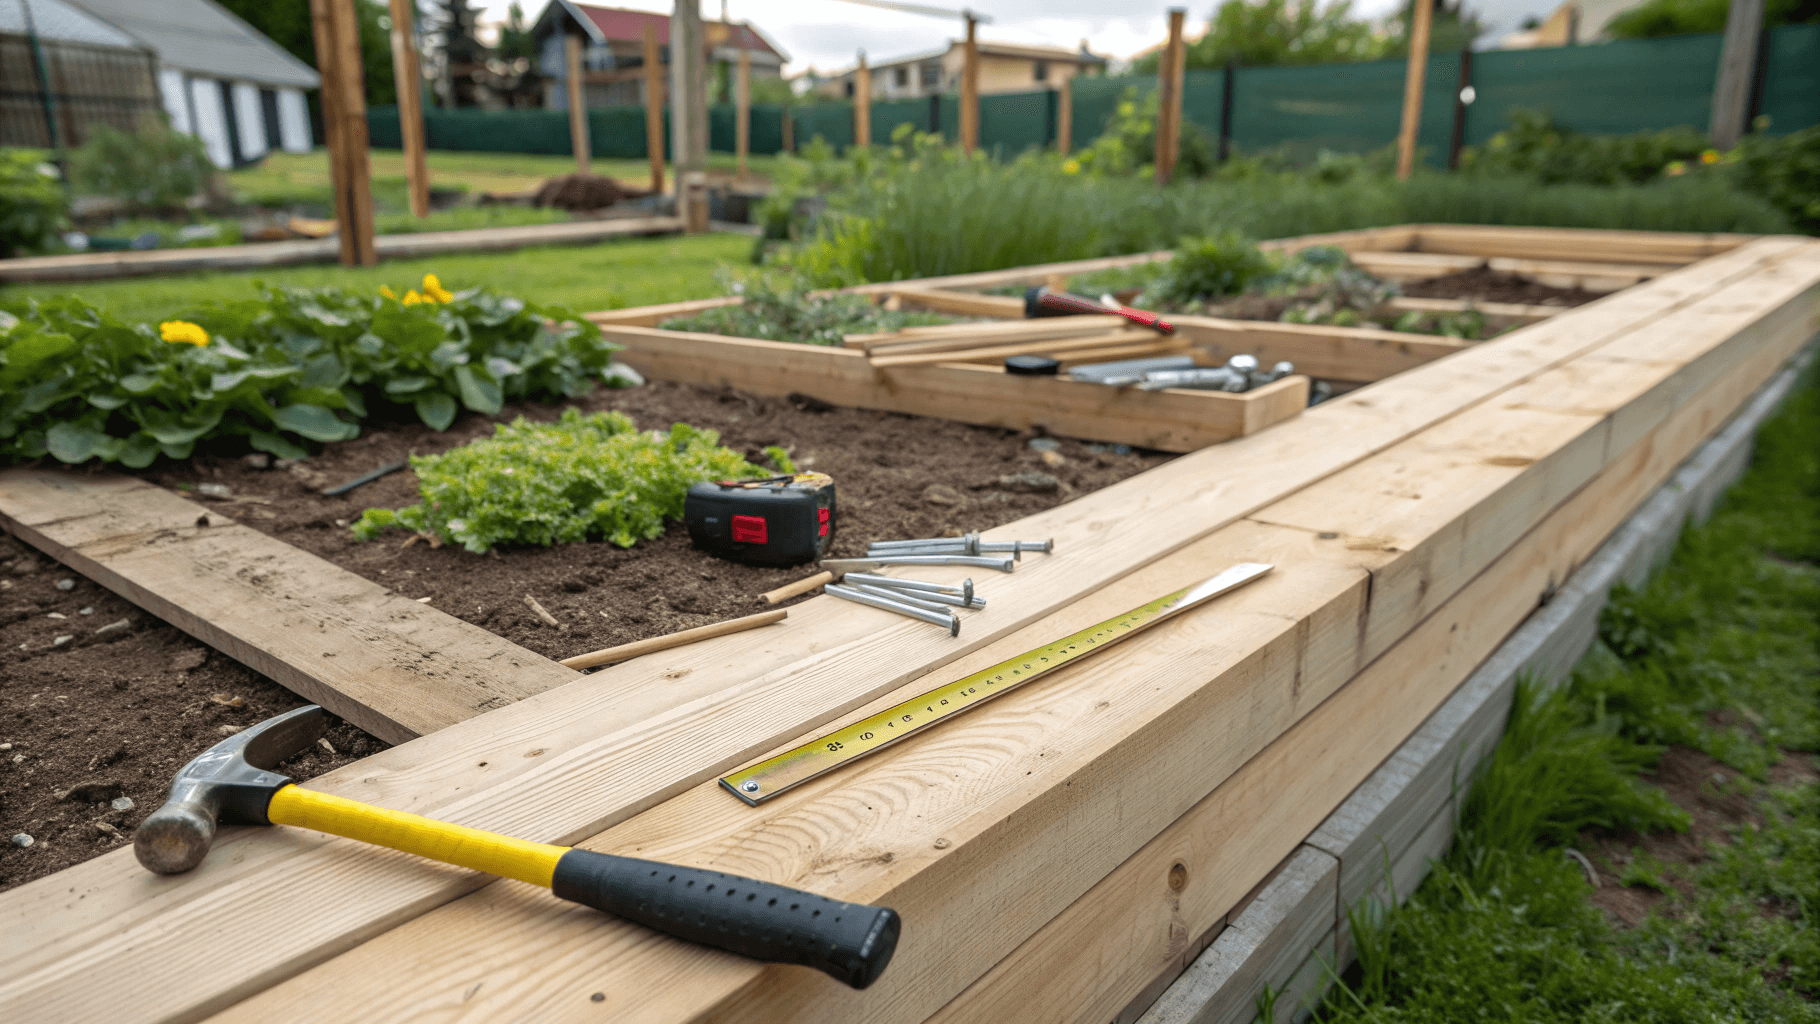
Step 2: Lay out your boards
Place the 8 ft boards parallel, then position the 4 ft boards between them to form a rectangle.
Step 3: Screw the corners together
- Use 2-3 screws per corner for stability.
- Pre-drill holes if your wood tends to split.
- Ensure corners are flush for stability.
Use a clamp or a friend to hold the corners square while attaching screws.
Step 4: Add a weed barrier (Optional)
Lay cardboard inside the frame to smother grass and weeds. It will break down naturally and improve soil quality.
Avoid plastic barriers; they can cause drainage issues.
Step 5: Fill the bed with soil
A cost-saving fill method:
Bottom layer: Sticks, branches, leaves
Middle layer: Compostable material – grass clippings, straw, shredded paper
Top layer (8-12 inches): Quality garden soil or compost mix
A quality blend includes:
- 1/3 topsoil
- 1/3 compost
- 1/3 soil conditioner (coconut coir, peat moss, or fine bark)
For deeper beds (12-24 inches), consider layering:
- Logs or branches
- Small twigs
- Leaves or grass clippings
- Compost
- Topsoil
This creates a nutrient-rich base while using less topsoil.
Step 6: Water to settle
Watering helps the soil settle so you can top off if needed.
Step 7: Plant your crops and mulch
Once filled and watered, plant your seeds or seedlings. Add mulch or straw around plants to conserve moisture.
What to Grow in a Raised Bed (Beginner-Friendly Crops)
Raised beds are perfect for vegetables that prefer loose, well-drained soil. Beginner-friendly crops include lettuce, carrots, radishes, green beans, peppers, tomatoes, onions, herbs, and zucchini.
Plant taller crops on the north side of the bed so they don’t cast shade on shorter plants.
Related: Vegetable Gardening for Beginners – 8 Easy and Simple Tips to Start Now
How to Choose the Best Location for Your Raised Garden Bed
Where you place your raised bed matters just as much as how you build it.
Sunlight
Most vegetables need 6-8 hours of direct sun, especially tomatoes, peppers, and squash. Leafy greens can tolerate partial shade. If your yard has mixed light, place taller plants on the north side of the bed to avoid shading others.
Proximity to Water
Place your bed close to a hose or watering source. You don’t want to drag a hose across the entire yard every day.
You may also be interested in this solution:
Soil and drainage
Raised beds naturally drain well, but placing them in a low spot can still create water pooling. Choose a slightly elevated area or add gravel under the bed if your yard gets soggy.
Protection from wind
If you live in a windy area, position your bed near a fence or plant windbreaks.
Avoid tree roots
Tree roots will invade your bed for moisture and nutrients. Stay 6-10 feet away from large trees if possible.
Align the bed north-to-south for the most even sunlight distribution.
Lining Your Raised Bed (Yes or No?)
One common question is whether you need to line the bottom or sides of your raised bed.
When You Should Line It
- You have invasive weeds or grasses (like Bermuda grass)
- Your soil is contaminated or of poor quality
- You’re using wood and want to extend its lifespan
Best lining materials:
- Weed barrier fabric
- Cardboard (cheap and decomposes naturally)
- Hardware cloth (against burrowing animals)
When You Shouldn’t Line It
- You want maximum drainage
- You’re using deep beds
- You want earthworms to move freely
- You have healthy native soil
- You’re using rot-resistant wood
Lining Sidewalls:
Lining the inside of wooden beds with heavy-duty plastic can slow rot, but make sure to poke drainage holes to prevent water buildup.
Bottom line:
Lining is optional, not required. Choose based on your soil conditions and wildlife pressures. Use cardboard on the bottom if weeds or grass are present.
How Long Different Materials Last
Here’s a quick comparison of the cost, durability, and pros and cons of each raised bed material:
| Material | Cost | Lifespan | Pros | Cons |
|---|---|---|---|---|
| Pine/Spruce Wood | Low | 3-7 years | Cheap, easy to build | Rots fastest |
| Cedar/Redwood | Medium-High | 10-20 years | Naturally rot-resistant | Expensive |
| Galvanized Metal | Medium | 20+ years | Strong, long-lasting | Warms soil quickly |
| Cinder Blocks | Low | 15-20+ years | Very durable, cheapest | Industrial appearance |
| Bricks | Medium | 20+ years | Attractive, sturdy | Heavy, more expensive |
| Fabric Beds | Very Low | 3-7 years | Cheapest, no tools required | Not permanent |
Durability varies widely depending on climate, moisture, and construction, but here’s a general guideline:
Wood
- Pine/Spruce: 3-7 years
- Cedar: 10-15 years
- Redwood: 8-20 years
- Treated Lumber: 10-20 years (modern types are considered garden-safe)
Metal
- Galvanized steel: 20+ years
- Corrugated metal panels: 15-25 years
Metal is one of the longest-lasting materials with minimal upkeep.
Bricks
- Bricks: 20 years or more
Bricks can last decades but may shift and need occasional re-leveling.
Cinder Blocks
Cinder blocks: 15-20+ years
Nearly indestructible unless exposed to severe freeze-thaw cycles.
Fabric Beds
Fabric raised beds: 3-7 years
Depends heavily on weather exposure.
No matter the material, placing mulch around the outside of your raised bed helps regulate temperature and moisture, prolonging its lifespan.
Conclusion
Building a raised bed doesn’t have to drain your wallet or your weekend. With a few simple materials and a bit of planning, you can create a productive growing space that fits your budget, skill level, and garden goals.
Whether you choose scrap wood, cinder blocks, metal panels, or a simple fabric bed, the key is to use materials that suit your climate, your budget, and your long-term plans. Combine that with a good location, healthy soil, and a simple construction method, and you’re well on your way to a thriving garden.
In the end, raised beds are less about perfection and more about production. Start simple, grow what you love, and enjoy the process.

Leave a Reply