How to prepare soil for garlic is the single most important step to growing big, flavorful bulbs. When it comes to growing garlic, size truly matters, and the secret behind those big, hearty bulbs starts long before you plant your first clove.
The truth is, the yield and quality of your garlic depend more on how you prepare the soil and set up your planting bed than almost anything else. Rich, well-draining soil, proper spacing, and smart mulching practices are what turn small cloves into large, flavorful bulbs bursting with aroma and nutrition.
Why Soil Preparation Determines Garlic Yield
Garlic might seem like an easy crop after all, it’s planted once and harvested months later. However, the truth is that garlic is surprisingly demanding when it comes to soil conditions. The better the soil preparation, the bigger your bulbs will grow.
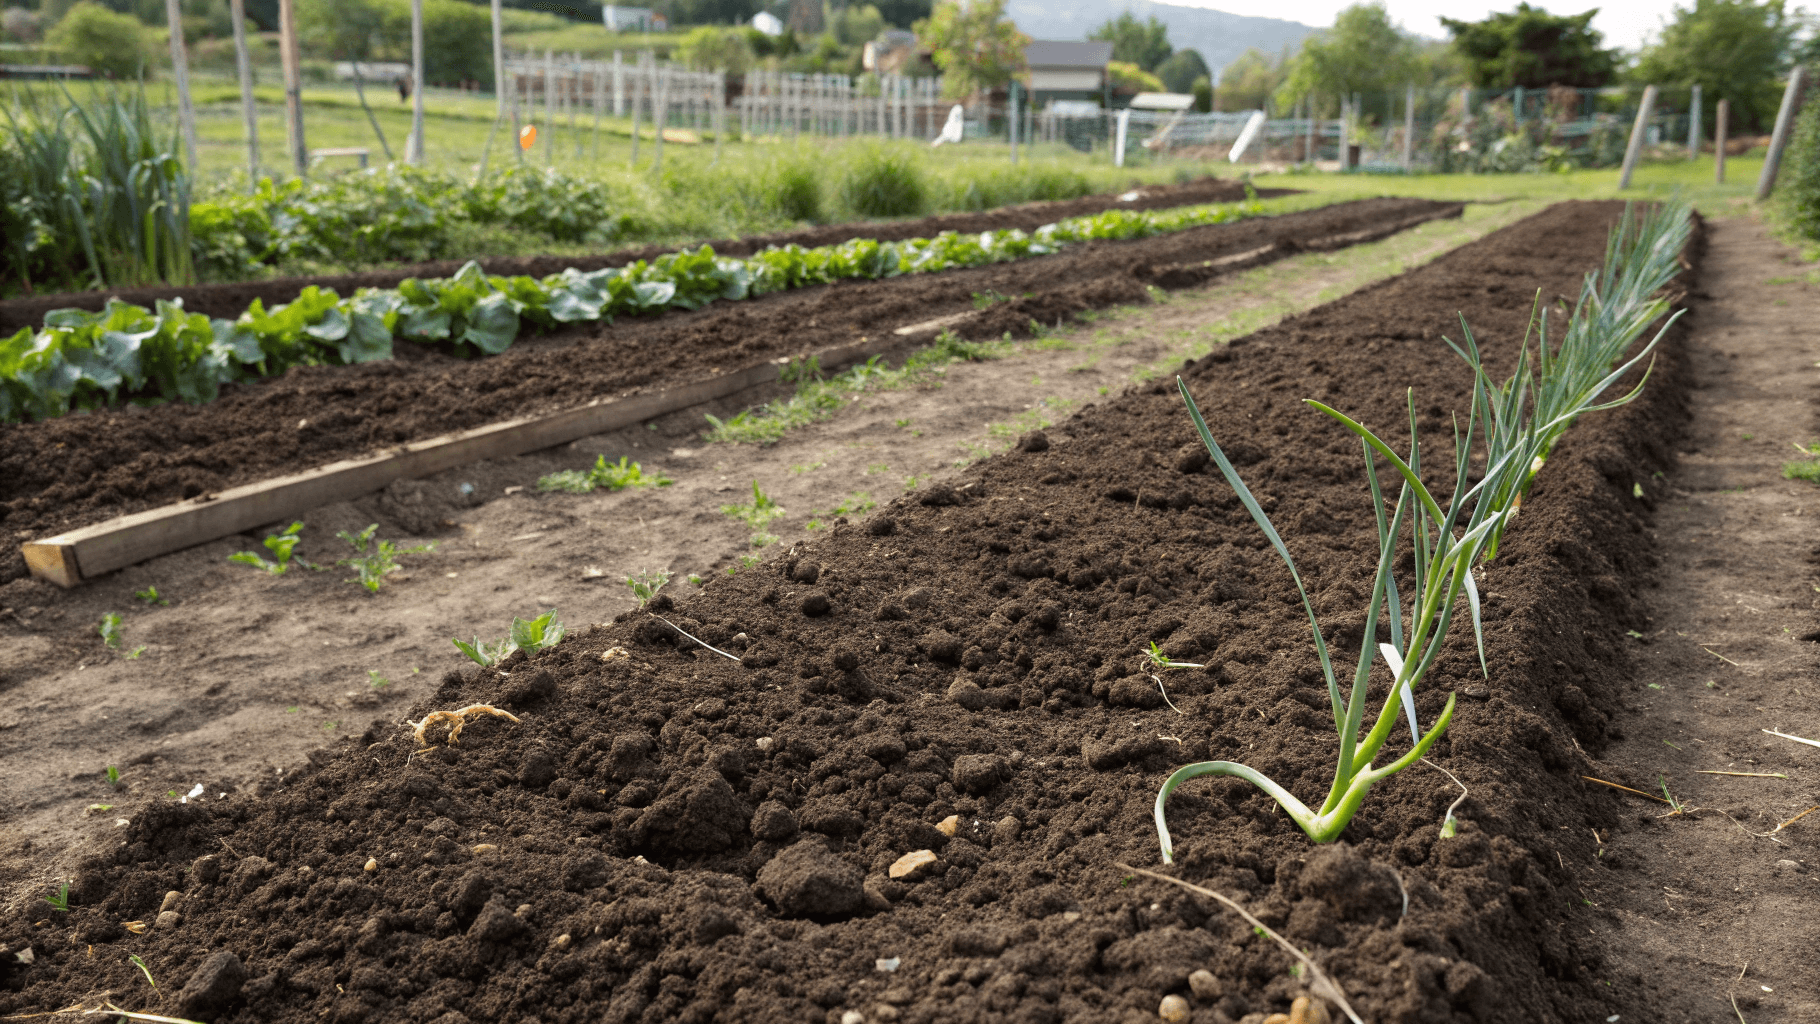
Garlic thrives in loose, fertile, well-draining soil rich in organic matter. If your soil is compacted or holds water, the bulbs will struggle to expand, resulting in smaller heads and an increased risk of rot. Similarly, if nutrients are lacking, your plants will produce lush green tops but tiny bulbs underground.
How to Create Ideal Soil for Garlic Growth
Let’s start from the ground up. To grow big, healthy bulbs, garlic needs a specific set of conditions below the surface. Here’s how to create them.
1. Drainage is Non-Negotiable
Garlic hates sitting in water. Standing moisture around the bulbs encourages fungal diseases and rot, especially during cool months when the soil remains wet for longer periods. To test your drainage, dig a small hole about 12 inches deep, fill it with water, and see how long it takes to drain. If it takes more than an hour, your soil may need amending or raised beds.
To improve drainage:
- Mix in coarse sand or fine gravel to loosen heavy clay.
- Incorporate organic compost or aged manure to improve structure and fertility.
- Consider raised beds if your area is prone to soggy conditions.
Good drainage doesn’t mean dry soil; garlic still needs consistent moisture, but it should never sit in puddles.
2. Aim for the Right pH Balance
Garlic prefers slightly acidic to neutral soil, ideally with a pH between 6.0 and 7.0. You can easily test your soil using an inexpensive at-home kit. If it’s too acidic, add agricultural lime to raise the pH. If it’s too alkaline, use elemental sulfur or composted leaves to lower it gradually.
Maintaining a balanced pH not only helps garlic absorb nutrients effectively but also promotes a thriving ecosystem of beneficial microbes that protect roots from disease.
3. Boost Nutrients with Compost and Organic Matter
Garlic is a heavy feeder, so it loves nutrient-rich soil. Before planting, work 2–3 inches of compost or well-aged manure into the top 8–10 inches of soil. Avoid using fresh manure; it can burn young roots and introduce pathogens.
If you want to give your garlic a little extra boost, sprinkle a slow-release organic fertilizer high in phosphorus (for root development) and potassium (for bulb growth). Bone meal or a natural bulb fertilizer mix works perfectly.
TIP: A few weeks before planting, water your prepared bed thoroughly and let it rest. This helps nutrients settle and allows microbial life to flourish before garlic cloves go in.
Spacing, Depth, and Orientation
Once your soil is ready, the next key factor in producing large bulbs is how you plant your garlic. Spacing, depth, and even the direction each clove faces can make a noticeable difference in yield.
How Deep Should You Plant Garlic?
Garlic cloves should be planted 2 to 3 inches deep, measured from the tip of the clove to the soil surface. In colder regions, go slightly deeper (up to 3 inches) to protect against freezing and frost heave. In warmer areas, a shallower depth works fine.
Too shallow, and the bulbs may dry out or get exposed to temperature swings. Too deep, and they’ll struggle to emerge and may form smaller bulbs.
Spacing
Give your garlic room to grow; crowding leads to smaller heads. Space cloves 4–6 inches apart in rows that are about 10–12 inches apart. This allows each plant to develop a full, wide bulb without competition for nutrients and moisture.
In small gardens or raised beds, you can stagger the rows diagonally to fit more cloves without sacrificing air circulation.
Orientation
It sounds simple, but many beginners make this mistake: always plant cloves pointed end up and root end down. The pointed tip is where the new shoot emerges, and planting it upside-down confuses the growth direction, slowing development.
Gently press each clove into the soil, cover it, and pat the surface lightly to remove air pockets.
Mulching and Winter Protection
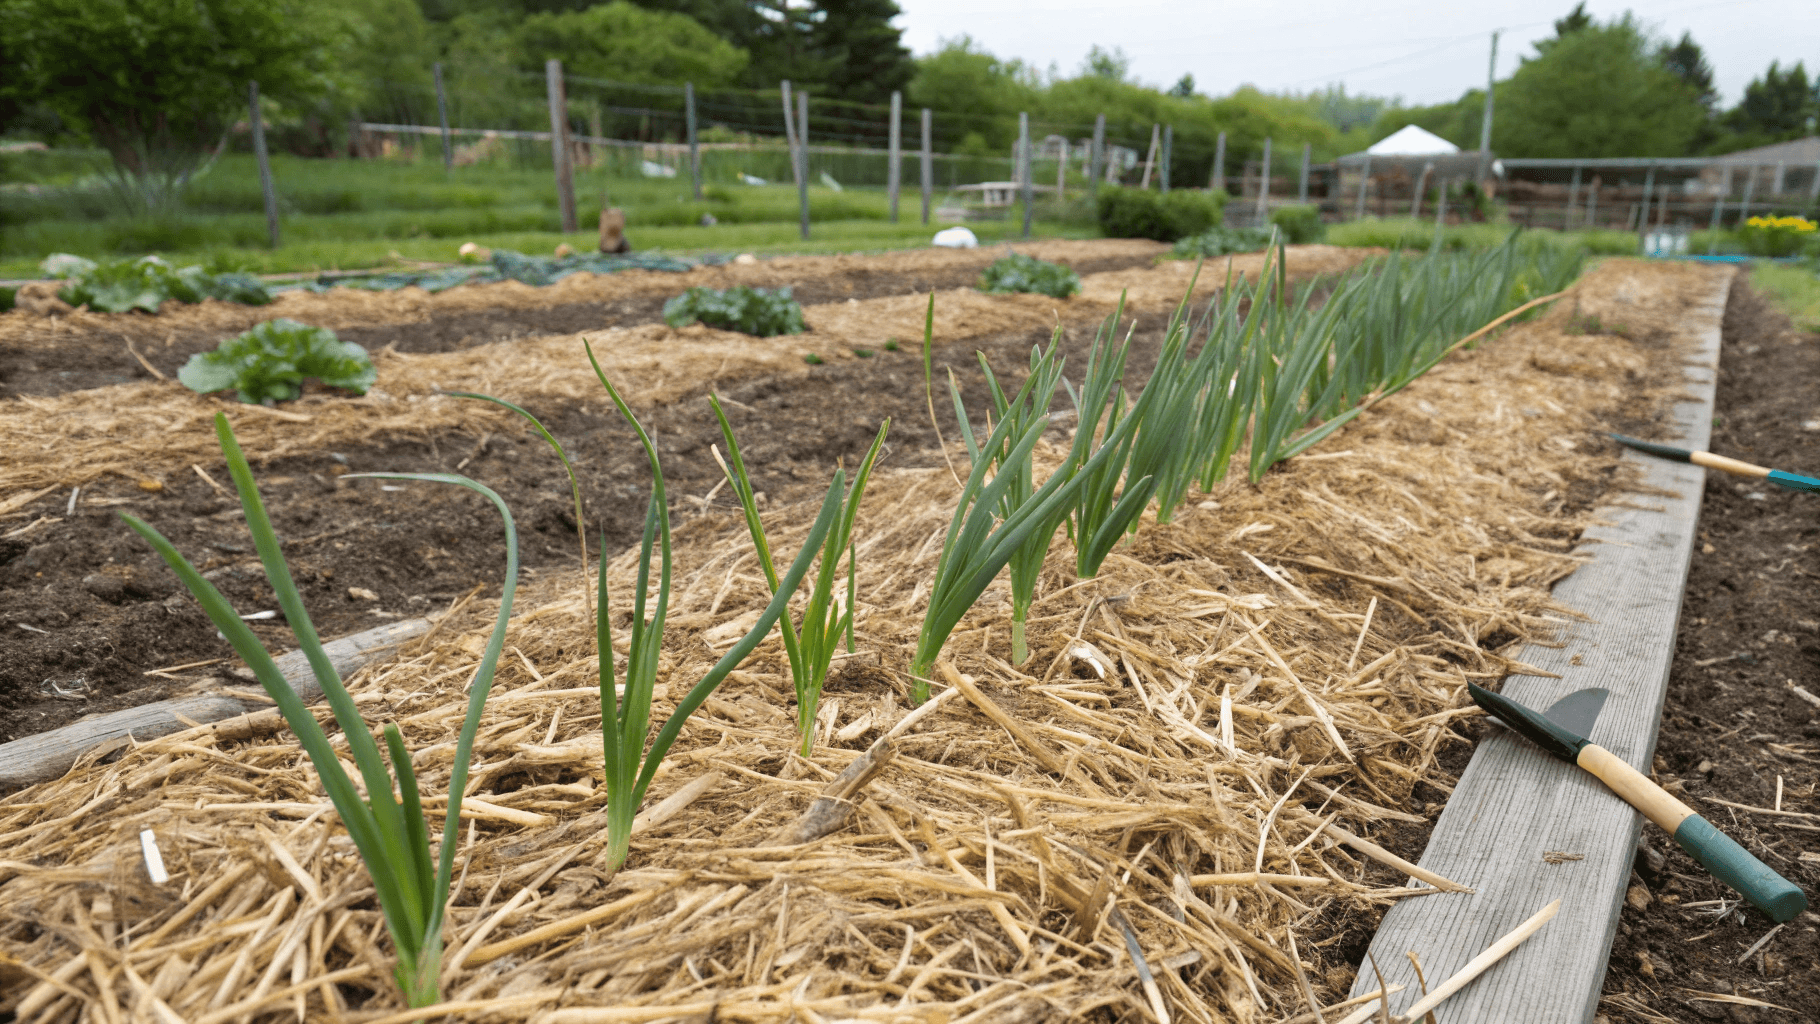
After planting, one of the most important (and often overlooked) steps is mulching. A good mulch layer acts like a cozy blanket for your garlic during the cold months, regulating soil temperature, retaining moisture, and suppressing weeds.
Why Mulch is a Must
In climates with freezing winters, mulch prevents the soil from repeatedly freezing and thawing, which can push cloves out of the ground, a phenomenon known as frost heave. In milder regions, mulch helps conserve moisture and keeps weeds at bay, allowing garlic to focus its energy on root and bulb growth.
What to Use for Mulch
Some of the best materials include:
- Clean straw (not hay, which contains seeds)
- Shredded leaves
- Grass clippings (dried first)
- Compost or pine needles for acidic soils
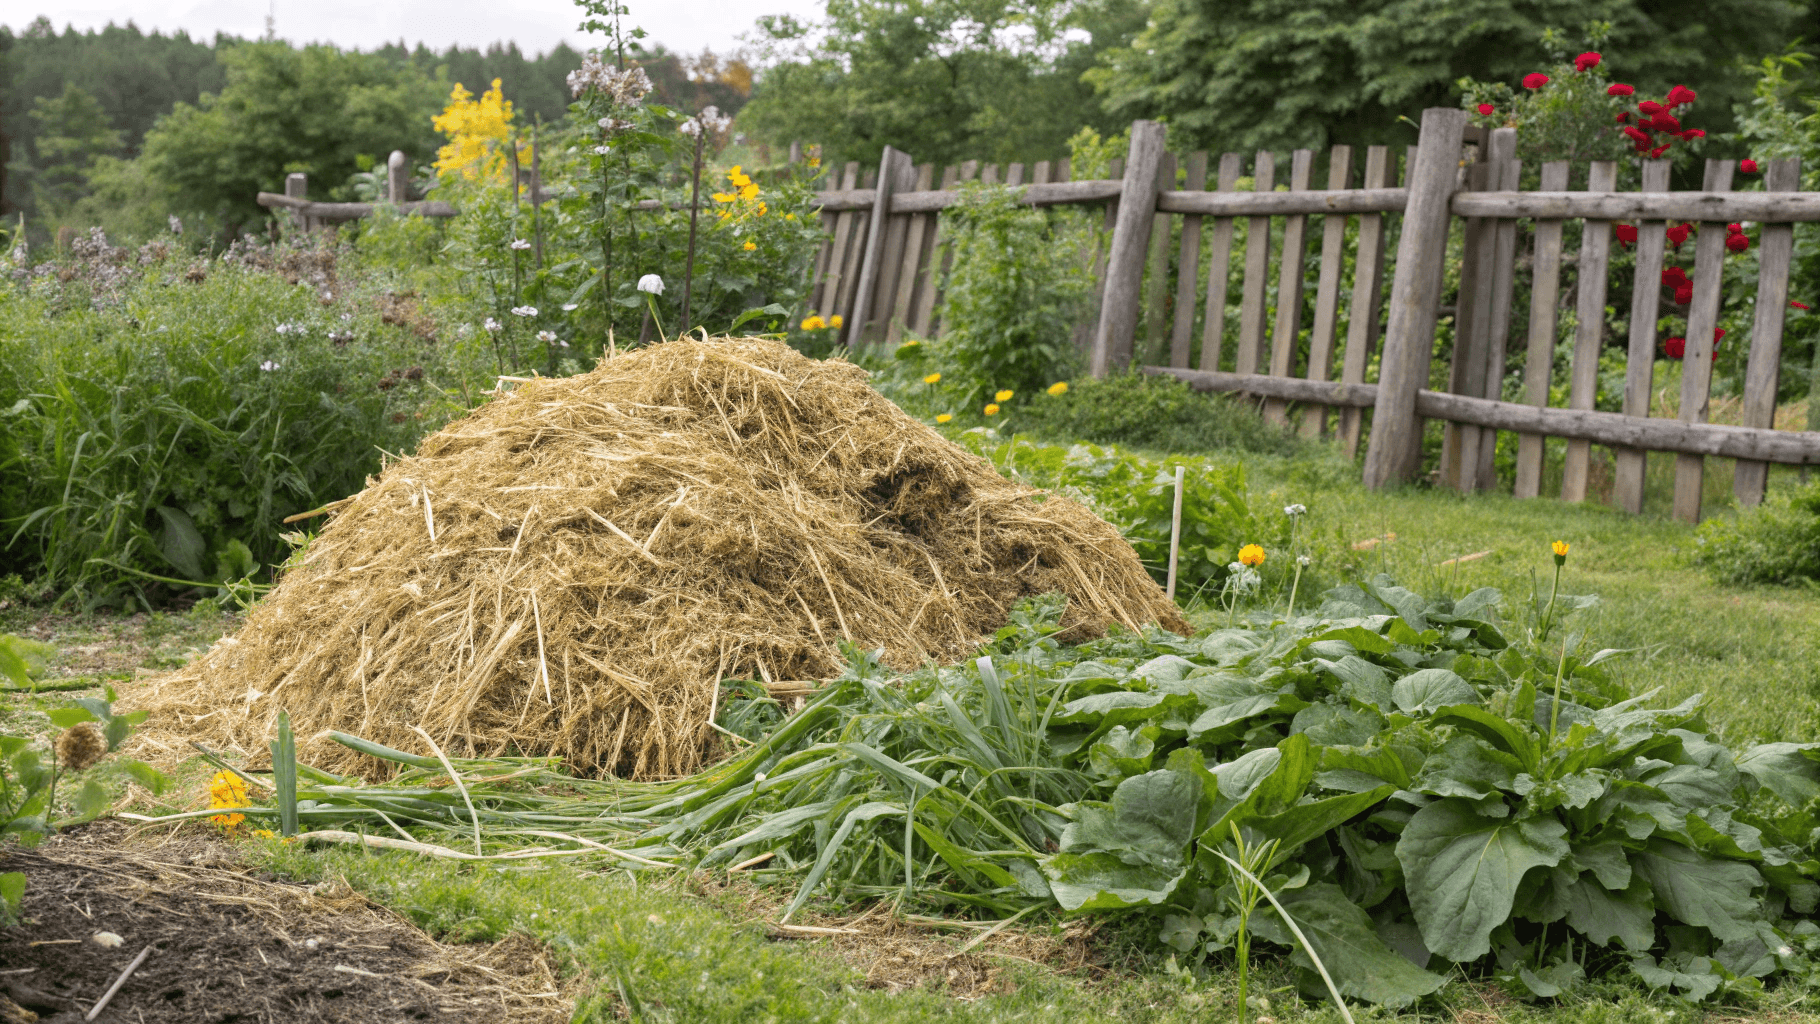
Spread the mulch 2–4 inches thick after planting. In early spring, once shoots start emerging, gently pull the mulch back to allow sunlight and warmth to reach the soil, but keep a light layer to maintain moisture.
Winter Cover in Harsh Climates
If you live in an area with heavy snow or deep frost, consider covering your garlic bed with a breathable fabric like row cover or burlap. This adds another layer of protection against extreme cold and wind while still allowing moisture and air to pass through.
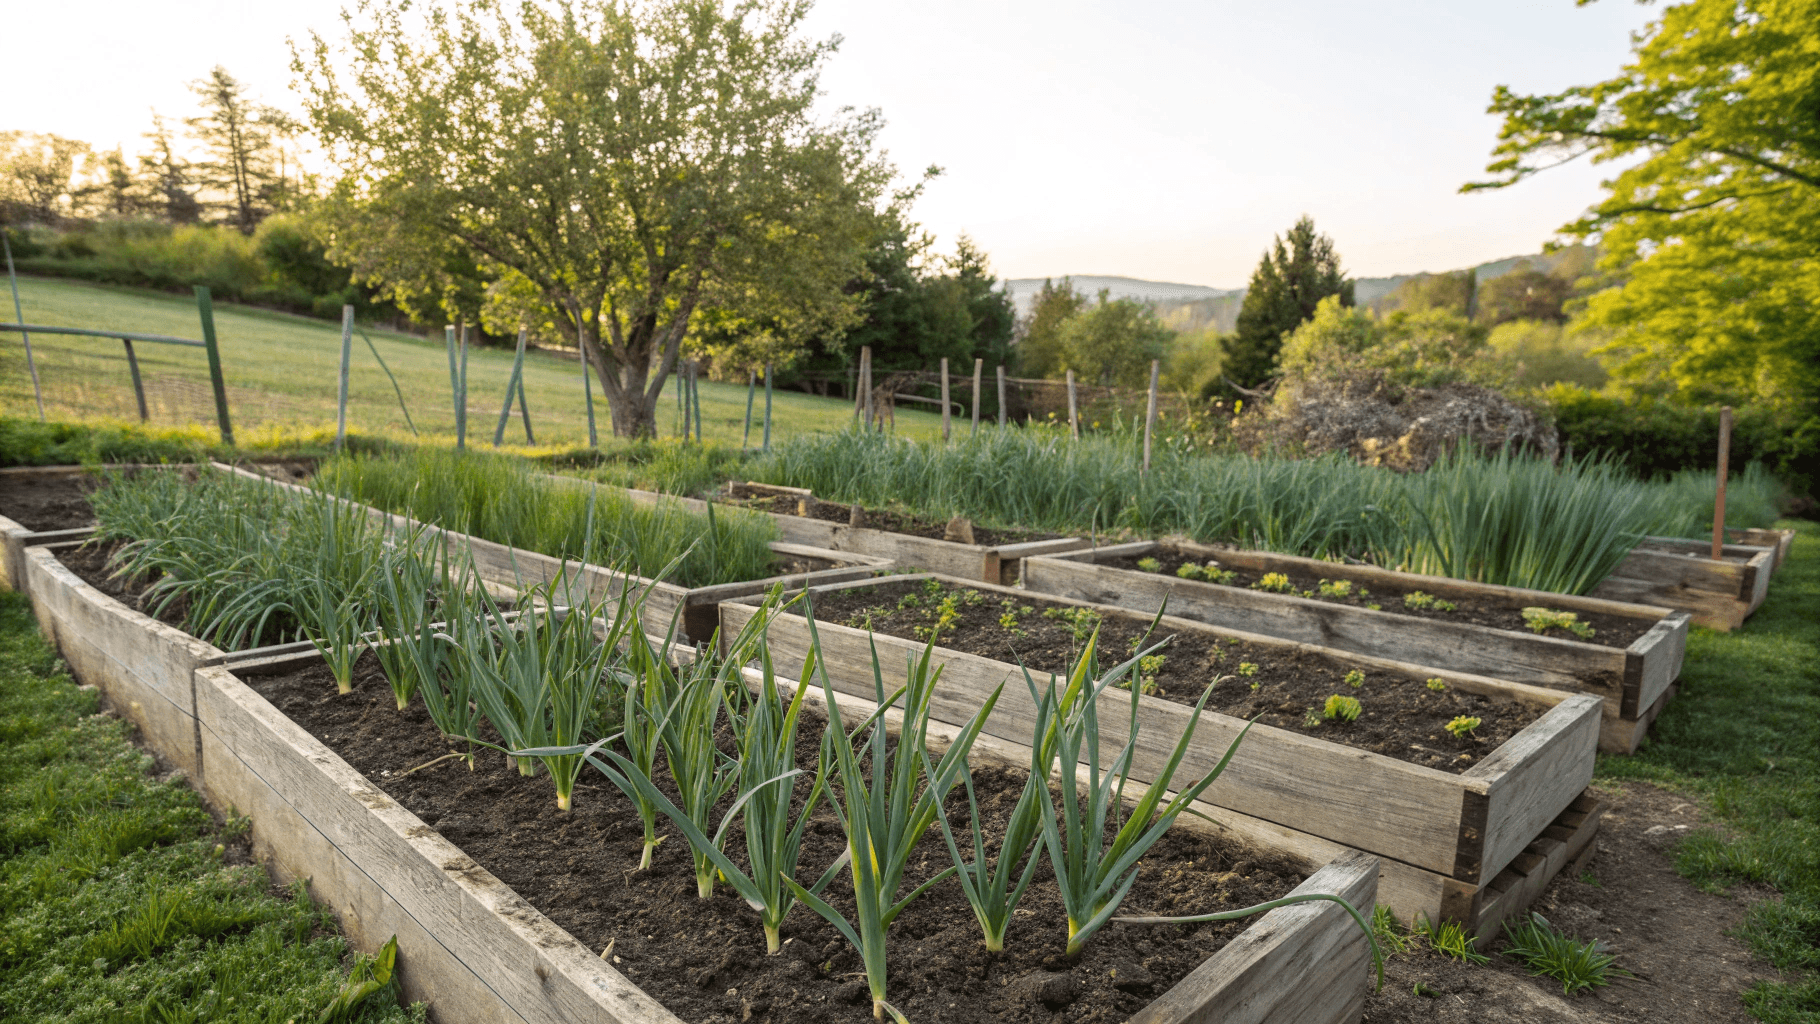
Growing Garlic in Raised Beds or Poor Soils
Not every gardener has perfect loamy soil and that’s okay. Garlic is surprisingly adaptable if you give it the right structure and nutrition.
Why Raised Beds Are Ideal for Garlic
Raised beds are a game changer for garlic growers, especially in areas with clay or compacted soil. They allow for:
- Better drainage and aeration
- Warmer soil temperatures in spring
- Easier weed management
- Controlled nutrient levels
Build your raised bed at least 8–12 inches deep and fill it with a mix of topsoil, compost, and coarse sand or perlite for looseness. This combination promotes strong root development and big bulb formation.
Improving Poor or Heavy Soils
If you’re working with heavy clay or sandy soil, amend it heavily before planting:
- For clay soil: Add compost, leaf mold, and coarse sand to improve texture and aeration.
- For sandy soil: Mix in compost and aged manure to retain moisture and nutrients.
A layer of organic mulch throughout the growing season also improves soil structure over time, feeding earthworms and beneficial microbes.
Conclusion
Growing garlic that’s big, firm, and flavorful isn’t just luck, it’s the result of careful soil preparation, proper planting, and consistent protection through the seasons. Start with rich, well-draining soil full of organic matter, plant your cloves with the right spacing and depth, and don’t skip that all-important mulch layer.
Garlic rewards patience and attention to detail. So, take your time with the soil, treat each clove like a tiny investment, and come harvest time, you’ll be amazed at how much difference a little preparation can make.
Leave a Reply