 Perplexity
 Claude
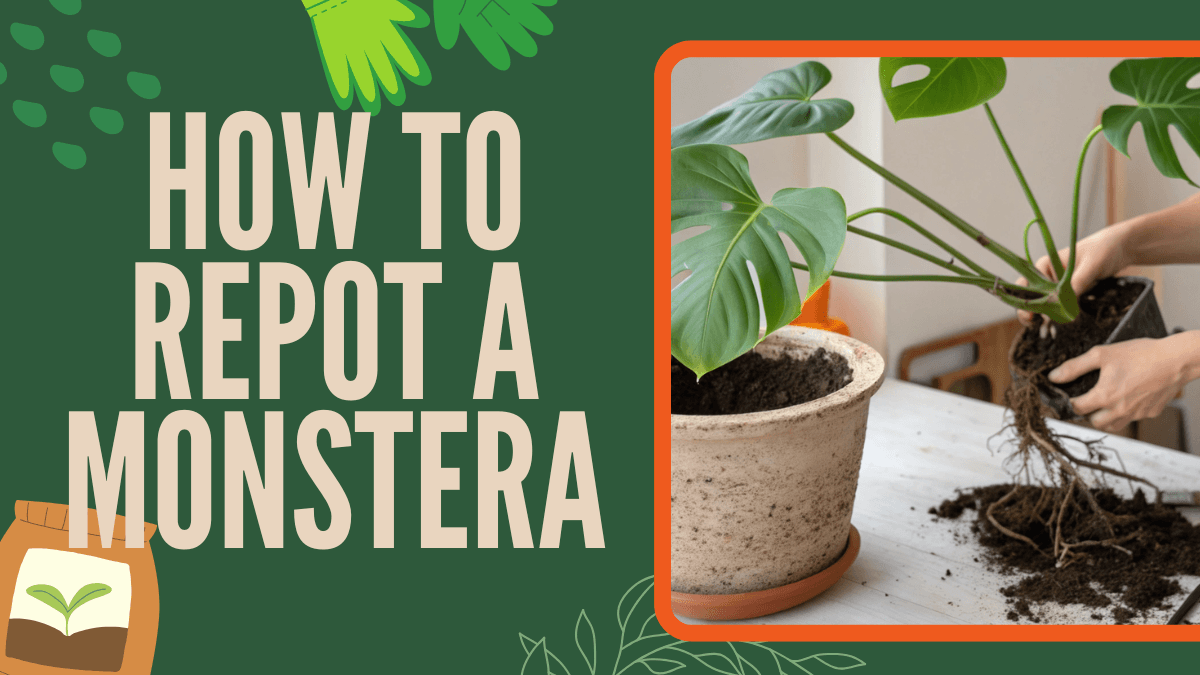
How to repot a Monstera without stressing it might sound tricky, especially if you’ve never done it before, but don’t worry, it’s much easier than you think. Repotting your Monstera is one of the best ways to keep it healthy, growing, and beautiful. The key is to do it gently and with the right soil mix so your plant doesn’t get stressed during the move.
Monstera don’t love big changes. They can get stressed if you handle them roughly or move them into a pot that doesn’t suit their needs.
Table of Contents
Signs It’s Time to Repot Your Monstera
If you’re wondering how to repot a Monstera, the first step is knowing when your plant actually needs a new pot. Monstera don’t need frequent repotting, but when they do, they’ll give you clear signals. Many plant parents make the mistake of repotting too often, which can do more harm than good.

Here are the clear signs it’s time for a fresh start:
Roots are peeking out
If you see roots crawling out of the drainage holes or circling around the top of the soil, your Monstera is definitely root-bound. That means it has outgrown its pot and needs more space to grow.
Water runs straight through
When you water your Monstera and it immediately drains out, that’s a red flag. Compacted roots leave little room for soil, so water can’t soak in properly.
Slow growth (even in the growing season)
Monstera are fast growers, especially in spring and summer. If your plant seems stuck, it may be struggling with limited nutrients or space.
The pot looks too small
Sometimes the visual cue is enough; if your plant’s leaves and stems are overflowing or the pot looks dwarfed, it’s time for an upgrade.
As a general rule, Monstera need repotting about every 1-2 years. If yours is growing fast, you might do it annually.
TIP: If your Monstera’s showing yellow leaves or drooping after you’ve ruled out watering issues, it might be time for a checkup. You can also read Monstera care mistakes to make sure stress isn’t coming from something else.
The Best Soil Mix and Pot Type
Monstera are tropical plants that love rich, airy soil. Think of their natural environment: forest floors with moist but well-draining ground. You’ll want to recreate that balance at home.
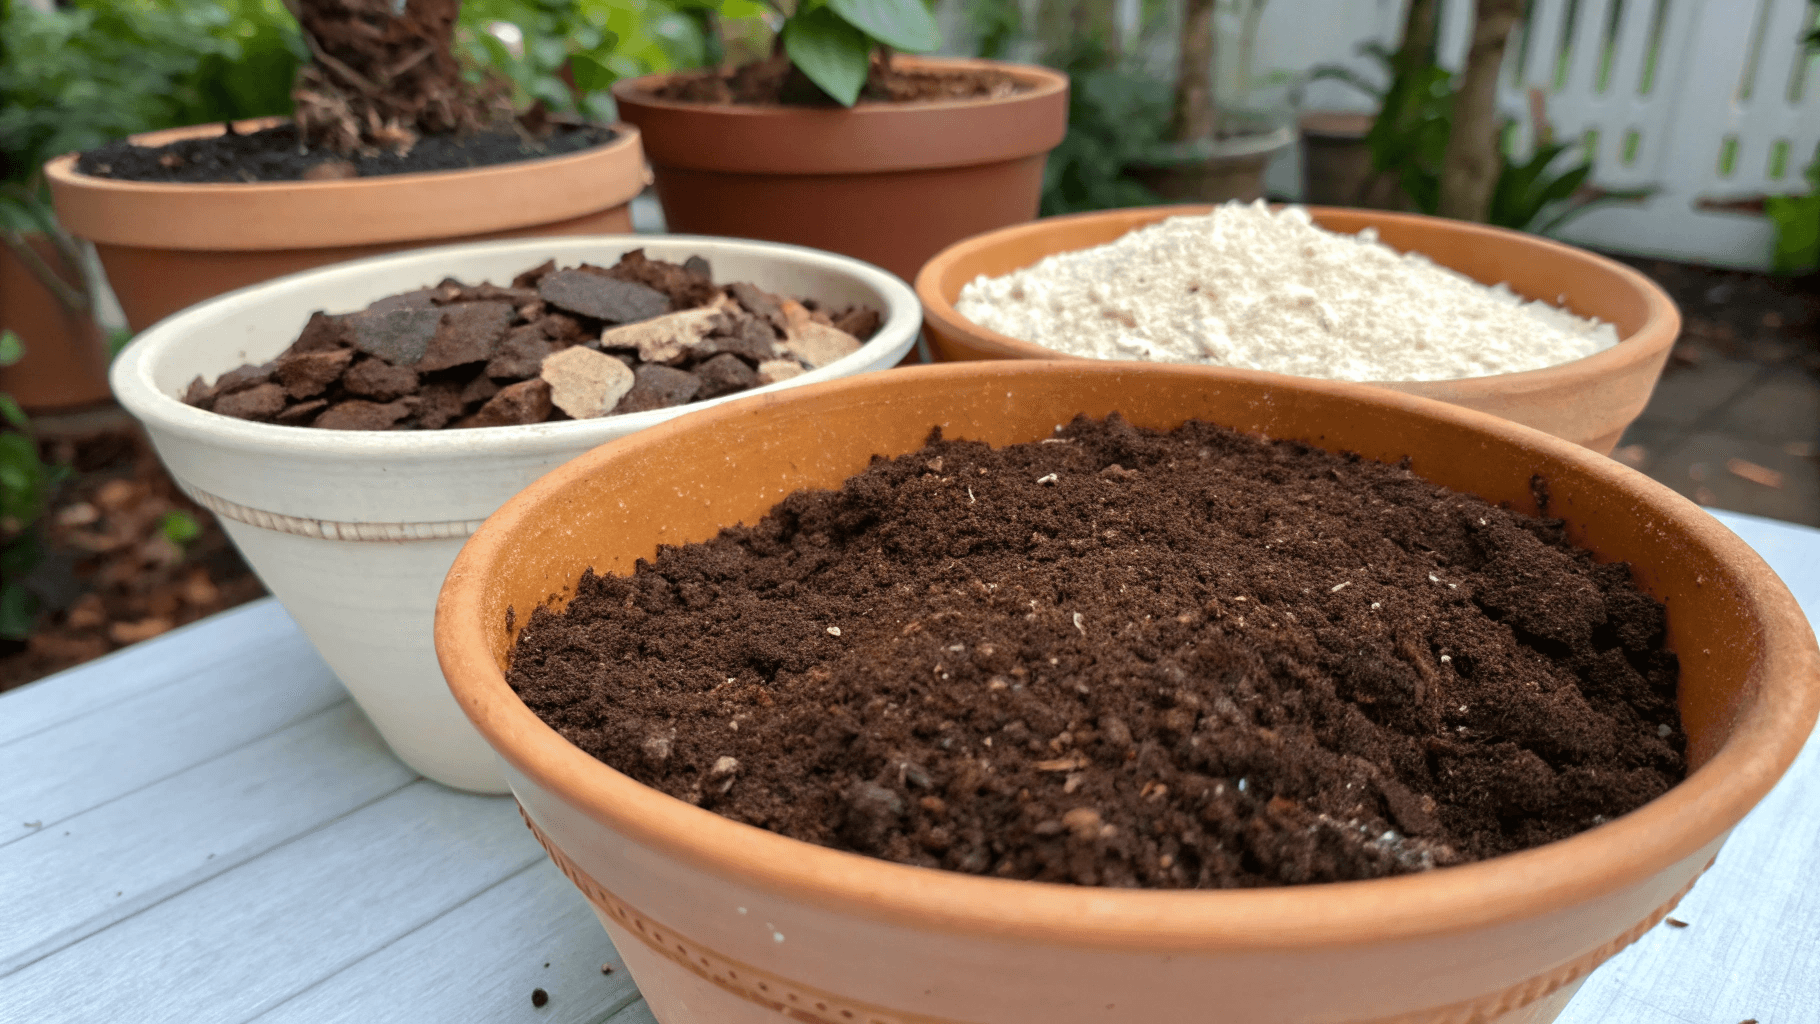
The ideal soil mix
- 1 part potting soil (for nutrients)
- 1 part perlite or pumice (for drainage)
- 1 part orchid bark or coco chips (for aeration)
If you prefer ready-made mixes, look for ones labeled “aroid mix” or “for tropical plants.”
Avoid heavy garden soil, as it holds too much water and suffocates roots.
Choosing the right pot
Pick a pot that’s one size larger than the current one, usually 2–3 inches wider in diameter. Too big, and your Monstera will struggle with excess moisture; too small, and it won’t grow well.
Make sure your pot has good drainage holes. Monstera hate sitting in soggy soil.
Material-wise:
- Terracotta allows airflow and helps prevent overwatering.
- Plastic pots retain moisture longer (handy if you forget to water).
- Decorative cachepots can look stylish, but always ensure the inner pot drains properly.
Step-by-Step How to Repot a Monstera Safely and Gently
Now comes the fun part, the actual repotting!
Take your time, be gentle, and follow these simple steps:
Step 1: Water your Monstera a day before
Slightly moist soil helps roots come out more easily and prevents damage.
Step 2: Gently remove the plant
Lay the pot on its side and carefully slide your Monstera out. If it’s stuck, tap the sides or squeeze the pot to loosen the roots. Avoid pulling by the stems!
Step 3: Inspect the roots
Healthy roots should look white or light tan and feel firm. Trim any soft, dark, or mushy roots with sterilized scissors; those are signs of rot.
Step 4: Add a layer of fresh mix
Put some fresh soil at the bottom of the new pot, just enough to raise your plant to its previous height.
Step 5: Place the Monstera in its new home
Center the root ball and fill in around it with your soil mix. Press gently to eliminate air pockets, but don’t pack it too tightly. Remember, Monstera love airy soil.
Step 6: Water thoroughly
Water until you see some draining out the bottom. This helps the soil settle around the roots.
Step 7: Give it time to adjust
Place your repotted Monstera in bright, indirect light and avoid fertilizing for about 4–6 weeks while it settles in.
If your plant looks droopy for a few days, don’t worry, it’s just adjusting.
Aftercare
Repotting is a bit like moving into a new house. Your Monstera needs a little time to feel comfortable again. Here’s how to help it settle:
Water wisely
Keep the soil slightly moist, but not soggy. Check the top 2 inches; if they’re dry, it’s time to water.
Provide steady light
Monstera love bright, indirect sunlight. Avoid placing them in harsh, direct sun right after repotting, as their roots are still sensitive.
Hold off on fertilizer
Wait about a month before feeding your Monstera again. Once it’s settled, you can use a balanced liquid fertilizer during the growing season.
Maintain humidity
Monstera thrive in humidity. A humidifier or a simple pebble tray works wonders, especially in drier environments.
Clean and support
Wipe the leaves occasionally to help them absorb light better. If your Monstera is tall or climbing, use a moss pole or stake for support; it helps mimic its natural growing style.
Common Mistakes When Repotting a Monstera

Even the most caring plant parents can trip up during repotting. Avoid these common pitfalls to keep your Monstera happy:
Using the wrong soil
Regular garden soil or dense potting mix can suffocate the roots. Always go for a light, airy aroid mix.
Choosing an oversized pot
A pot that’s too big holds too much water, increasing the risk of root rot. Stick to a slightly larger size.
Overwatering after repotting
Monstera don’t need constant watering right after a move. Let them breathe a little first.
Skipping the recovery period
It’s tempting to fertilize or move your Monstera around right after repotting, but it needs stability. Give it at least a few weeks to adapt.
Forgetting root care
Always inspect and trim damaged roots. Leaving rot behind can quickly spread and harm your plant.
Conclusion
Repotting your Monstera doesn’t have to be stressful, for you or the plant. With the right timing, gentle handling, and the perfect soil mix, your Monstera will quickly adapt and reward you with lush new growth and those iconic split leaves.
Remember, it’s not just about moving the plant into a bigger pot; it’s about creating a space where it can thrive for years to come.
Leave a Reply