 Perplexity
 Claude
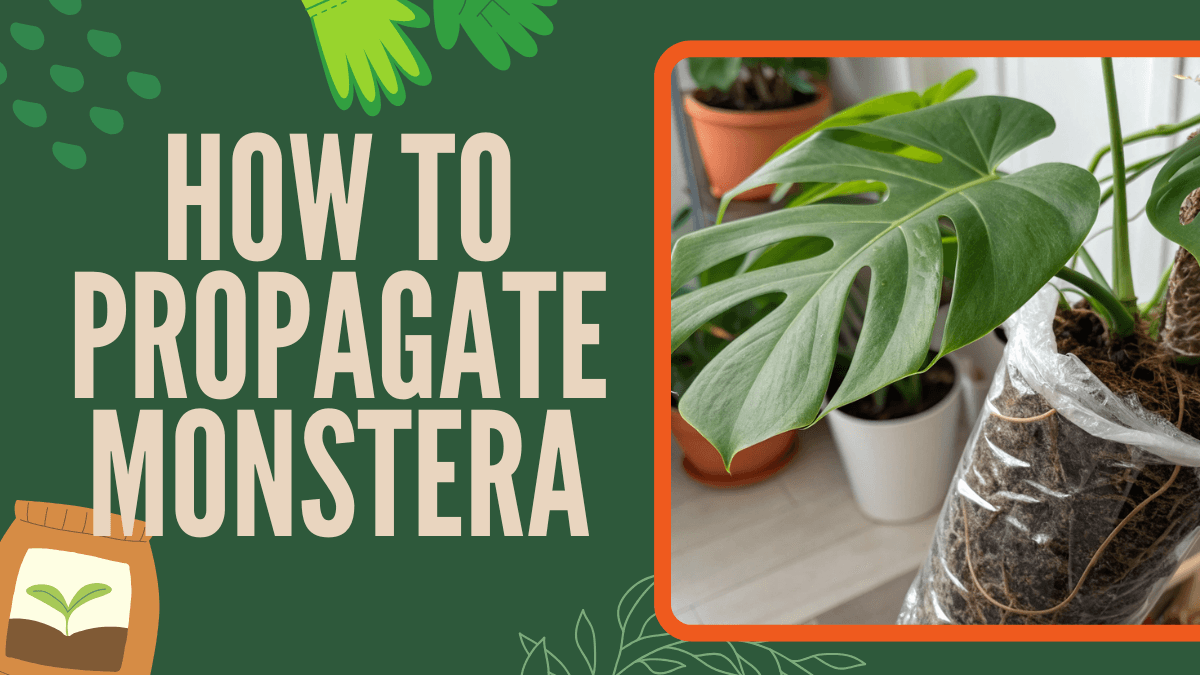
Monstera plants are more than just trendy indoor greenery; they symbolise lush, tropical vibes that bring life to any space. But did you know how to propagate Monstera? It is a cost-effective way to expand your plant collection or share with friends. Propagation allows you to multiply your favorite plants.
Propagation isn’t just about creating new plants; it’s a chance to understand your Monstera on a deeper level. Learning how roots form and how the plant responds to different environments helps you become a more confident grower.
Table of Contents
Propagation Methods
There are three primary ways to propagate a Monstera:
- Water Propagation: This method is perfect for beginners because it’s easy to monitor root growth. You simply place a cutting in water and watch roots develop over time.
- Soil Propagation: Propagating directly in soil allows cuttings to establish roots in their permanent growing medium from the start, which can reduce transplant shock later.
- Air-Layering: Ideal for larger Monstera or those with aerial roots, this technique encourages a new plant to grow while still attached to the parent plant.
How to Propagate Monstera – Water, Soil, and Air-Layering Methods
Each method has its benefits, so the best choice depends on your experience level, patience, and available tools. Let’s explore them in detail.
Before you start propagating, it helps to understand your plant’s needs. Learn more in this article, Monstera Care Guide.
#1 Water Propagation
Water propagation is often the first method new plant parents try because it’s low-risk and visually satisfying. Here’s how to do it correctly:

Materials Needed:
- Sharp, sterilized scissors or pruning shears
- A glass jar or vase
- Filtered water (tap water works if left out for 24 hours)
- Optional: rooting hormone
Steps:
- Choose a Healthy Cutting: Look for a Monstera stem with at least one node (the small bump where roots and leaves grow) and preferably an aerial root. The node is critical; without it, roots won’t form.
- Cut Carefully: Using sterilized scissors, cut just below the node. Make sure the cutting is 4–6 inches long.
- Place in Water: Submerge the node and any aerial roots in water, leaving leaves above the waterline.
- Monitor Growth: Place the jar in bright, indirect light. Change the water every 3–5 days to prevent bacteria and algae.
- Root Timeline: Roots usually start to appear within 2–4 weeks. Once they’re 2–3 inches long, the cutting is ready to transplant into soil.
Water propagation has the added benefit of allowing you to watch root development up close. Plus, it’s an attractive way to display cuttings while waiting for them to grow.
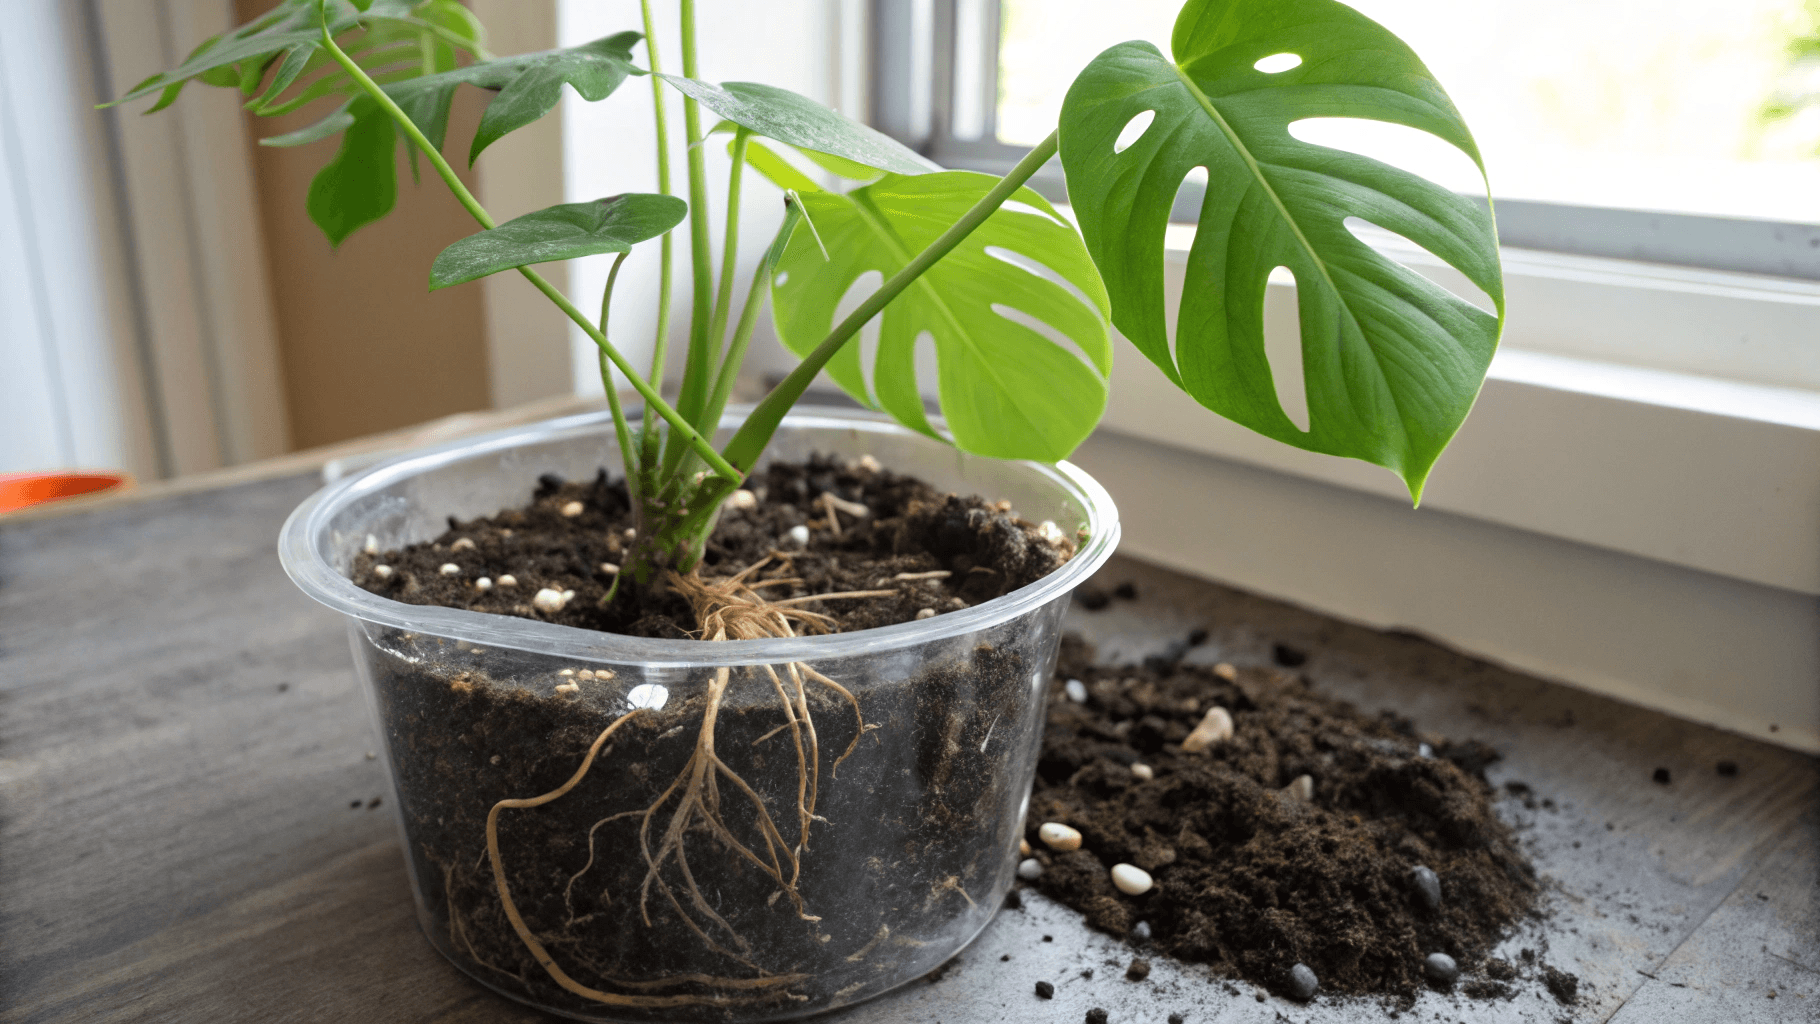
#2 Soil Propagation
If you prefer to skip water and go straight to soil, this method establishes roots directly in a permanent medium, making the plant transition seamless.
Materials Needed:
- Cutting with a node
- Well-draining potting mix (peat + perlite works well)
- Small pot with drainage holes
- Rooting hormone (optional)
Steps:
- Prepare Your Cutting: Take a stem with at least one node and one leaf. Trim away damaged parts.
- Dip in Rooting Hormone: This is optional, but it can speed up root development.
- Plant the Cutting: Make a small hole in the soil, insert the node, and firm the soil around it. Keep the leaf above the surface.
- Water Lightly: Moisten the soil but avoid waterlogging. Consistent moisture encourages rooting without causing rot.
- Ideal Conditions: Place the pot in bright, indirect sunlight and maintain high humidity. Covering with a plastic bag can simulate a mini greenhouse.
- Root Timeline: Roots typically form within 4–6 weeks. Tug gently to check for resistance, indicating successful rooting.
Soil propagation mimics the plant’s natural growth environment, which helps reduce shock when you eventually repot it.
#3 Air-Layering
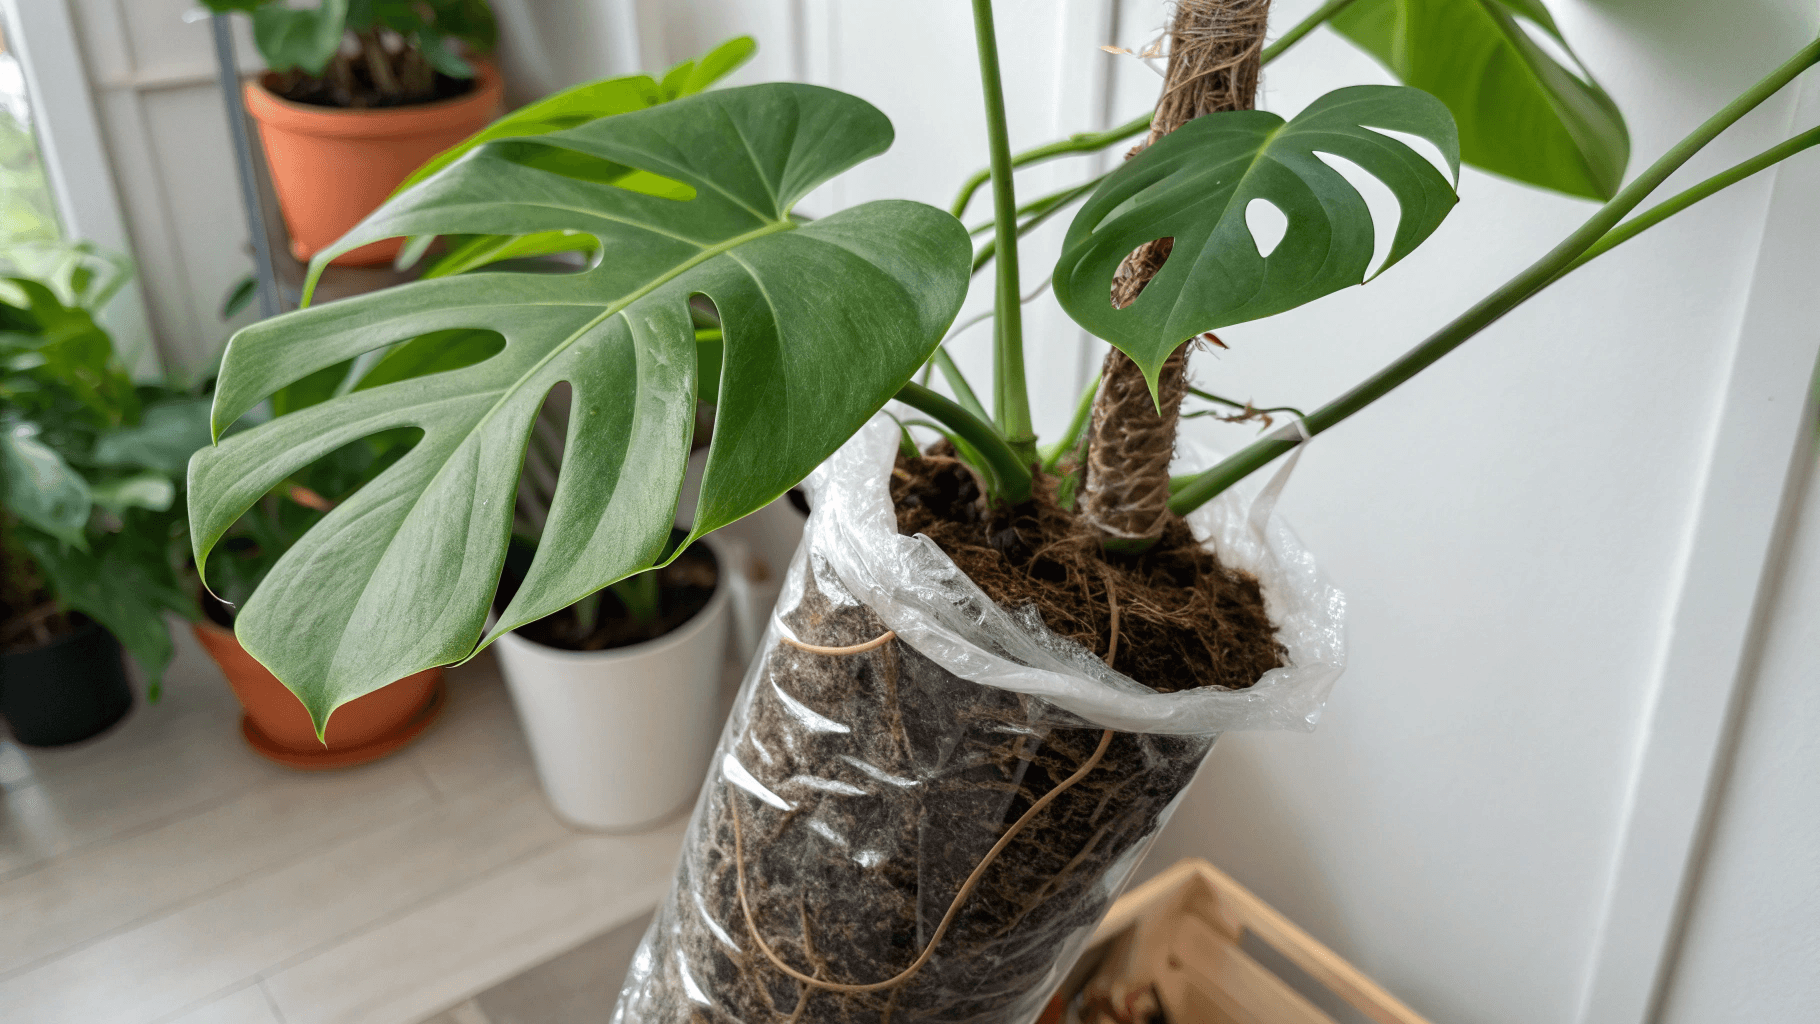
Air-layering is a slightly advanced method, but perfect for creating a fully grown Monstera from an existing vine without removing it immediately.
Materials Needed:
- Clear plastic wrap or a plastic bag
- Sphagnum moss
- Twine or plant ties
- Sharp knife
Steps:
- Choose a Spot: Identify a healthy vine with a node. Aerial roots nearby will improve success.
- Make a Cut: Gently slice around the stem just below the node. Avoid cutting too deeply.
- Wrap with Moss: Moisten sphagnum moss and wrap it around the cut. Secure it with twine.
- Cover: Enclose the moss with plastic wrap to retain humidity.
- Monitor: Roots will start developing inside the moss over 4–8 weeks. Keep the moss moist.
- Sever and Pot: Once roots are visible and healthy, cut below the new root ball and pot your new Monstera cutting in soil.
Air-layering allows you to create a larger, more established plant without risking the parent plant’s health.
Troubleshooting Propagation Failures
Even with perfect technique, propagation sometimes fails. Here’s how to fix common issues:
1. Rotting Cuttings
- Cause: Overwatering or stagnant water.
- Solution: Use fresh water, sterile tools, and ensure good airflow. Soil should be damp, not soggy.
2. No Roots
- Cause: Cutting lacks a node, or conditions aren’t optimal.
- Solution: Always include a node and provide bright, indirect light and consistent humidity.
3. Yellowing Leaves
- Cause: Overwatering or low humidity.
- Solution: Adjust watering and consider covering with a plastic bag to increase humidity.
4. Slow Growth
- Cause: Low temperature or poor light.
- Solution: Keep cuttings in 65–80°F with bright, indirect sunlight. Avoid direct sun, which can scorch leaves.
Learning from failures ensures future success.
Conclusion
Propagating Monstera saves money, strengthens your plant-growing skills, and gives you the joy of sharing greenery with friends. Whether you choose water, soil, or air-layering methods, each has its unique advantages and learning opportunities.
With a little patience, proper technique, and attentive care, your Monstera cuttings will grow into healthy new plants in no time.
Leave a Reply