 Perplexity
 Claude
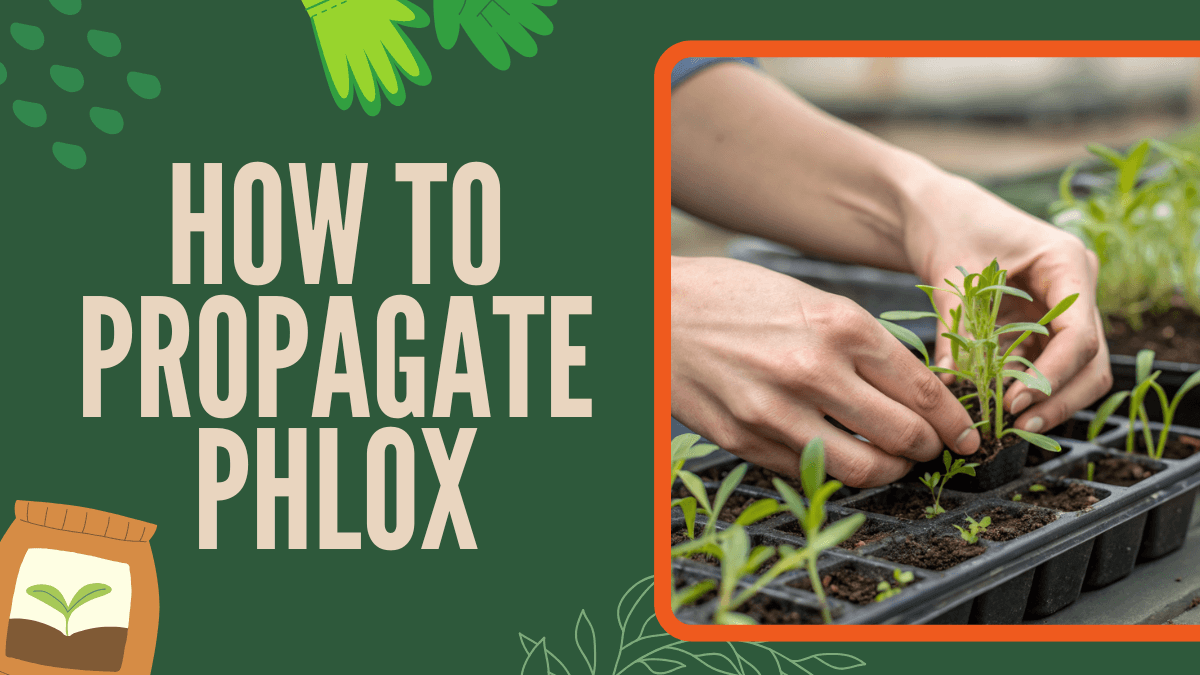
How to propagate phlox is something every flower lover should know. It’s easy, fun, and helps you grow more of these colorful blooms without spending extra money.
Propagating phlox lets you multiply your favorites, fill in bare spots, and share them with friends. Whether you prefer tall garden phlox or low-growing creeping varieties, learning how to propagate them through division, cuttings, or seed collection is simple and rewarding.
Table of Contents
Why Propagate Phlox?
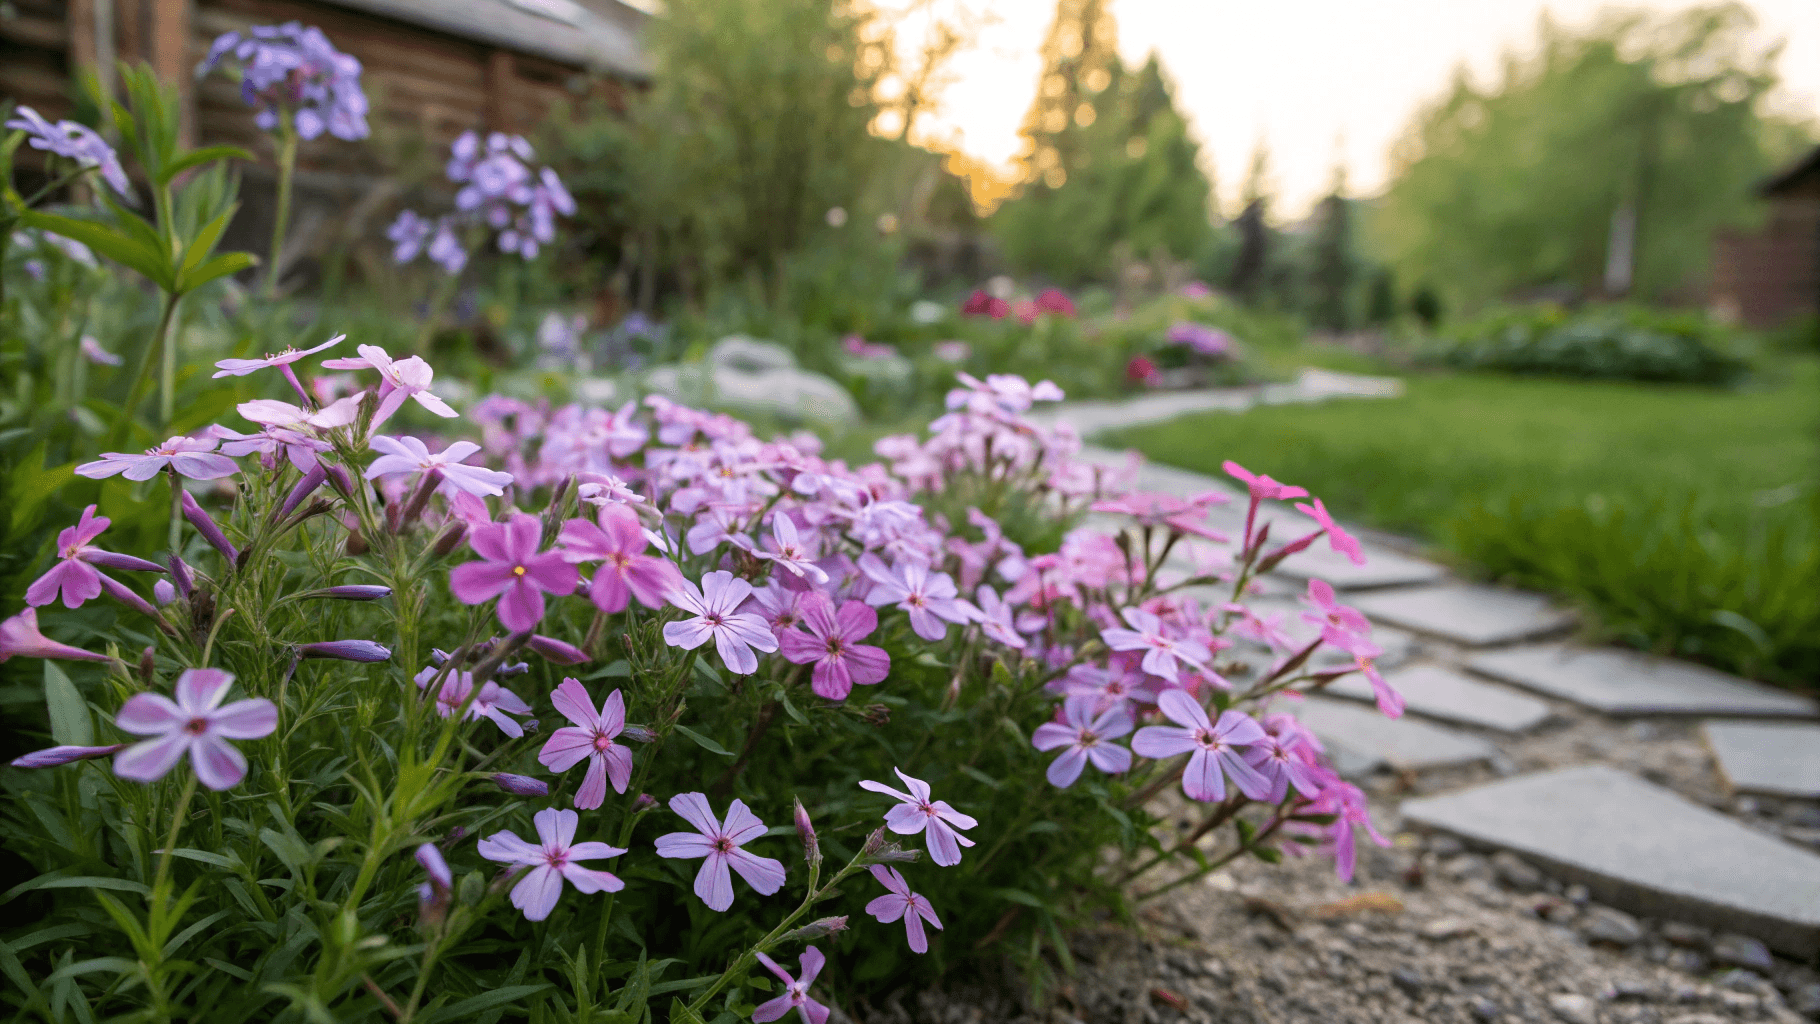
Phlox is one of those plants that rewards gardeners in every season with lush green foliage, long-lasting color, and a sweet fragrance that attracts bees and butterflies. But even the most vibrant clumps can become crowded over time. Propagation is the perfect solution.
Here are a few reasons gardeners love to propagate phlox:
- Save money: Instead of buying new plants each year, multiply what you already have.
- Keep favorite varieties alive: Some phlox varieties are hard to find at nurseries, so propagation ensures you never lose them.
- Revitalize older plants: Dividing or taking cuttings gives tired plants new life.
- Fill garden gaps naturally: Expand borders or create a continuous carpet of color.
- Share with friends: Nothing beats gifting homegrown phlox starts to fellow gardeners.
If you’re still exploring which type of phlox to grow, take a look at this guide on Phlox Varieties. It’s a great starting point for choosing the perfect kind for your garden.
Easy Methods to Create New Phlox Plants
There are three simple and effective ways to propagate phlox: division, cuttings, and seed collection. Each method serves a slightly different purpose, but all lead to the same result: more beautiful, healthy plants for your garden.
Division works best for mature clumps that need rejuvenation. Cuttings are ideal for duplicating your favorite varieties exactly, while seed collection lets you experiment with new colors and shapes.
Division Method (Step-by-Step)
Best for: Mature clumps of perennial phlox
Best time: Early spring or early fall
Dividing phlox is one of the easiest and most reliable ways to propagate it. Most perennial types, like garden phlox (Phlox paniculata) or creeping phlox (Phlox subulata), respond beautifully to this method. Division not only creates new plants but also rejuvenates old ones that may have stopped blooming as vigorously.
Step 1: Choose the Right Time
The best time to divide phlox is in early spring, just as new growth begins, or in early fall, when the soil is still warm but the heat of summer has passed. Avoid mid-summer division; heat stress can make recovery harder.
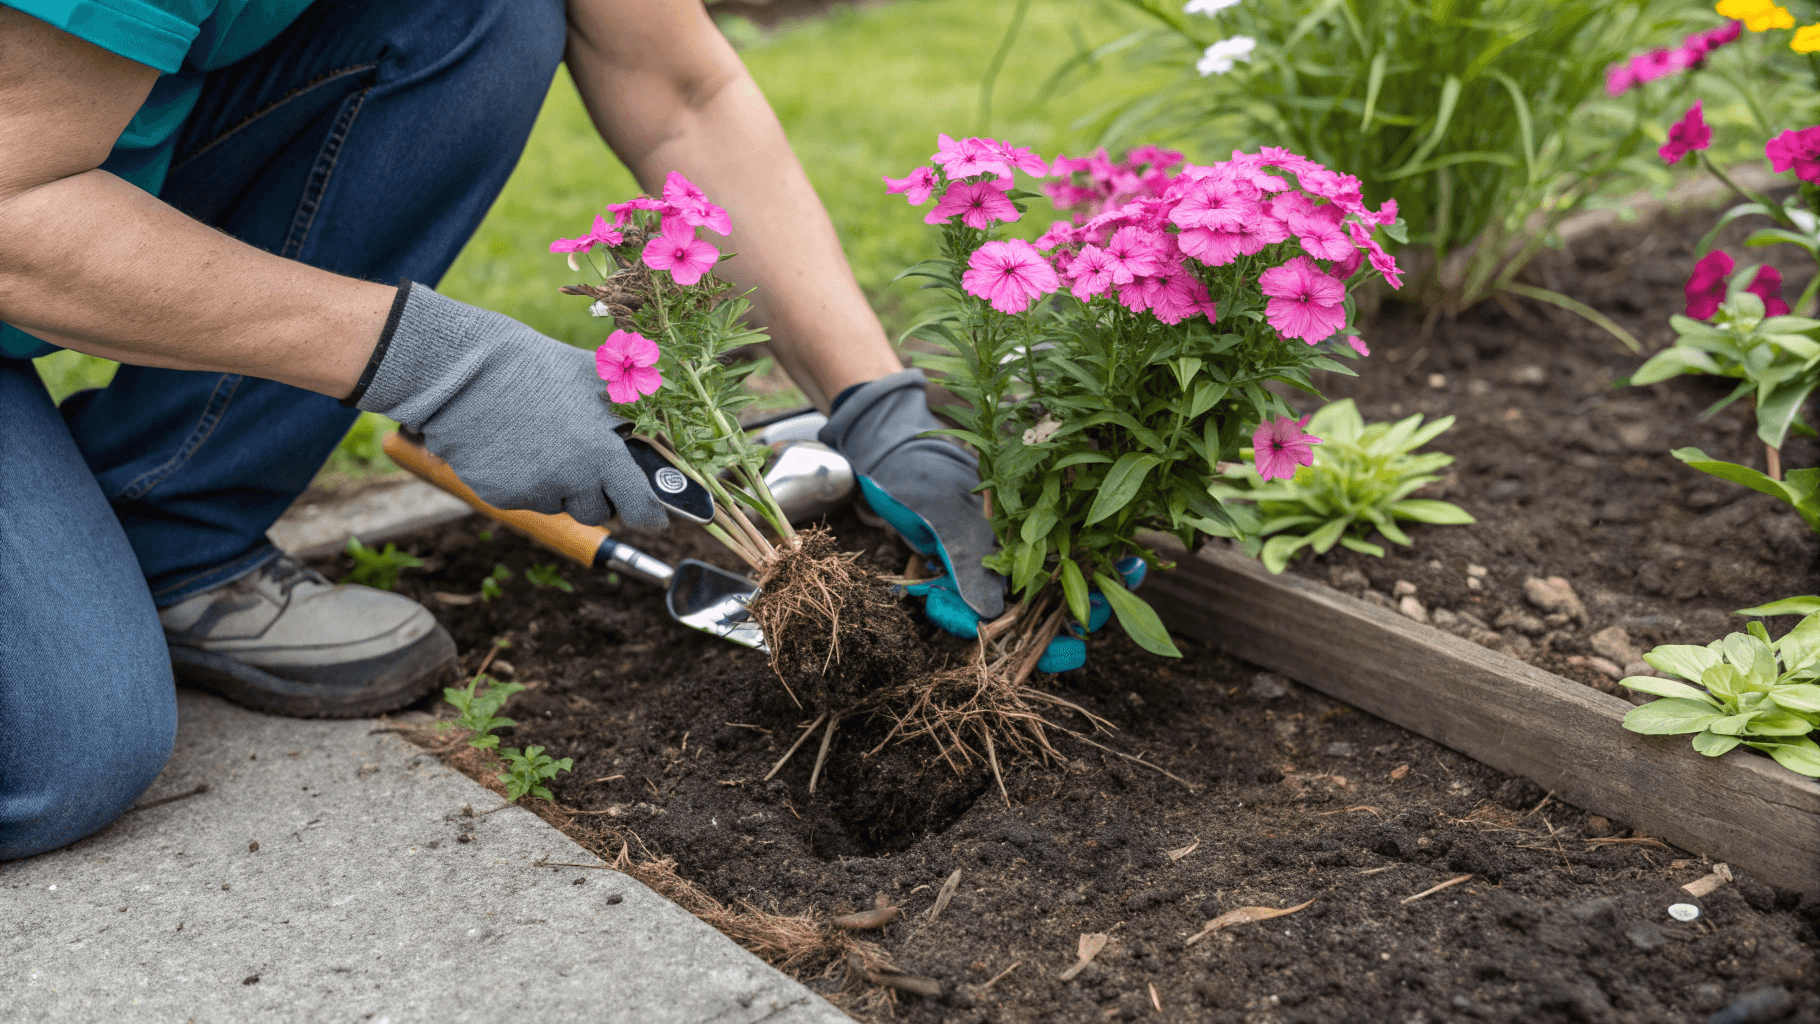
Step 2: Dig Up the Clump
Use a garden fork or spade to gently dig around the phlox clump, lifting it from the soil with as much root as possible. Shake off the excess dirt so you can see the root structure clearly.
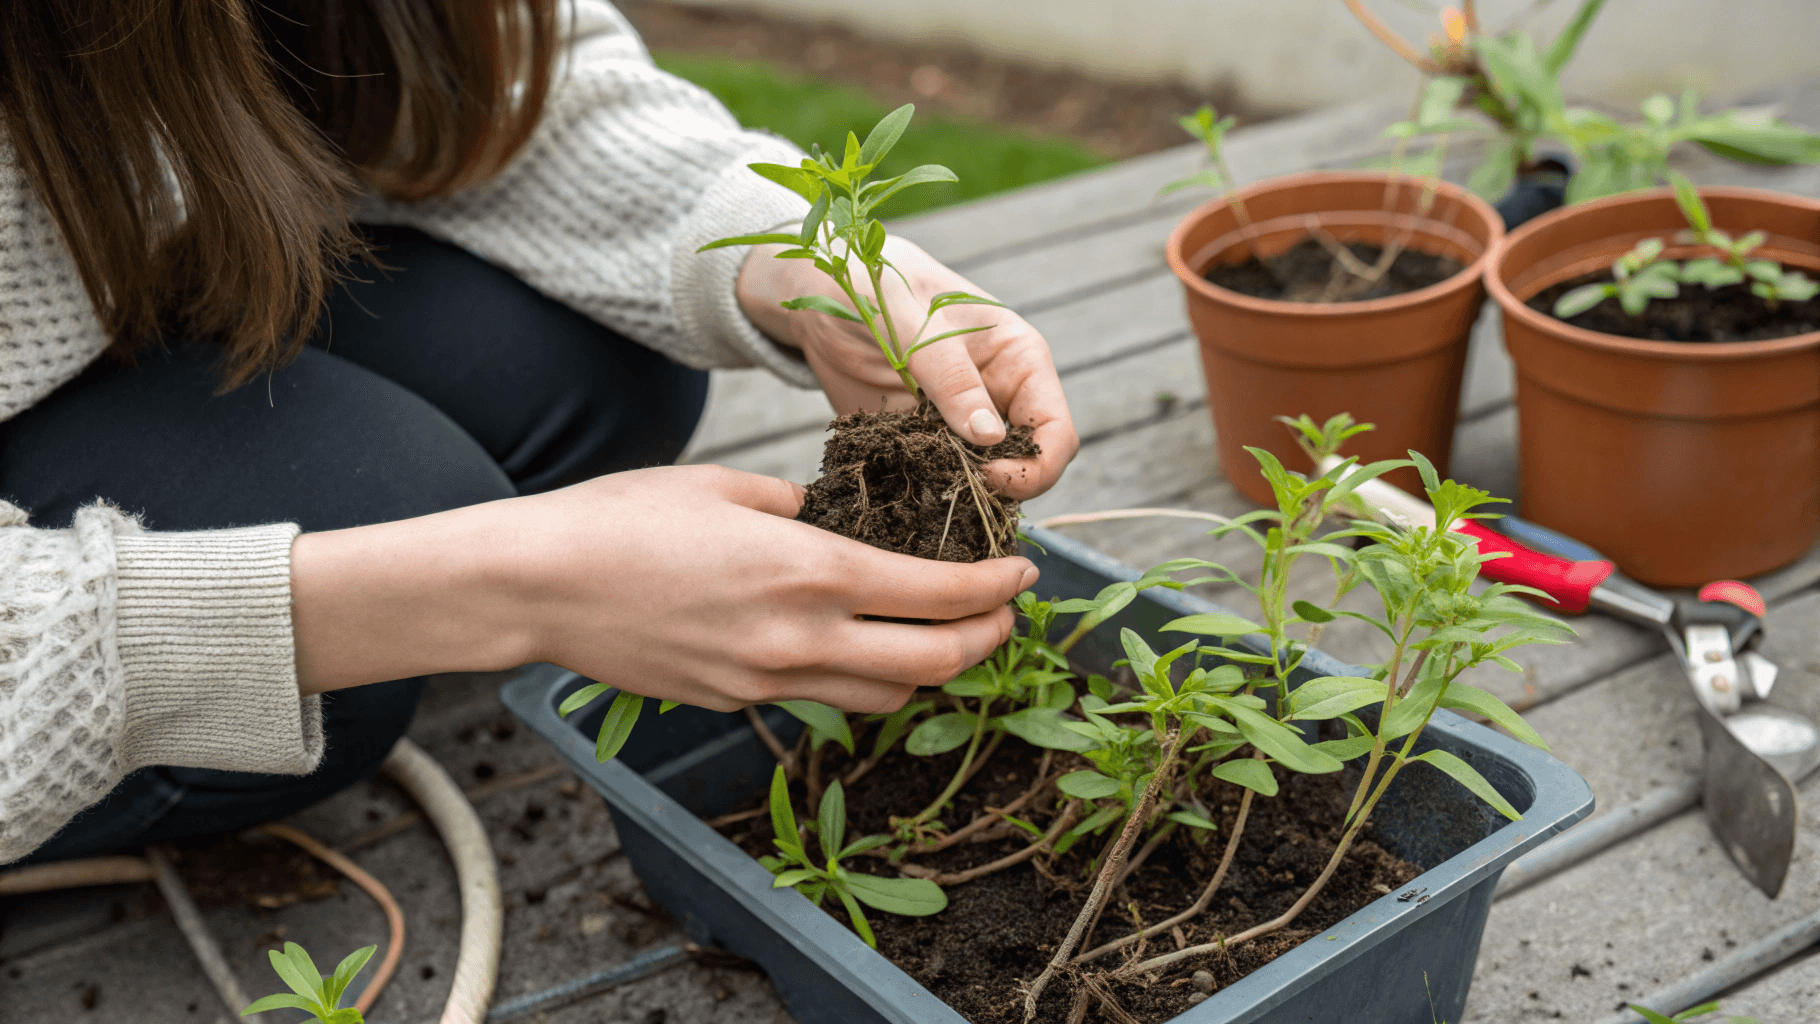
Step 3: Separate the Clump
Using a sharp knife or your hands, divide the root ball into sections. Each division should have several healthy shoots and a good portion of roots attached. Aim for sections about the size of a small grapefruit.
Step 4: Replant Immediately
Prepare your new planting holes in advance. Space them about 12–18 inches apart for creeping phlox or 18–24 inches for taller types. Plant the divisions at the same depth they were growing before, and water thoroughly to help them settle.
Step 5: Aftercare
Mulch lightly to retain moisture and suppress weeds. Water regularly until the plants reestablish. Within a few weeks, new growth will emerge, signaling success.
For more details on caring for your mature phlox, see this complete guide on How to Grow Phlox.
Cuttings Method (Step-by-Step)
Best for: Preserving specific varieties
Best time: Late spring to early summer
Taking cuttings is ideal if you want to clone your favorite phlox variety. It ensures that the new plants will be identical to the parent, which isn’t always the case with seeds.
Step 1: Select a Healthy Stem
Choose a non-flowering stem about 4–6 inches long from a healthy phlox plant. Non-flowering shoots root faster because they can focus energy on developing roots instead of blooms.
Step 2: Make a Clean Cut
Using sterilized scissors or pruning shears, cut the stem just below a leaf node (where leaves attach to the stem). Remove the lower leaves, leaving only two or three at the top.
Step 3: Dip in Rooting Hormone (Optional but helpful)
To encourage faster root growth, dip the cut end into a small amount of rooting hormone powder. This step isn’t required but improves success rates, especially for beginners.
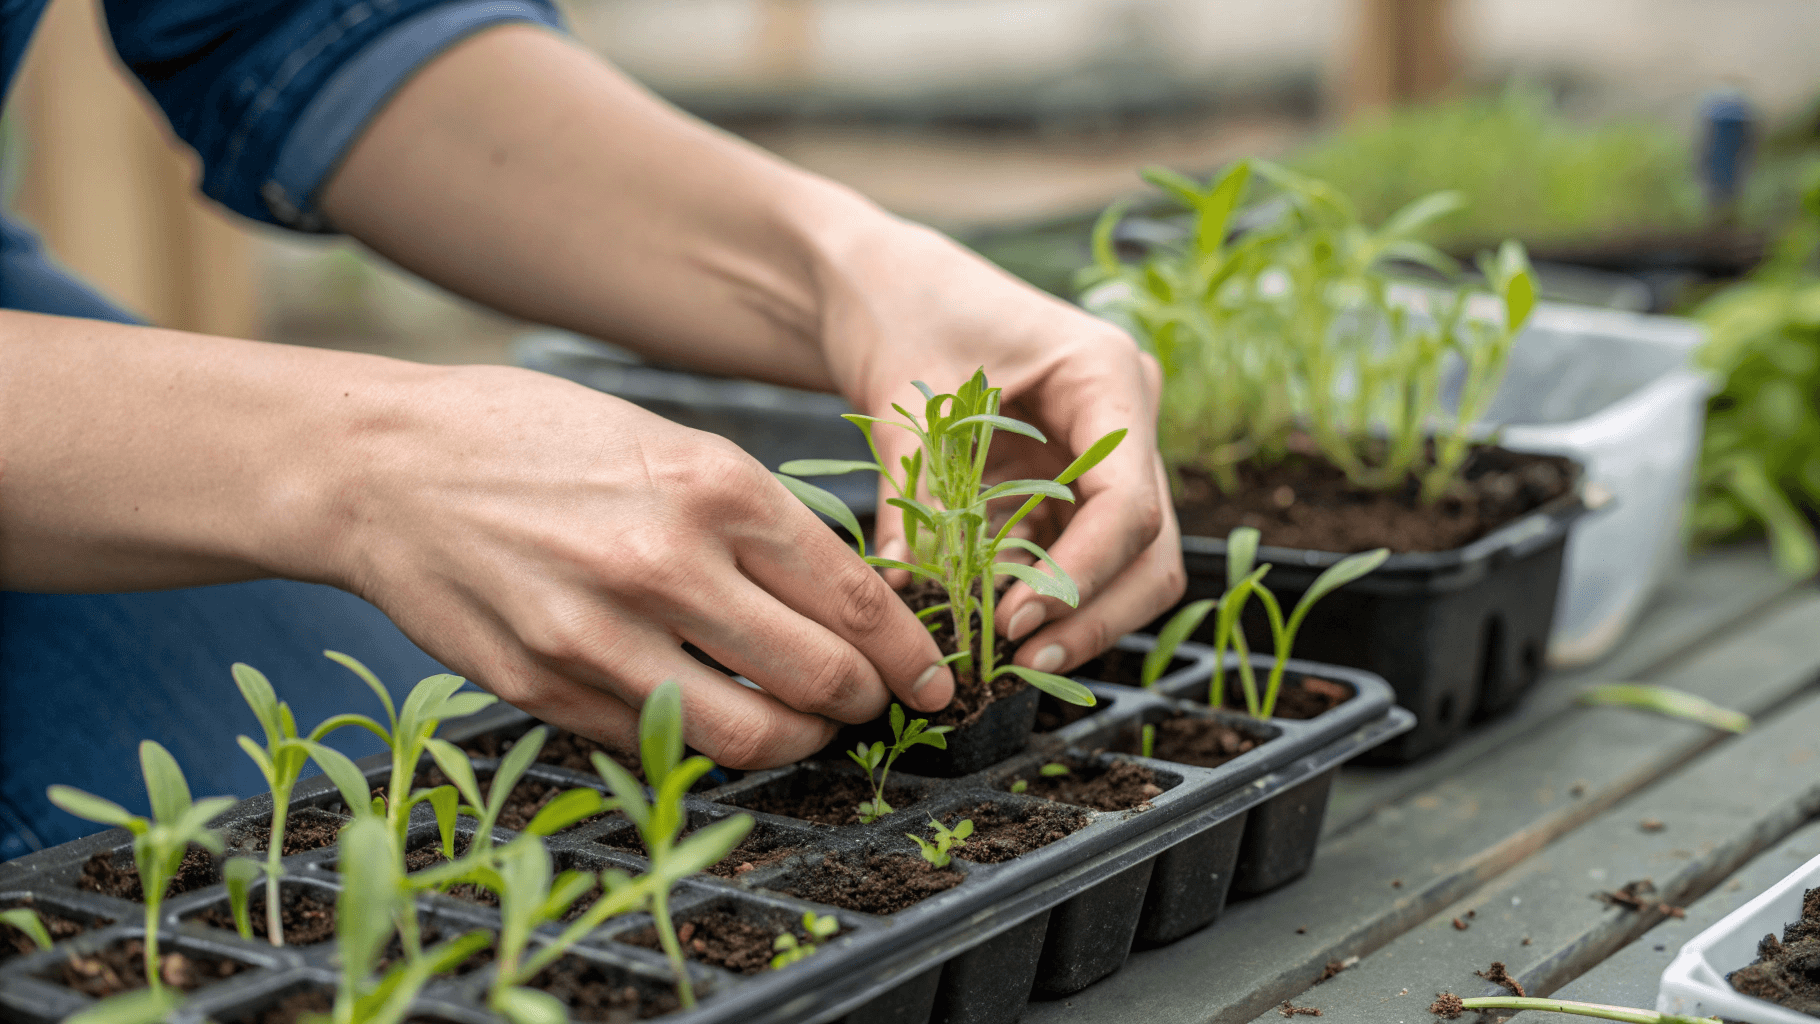
Step 4: Plant the Cutting
Fill a small pot with a mix of peat and perlite or use a pre-made seed-starting mix. Insert the cutting about 2 inches deep. Gently firm the soil around it and mist lightly.
Step 5: Create a Mini Greenhouse
Cover the pot with a clear plastic bag or dome to maintain humidity. Keep it in a bright but indirect light area; direct sunlight can overheat and wilt the cutting.
Step 6: Wait for Roots
Roots usually develop within 2–4 weeks. You’ll know it’s ready when you see new leaves forming or when the cutting resists a gentle tug.
Once rooted, transplant it into a larger pot or directly into your garden bed. Keep it well-watered as it adjusts to its new environment.
Collect and Store Phlox Seeds

Best for: Experimenting with new colors or growing annual phlox varieties
If you enjoy surprises, propagating phlox by seed can be a fun project. Keep in mind that seed-grown plants may differ slightly from their parents, especially with hybrids, but that’s part of the excitement!
Step 1: Let Seed Pods Mature
After flowering, allow some blooms to fade naturally. Small seed pods will form at the base of the spent flowers. Wait until these pods turn brown and dry, but collect them before they burst open.
Step 2: Harvest Carefully
Gently pinch or cut off the dried seed heads. Place them in a paper bag to finish drying for a few days in a cool, dry spot.
Step 3: Extract the Seeds
Once completely dry, crush the pods gently between your fingers to release the seeds. Remove any debris or chaff.
Step 4: Store Properly
Store your phlox seeds in a labeled envelope or an airtight jar. Keep them in a cool, dark, and dry place until you’re ready to sow them next spring.
When you’re ready to grow from seed, check out this detailed guide on How to Grow Phlox from Seed. It includes step-by-step instructions for germination, transplanting, and early care.
Caring for New Phlox Plants After Propagation
Once your new phlox plants are established, proper care ensures they thrive for years to come.
- Water consistently: Keep the soil moist but never soggy. Deep watering once a week is better than frequent light watering.
- Provide sunlight: Most phlox varieties prefer full sun, though some creeping types tolerate partial shade.
- Feed lightly: A balanced, slow-release fertilizer in spring encourages strong growth. Avoid over-fertilizing; it can lead to lush foliage but fewer blooms.
- Mulch and weed control: Apply organic mulch around the plants to lock in moisture and reduce weed competition.
- Pinch or deadhead: Removing spent blooms encourages repeat flowering and prevents unwanted self-seeding.
Mistakes to Avoid During Propagation
Even seasoned gardeners make a few missteps when propagating plants.
- Dividing in hot weather: The stress from heat can kill new divisions. Always divide in cool, mild conditions.
- Using dull tools: Clean, sharp tools prevent root damage and reduce disease risk.
- Overwatering cuttings: Too much moisture can lead to rot. Keep the soil damp, not wet.
- Skipping soil preparation: New divisions need well-drained, nutrient-rich soil to establish.
- Neglecting disease control: Phlox can be prone to powdery mildew and root rot. For more on prevention and treatment, read Common Phlox Problems.
Conclusion
Propagating phlox isn’t just about multiplying plants; it’s about multiplying joy. With simple techniques like division, cuttings, and seed collection, you can fill your garden (and maybe your neighbors’ too) with these cheerful, long-blooming flowers.
Whether you’re rejuvenating an old patch or experimenting with new colors, propagation helps you stay connected to your garden’s life cycle. Start with one method today, and by next season, you’ll have a thriving phlox collection that’s entirely your own.
Leave a Reply